
Indulge in the velvety decadence of this vegan chocolate pudding! This recipe is an easy no-bake dessert made with only 6 ingredients that’s not only vegan but also gluten-free and absolutely delicious. It’s a dessert with simplicity and elegance that’s sure to impress everyone. Perfect as a healthy dessert or for home parties.
*This post may contain affiliate links. For full disclosure visit our Affiliate Disclosure page.
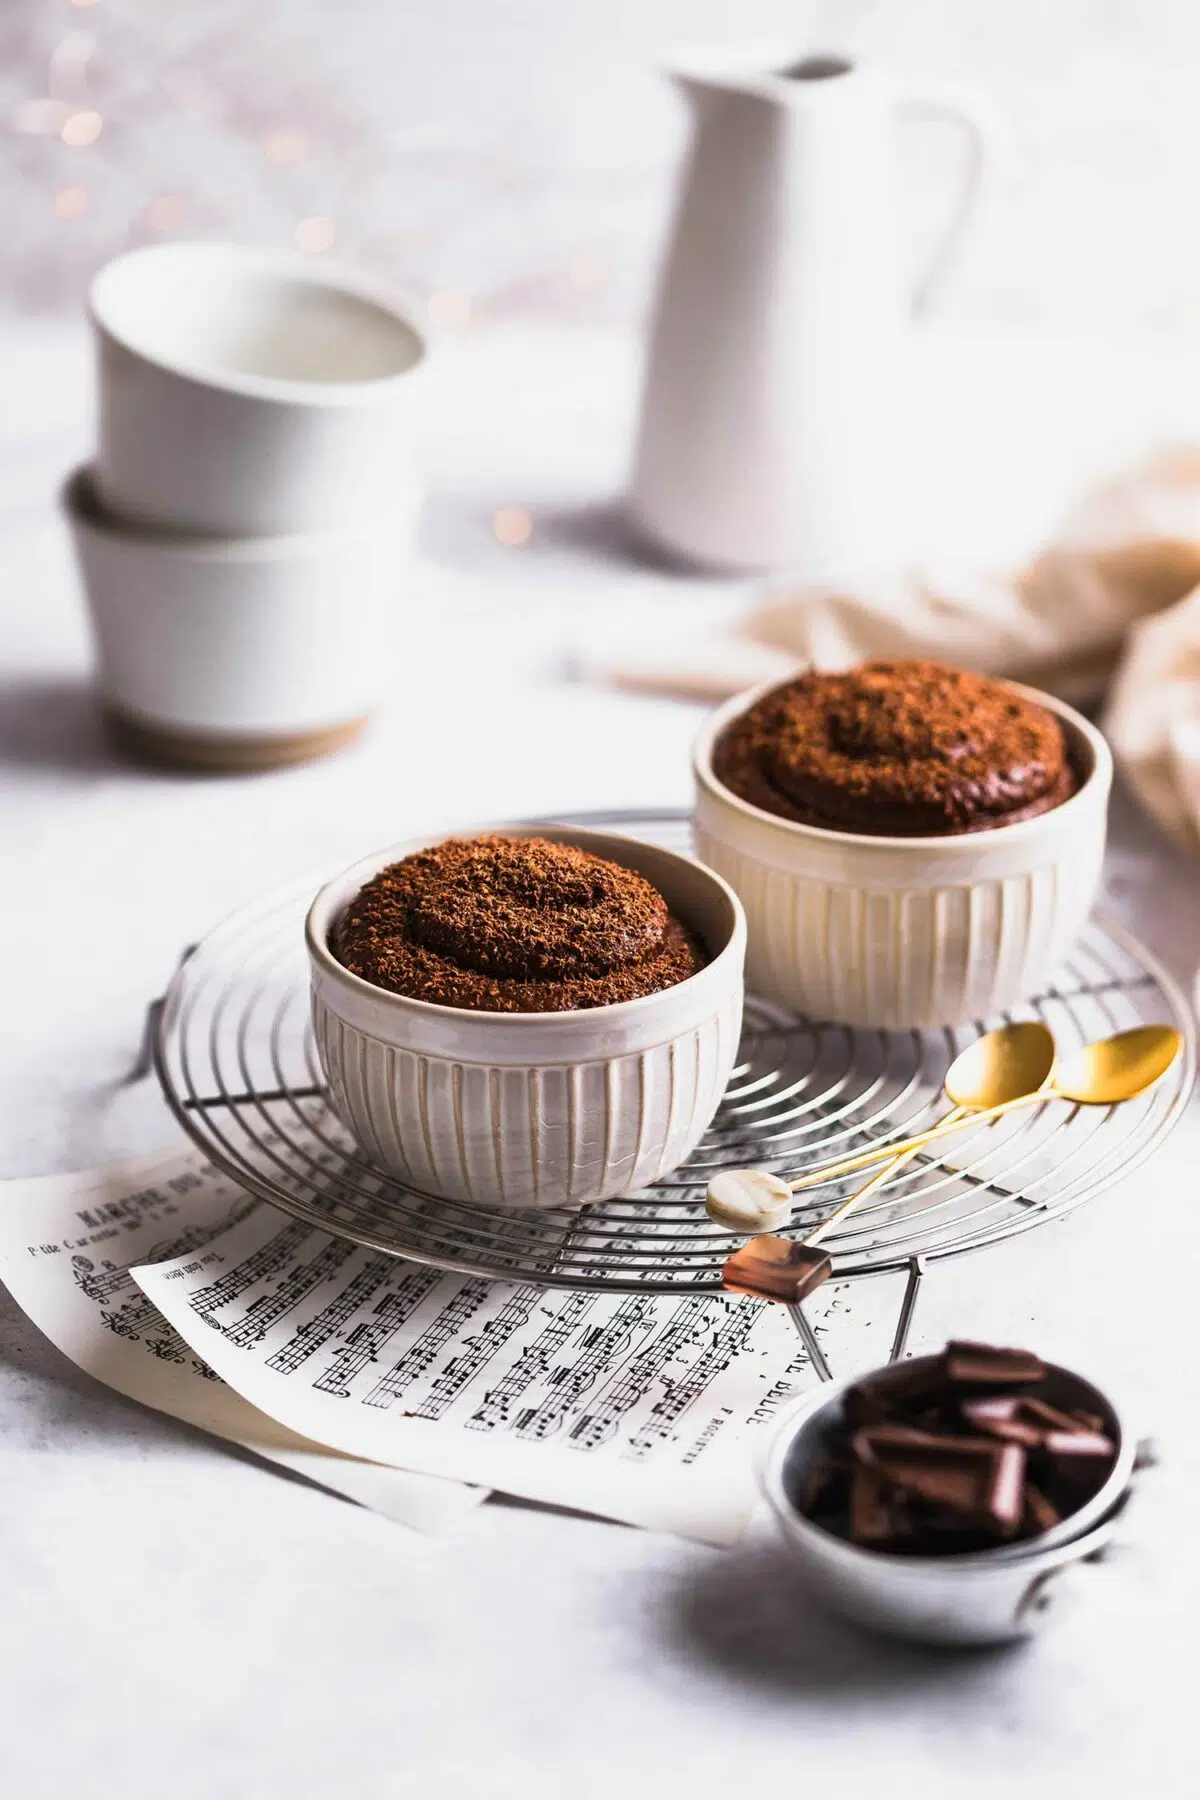
Table of Contents
Today’s recipe is a classic comfort food that everyone loves – chocolate pudding! But we’re not just creating simple chocolate pudding, this is an indulgent, silky, rich, and creamy vegan version that is as delicious as it is so easy to prepare. All you need to do for this chocolate pudding is mix, cook, and chill. So simple! Enjoy it as a healthy dessert after a meal with your family or bring to a home party to share with your friends.
Recipe overview – why you’ll love this vegan chocolate pudding recipe
- Level: Super easy
- Taste: Rich chocolate
- Texture: Creamy, rich, silky
- Diet: Plant-based, dairy-free, eggless, nut-free, soy-free, can be gluten-free
- Time: 10 mins
- Occasion: Breakfast, dessert, Christmas, Thanksgiving, Valentine’s Day
Main ingredients and substitutions
*Use room temperature ingredients unless otherwise instructed.
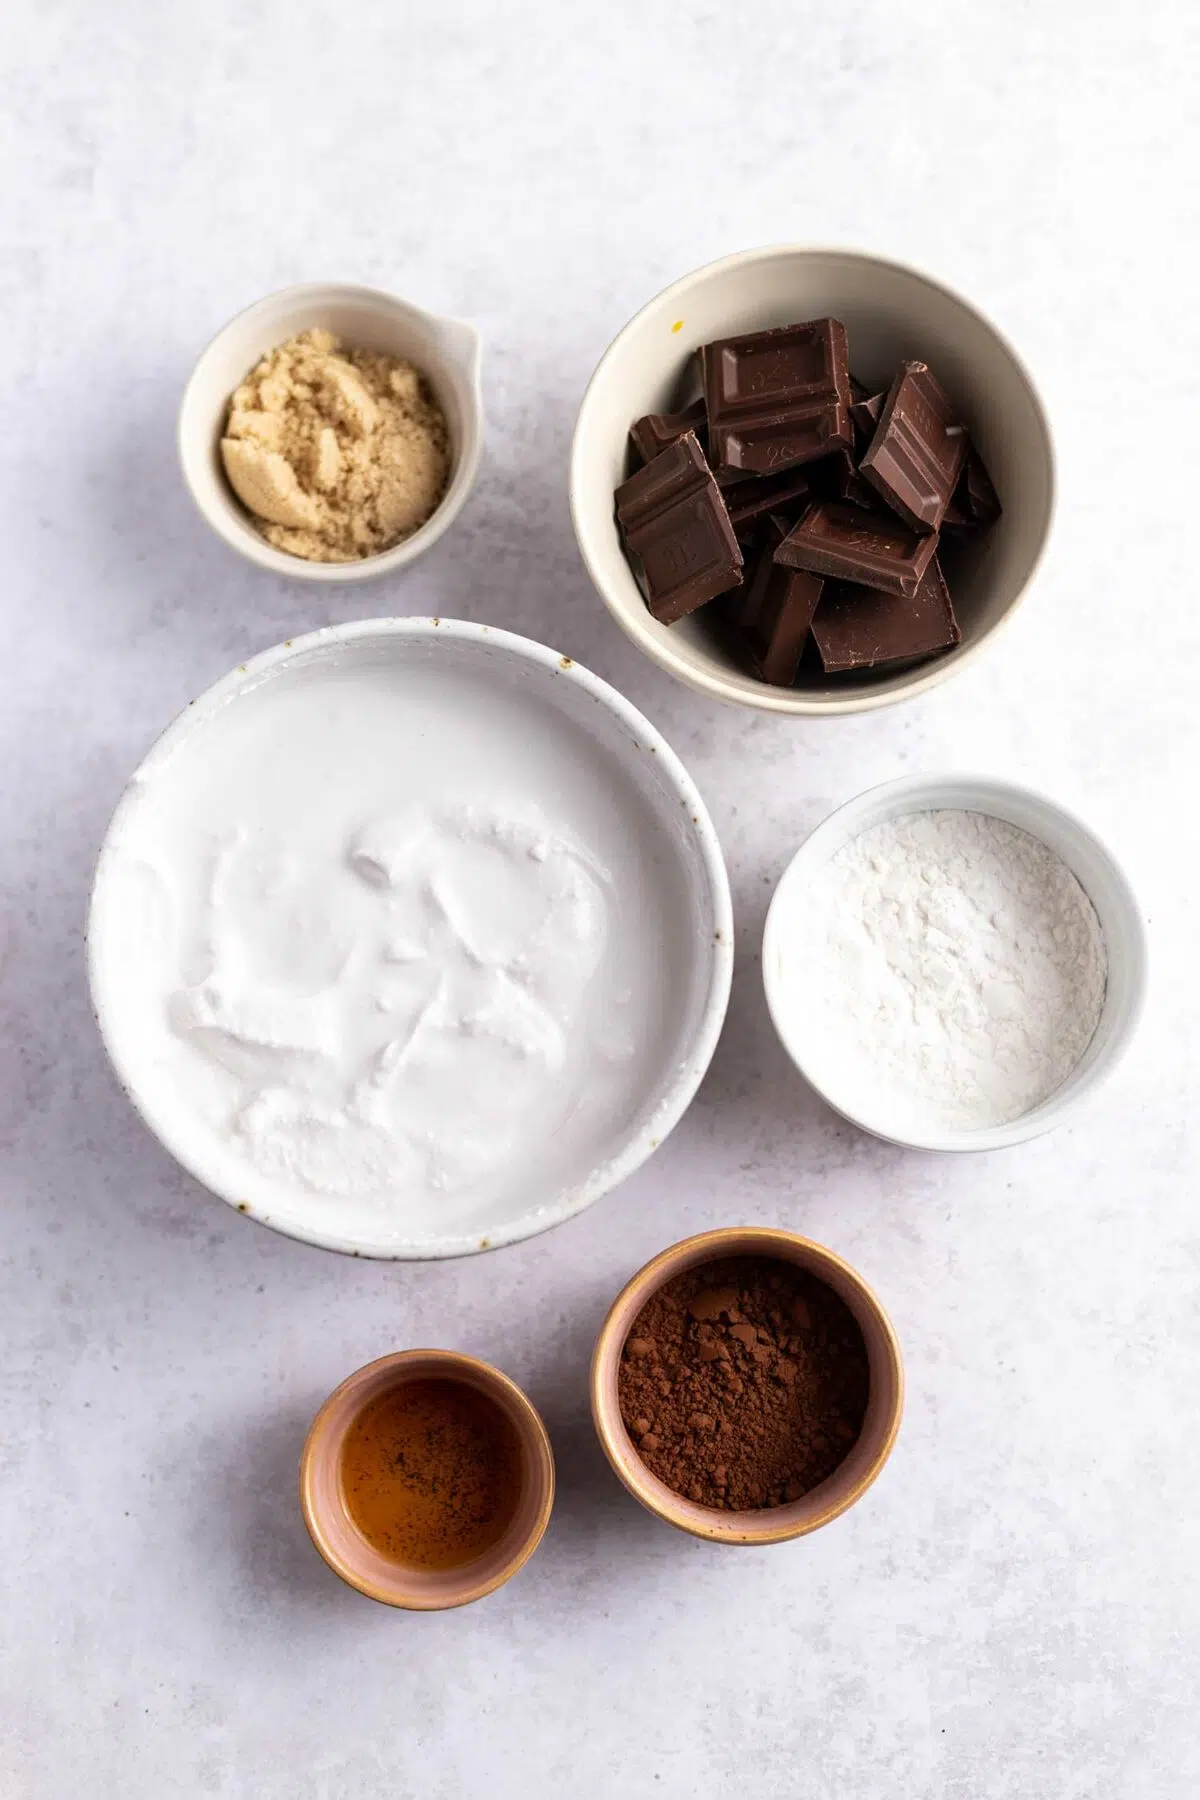
Chilled canned coconut milk: Use only the fat part for the rich texture. This thick, creamy part of coconut milk will give the pudding a luxurious texture. If you’re not a fan of coconut, you can replace this with other thick plant-based creams such as cashew cream, oat cream, etc.
Brown sugar: Brown sugar is a great sweetener for this recipe as it adds a rich caramelly flavour to the pudding. If you prefer, you can also use raw cane sugar or coconut sugar as alternatives.
Cacao powder: Use 100% cacao powder to achieve a rich chocolatey flavour. If you don’t have cacao powder on hand, unsweetened cocoa powder can be used instead as well.
Vegan milk chocolate: Vegan milk chocolate adds another layer of chocolatey goodness to the pudding! If you can’t find vegan milk chocolate, vegan dark chocolate works too. It will make a less sweet, richer chocolate pudding.
Tapioca flour: Tapioca flour is for thickening the pudding. Arrowroot flour, cornflour, or potato flour can be used as alternatives as well.
Note: Substitution may change the final taste and texture of this recipe.
*I use bone char-free sugars for all of my recipes. I cover the topic in my article Vegan Baking 101. Go to the “Is sugar vegan?” section to learn more!
Recommended equipment for this recipe
A Saucepan: Use a medium to large size saucepan to cook the pudding. A small saucepan may not be big enough to whisk the ingredients in.
A wooden spoon: A large wooden spoon is an essential tool for continuously stirring the pudding to ensure a smooth consistency.
Sieve: Before mixing all the ingredients, sift the dry ingredients well to prevent the pudding from forming lumps.
*The ingredient list and measurement for this recipe can be found in the recipe card at the bottom.
How to make vegan chocolate pudding
*Chill the canned coconut milk in the fridge for 1+ days to separate the fat and water parts.
Step 1: Prepare your ingredients
Let’s make the pudding! The steps are super easy to follow. First, chop your vegan milk chocolate into small pieces and melt with the bain-marie method. Sift all dry ingredients to achieve a smooth texture.
Separate the fat part of the chilled canned coconut milk as this is the rich coconut cream part that you’ll need for the recipe. This rich and creamy part of coconut milk gives the pudding a smooth and luxurious texture. Keep the coconut water for smoothies for later!
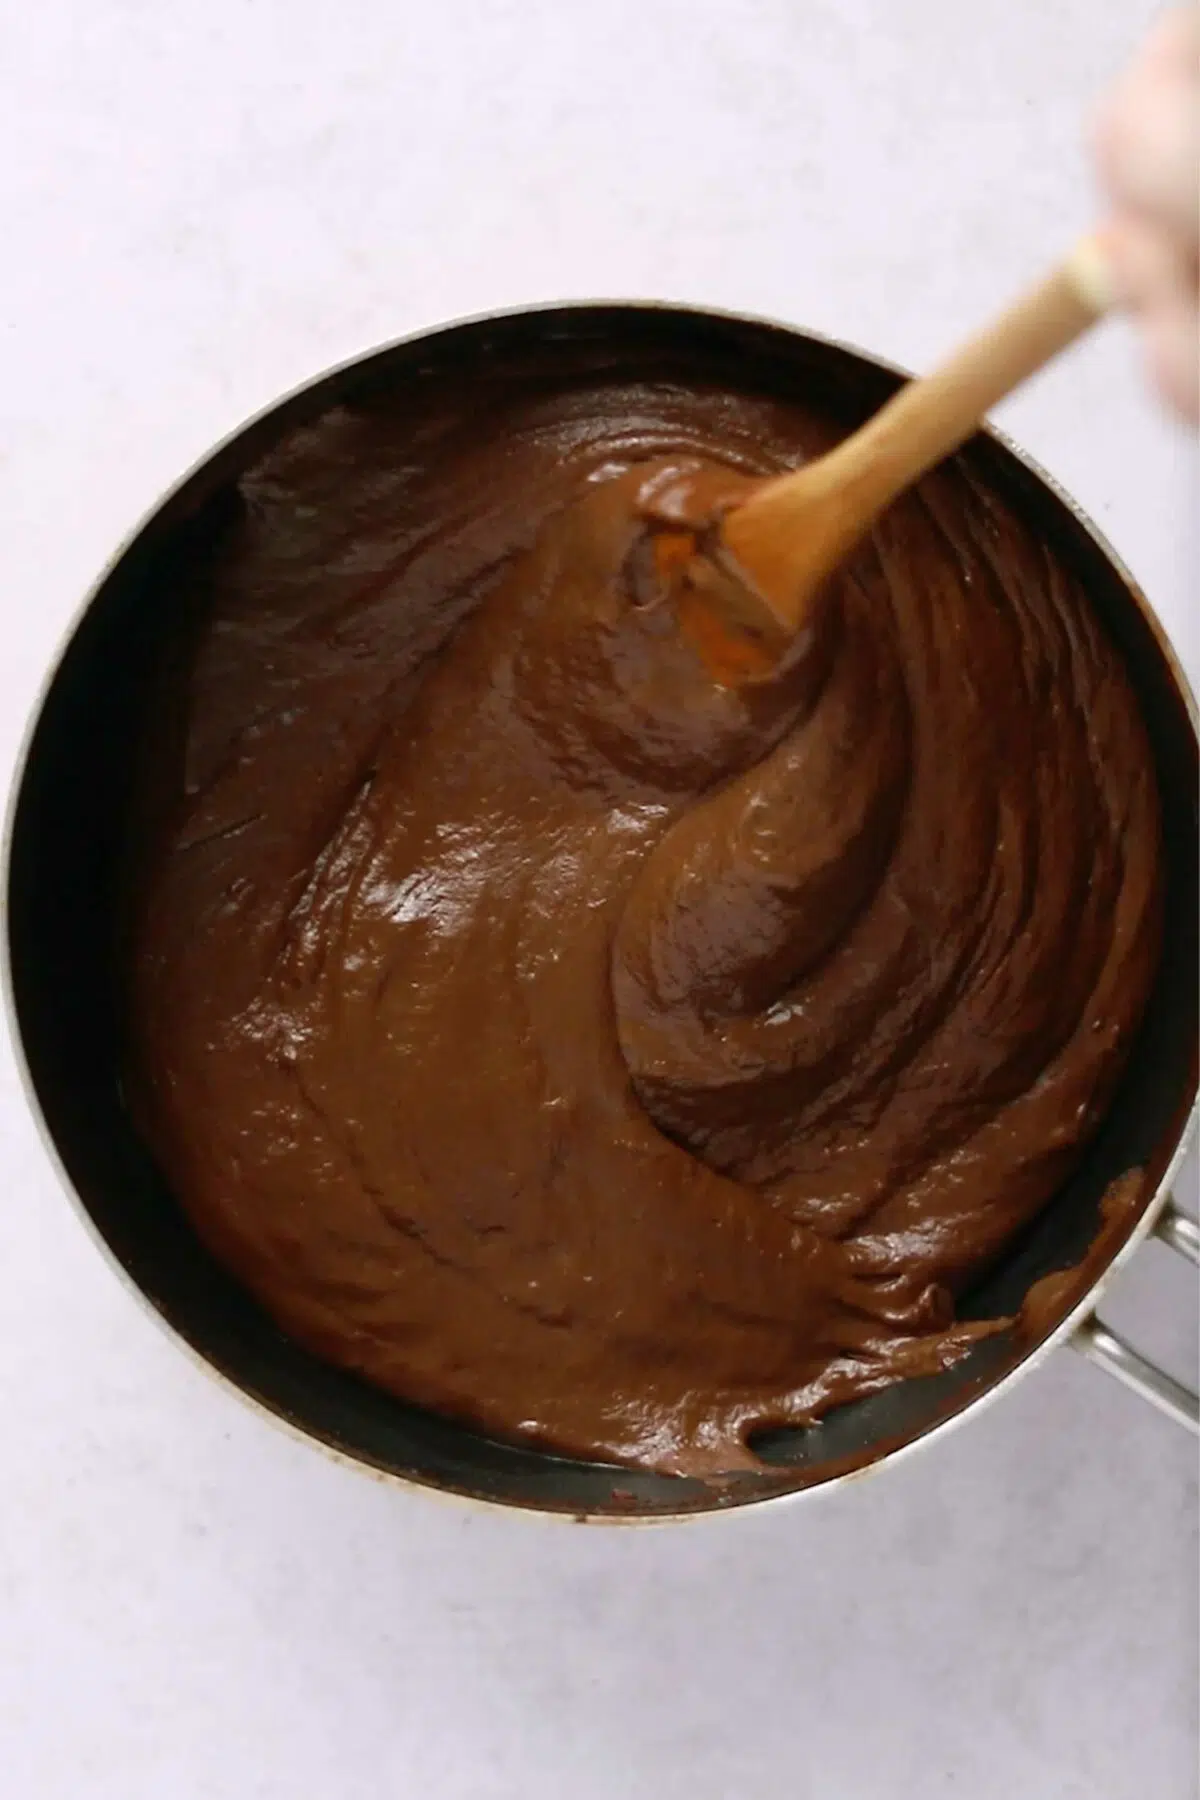
Step 2: Combine all ingredients and cook
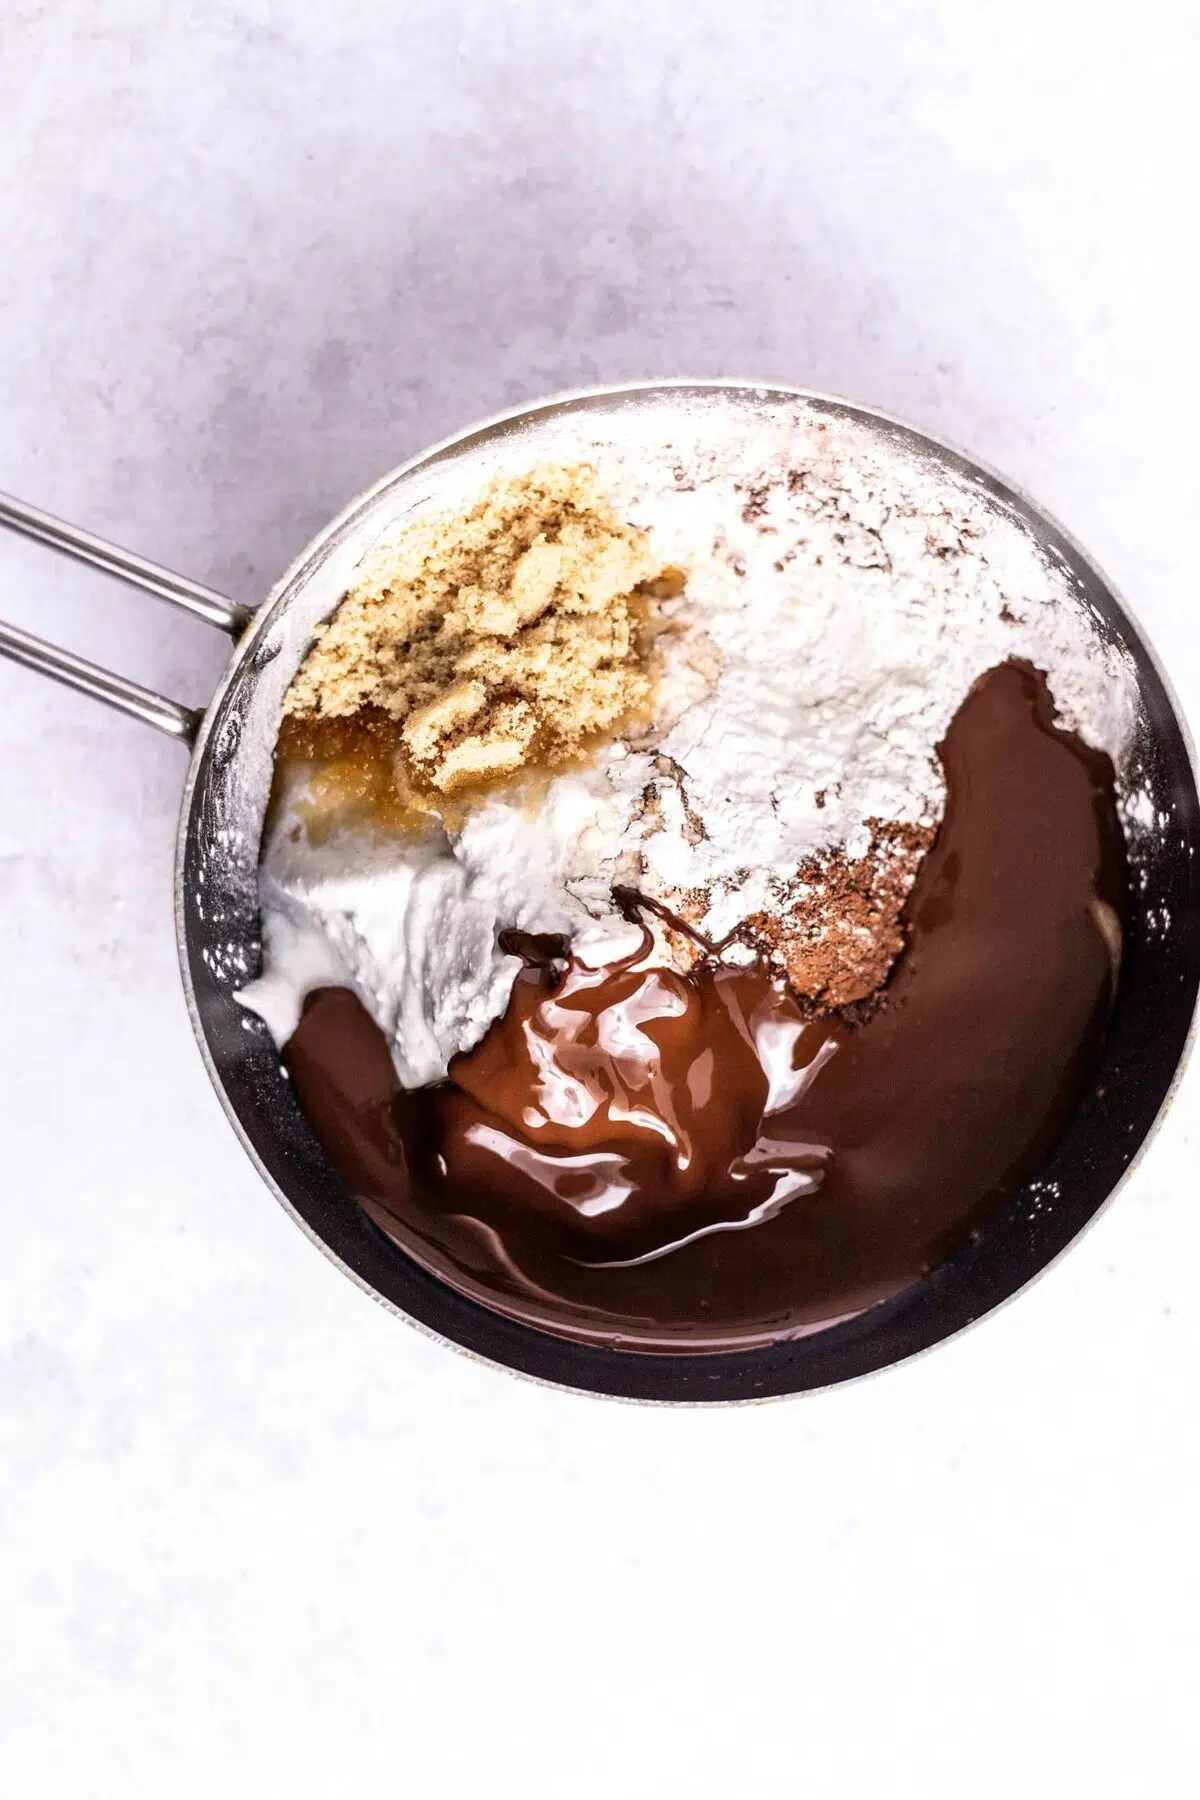
Place your melted vegan milk chocolate, coconut milk, cacao powder, tapioca flour, and brown sugar into a medium-to-large saucepan. Place the saucepan over medium heat, and start mixing the ingredients together. Keep mixing until all the ingredients are well combined to prevent any lumps from forming in the pudding.
Keep the mixture over medium heat, continuing to mix it constantly. Don’t cook over high heat to prevent the pudding from sticking to the pan! After several minutes, the pudding will start to thicken. Once the pudding has thickened, remove the saucepan from the heat.
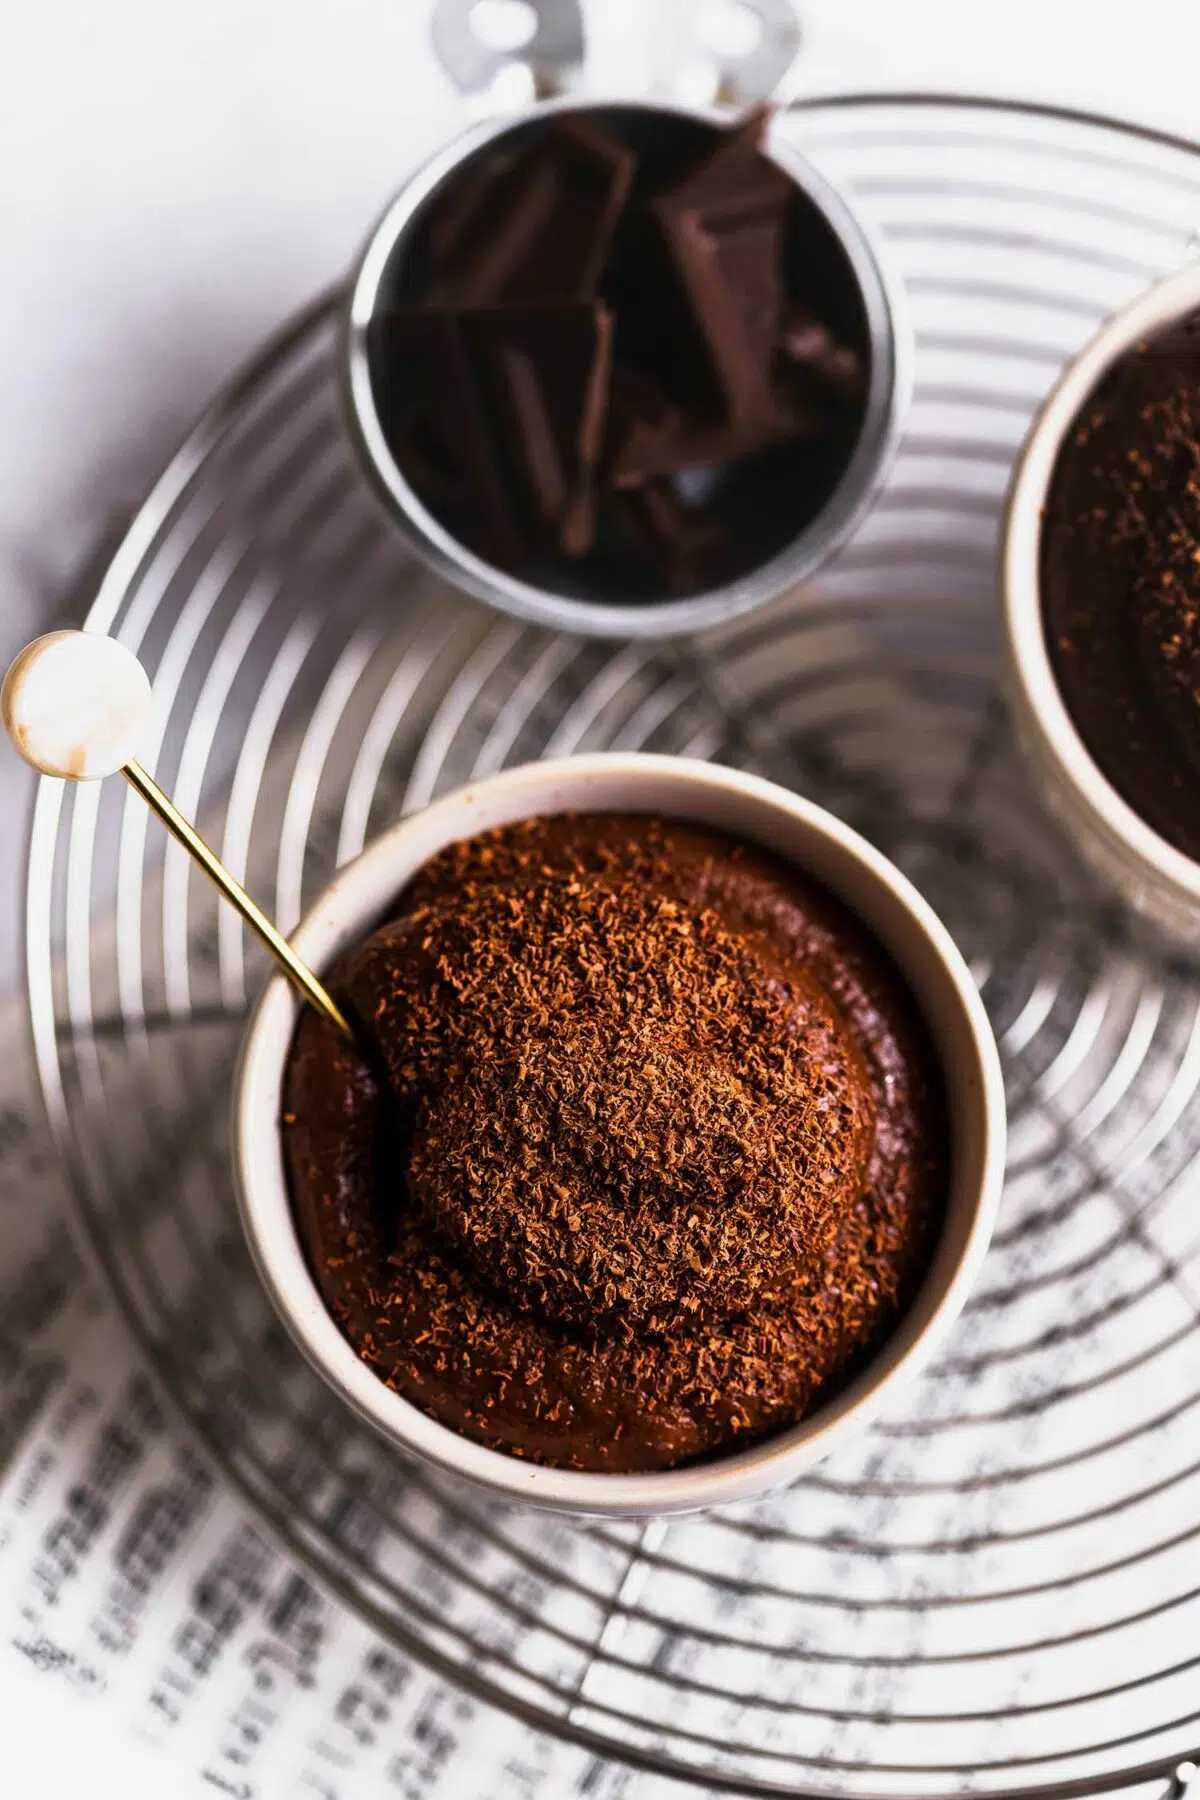
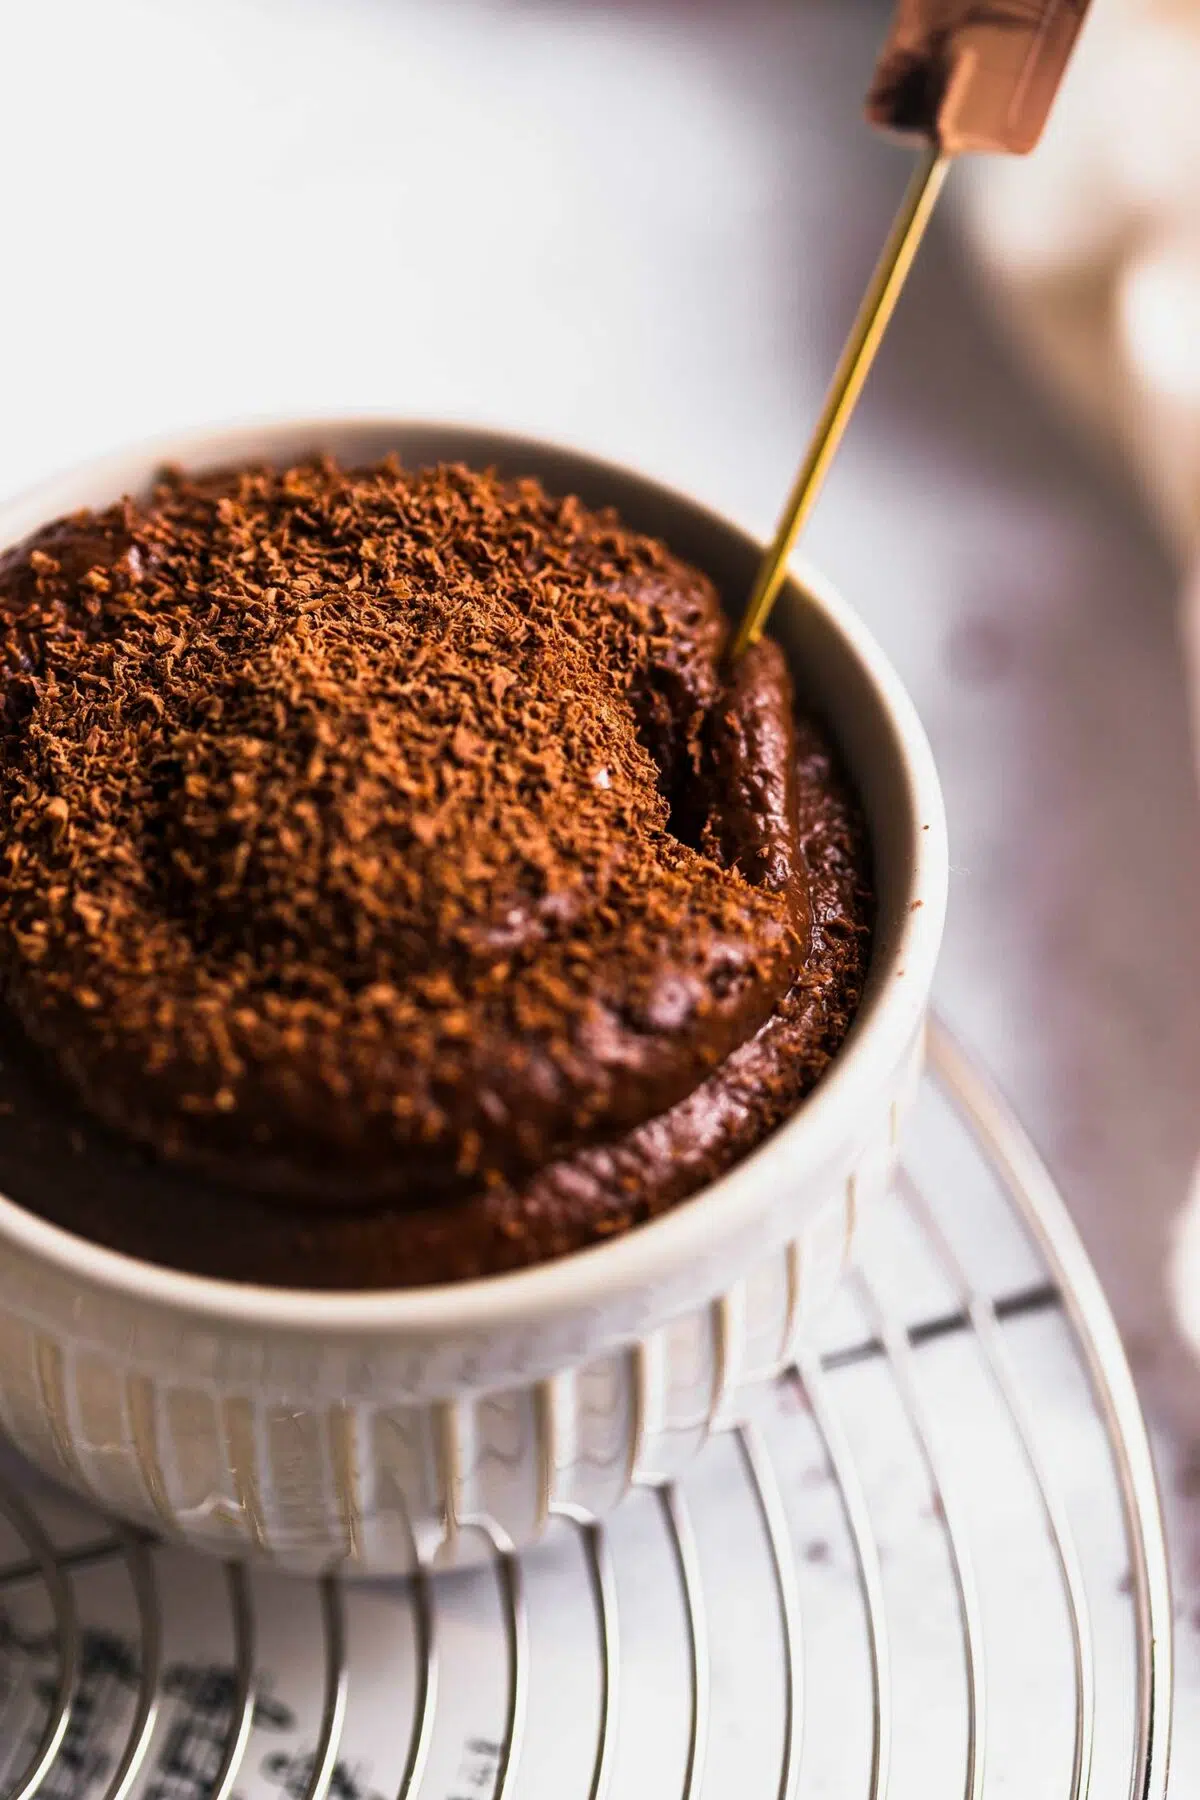
Step 3: Chill and serve
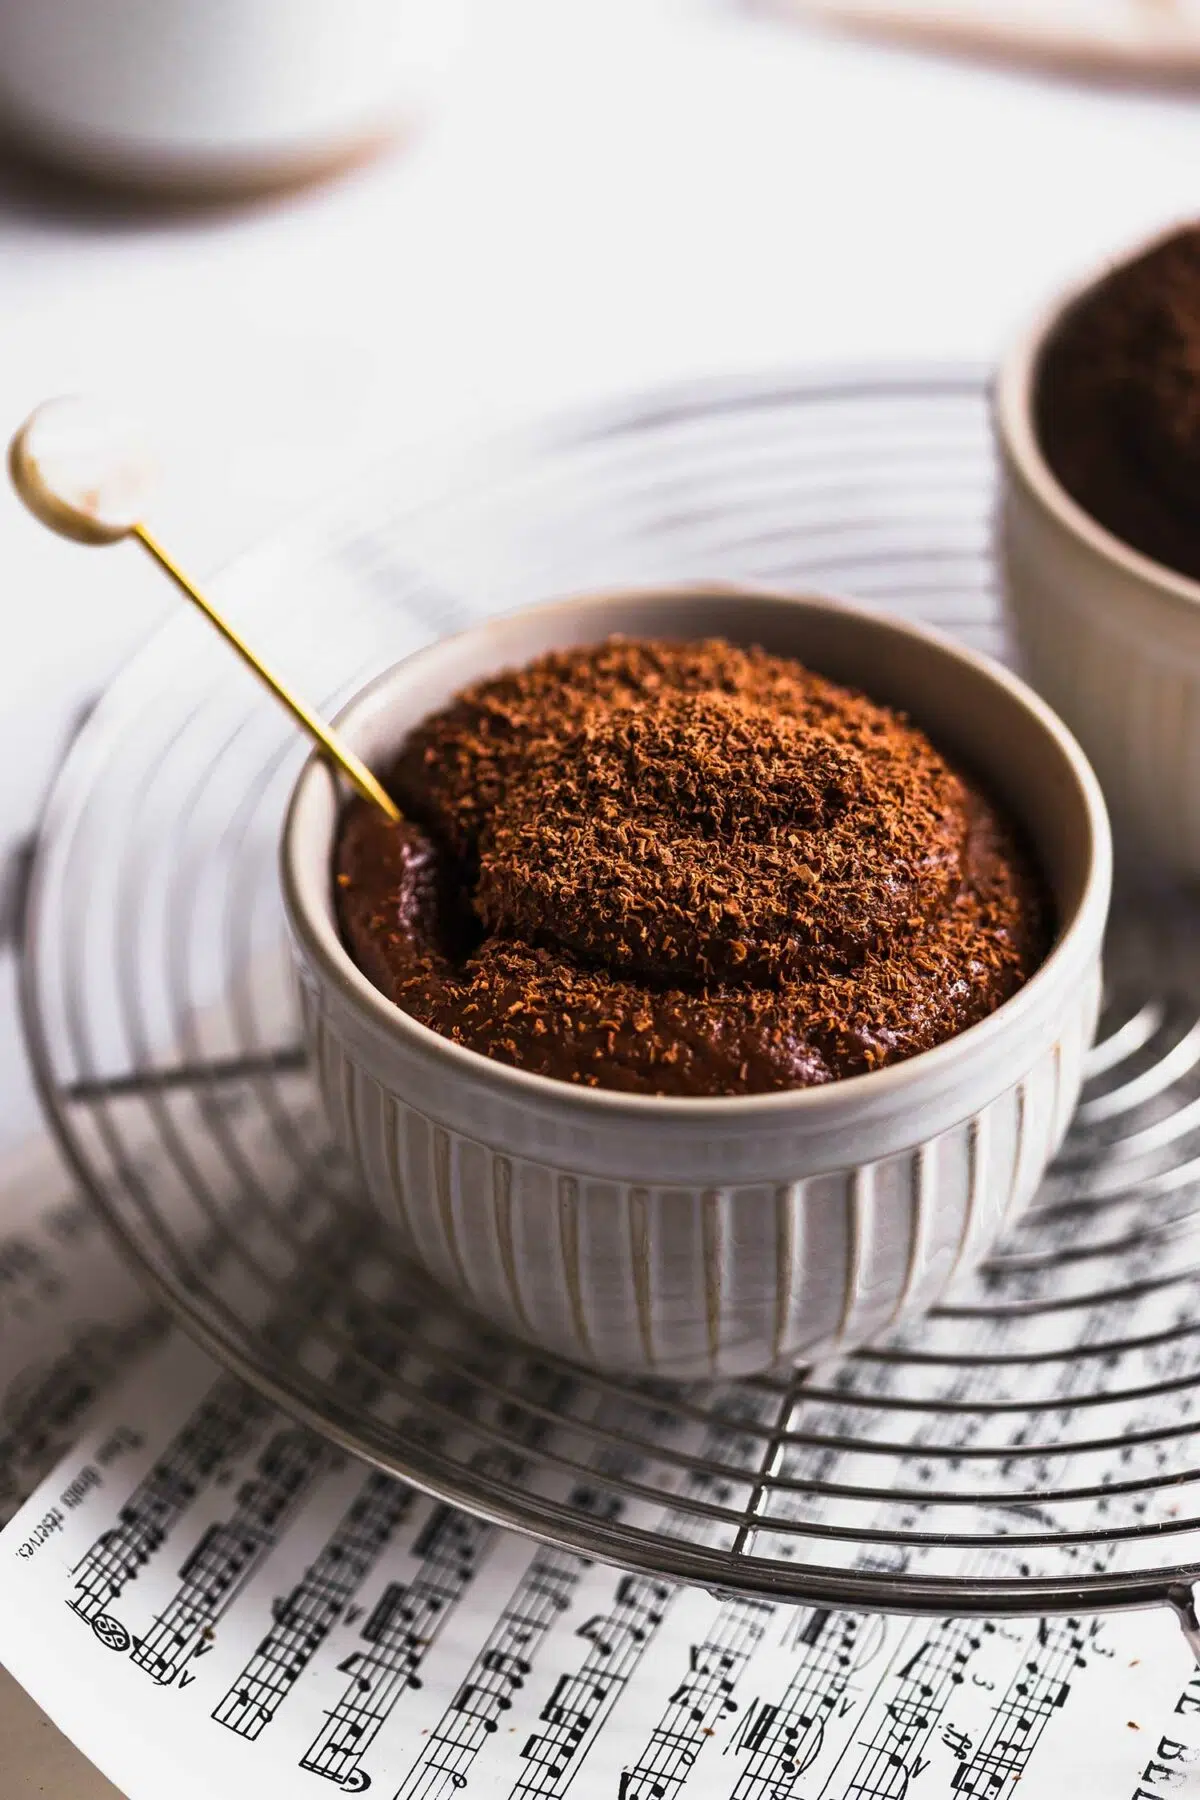
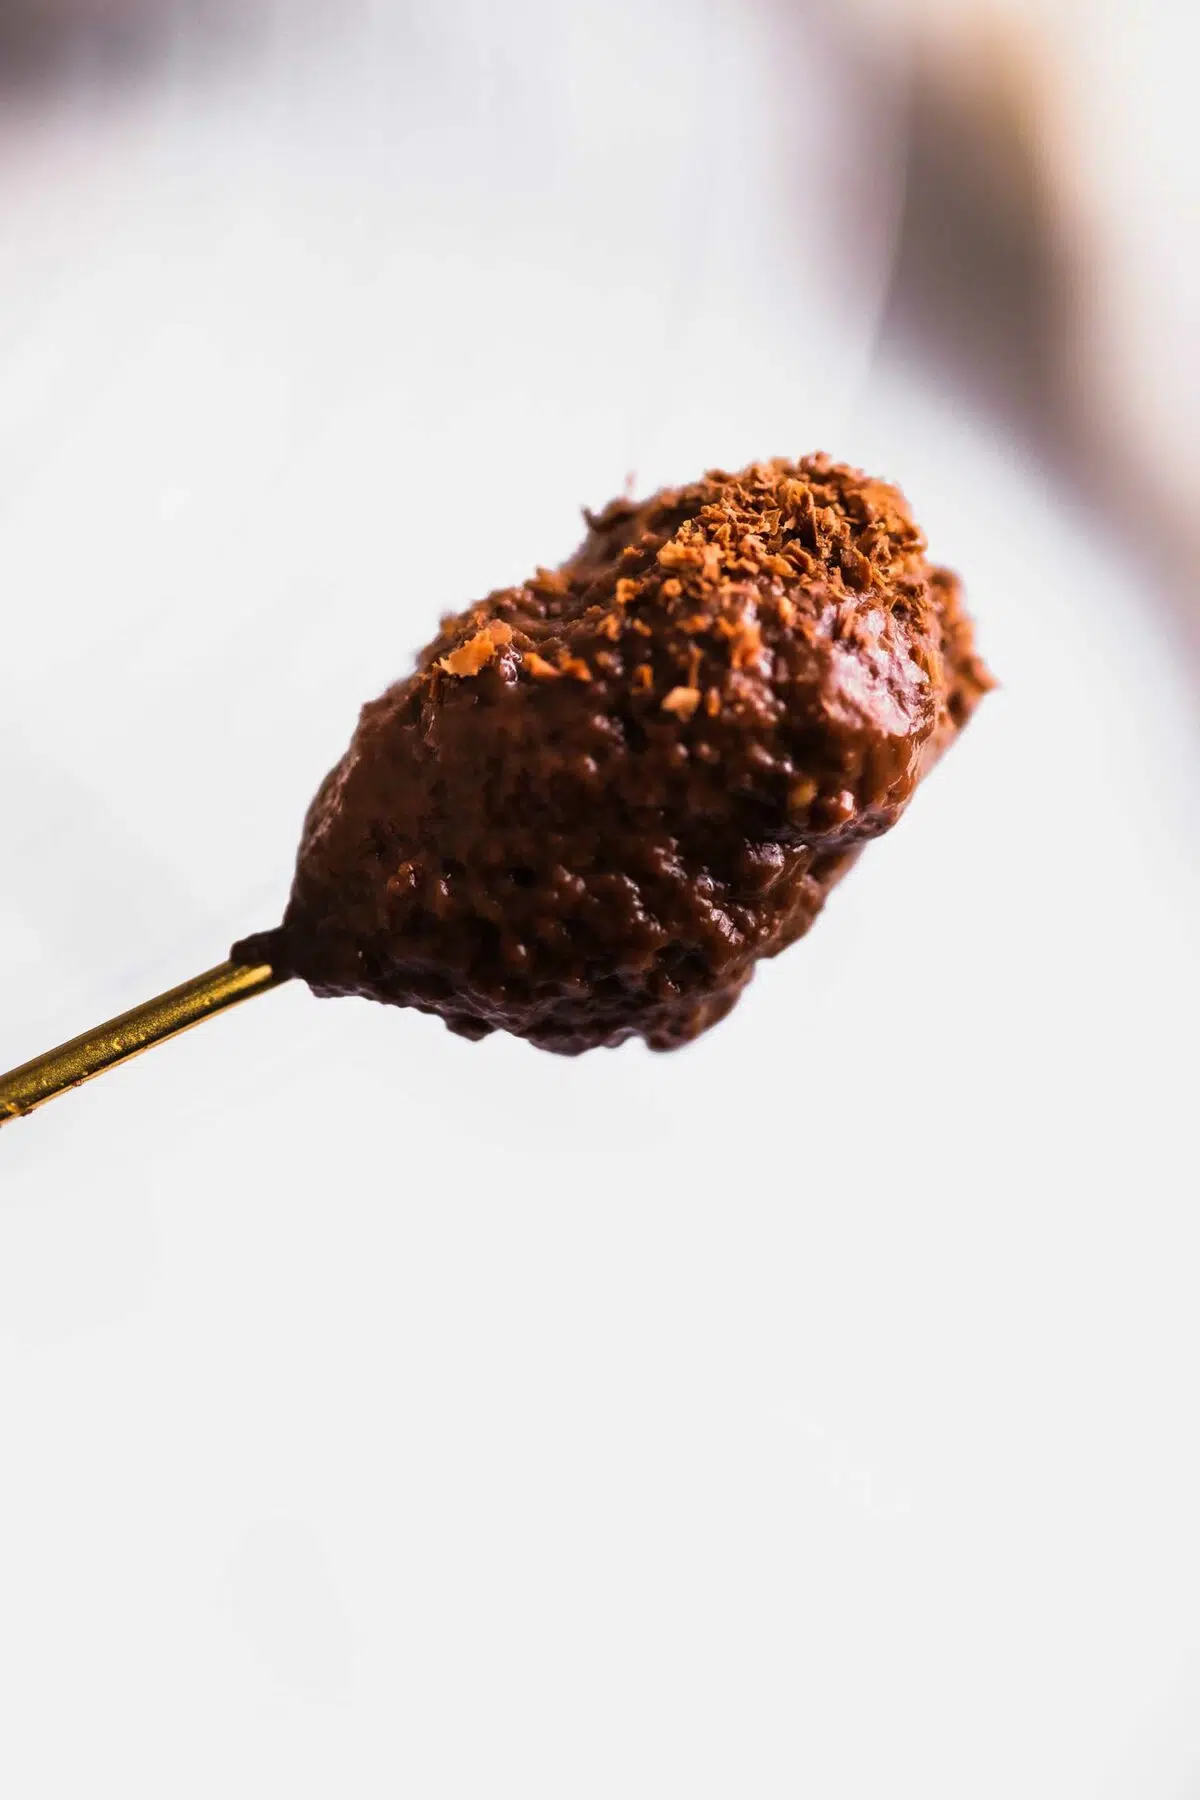
Transfer the pudding mixture to serving dishes and let them cool down to room temperature. Once they’re cool, cover the dishes with cling film and place them in the fridge to chill for at least 3 hours or preferably overnight. Take from the fridge and tuck in. Enjoy!
Serving tips and ideas
- Add a dollop of whipped coconut cream or soy cream on top of the pudding to make it extra decadent!
- A sprinkle of crushed almonds, hazelnuts, or pecans can give a nice crunch to the pudding. Perfect as a healthy and light dessert with an autumn/winter feel!
- Sprinkle some of your favourite granola on top and have it as a dessert-like healthy breakfast!
- If you want to make it extra decadent, drizzle some vegan caramel sauce, raspberry sauce, etc. for a fancy touch!
Expert tips and tricks
Continuous stirring
When cooking the pudding, make sure to stir constantly with a large wooden spoon to prevent any lumps and to ensure a smooth texture. This not only prevents lumps from forming and achieves the perfect, silky texture, but it can also prevent it from burning on the bottom of the saucepan as well.
Chilling time
For best results, chill the chocolate pudding in the refrigerator for at least 3 hours or preferably overnight before serving. This will ensure the pudding is properly set! Be patient, and let the pudding chill thoroughly. It’s tempting to dig in early, but the pudding needs time to set for the flavours and texture to fully develop.
Use good-quality cacao powder
Use good-quality cacao powder or unsweetened cocoa powder! The quality of the cocoa powder will significantly affect the chocolate flavour of the pudding. I recommend using rich, dark 100% cacao powder.
Use a digital scale to weigh ingredients
Always use a digital scale rather than measuring cups when you are baking. It’s so much more accurate and measuring correctly is very important to achieve the best result.
Recipe variations
- Add a few drops of peppermint extract to the pudding to make a mint chocolate pudding! It adds a refreshing twist to the pudding and is so tasty.
- Mocha flavour is always a good idea for any chocolate dessert! Add a shot of espresso or a teaspoon of instant coffee powder to the pudding for a rich mocha flavour.
- Orange + chocolate is another great combo out there. Add a tablespoon of orange zest to your pudding and make Chocolate orange pudding!
- Swirl in some smooth 100% peanut butter into the pudding for an even richer flavour and texture!
How to store
- Refrigerating: The pudding keeps well in the fridge the most! Cover the pudding properly with cling film and store in the fridge for up to 2-3 days. Serve straight from the fridge when you want to enjoy the rich chocolate pudding!
*Although you can store this recipe in the fridge or freezer, it’s always best to consume it fresh and as soon as possible.
Q and A
My pudding didn’t set properly!
There could be a few reasons why your pudding didn’t set. One could be that the pudding wasn’t cooked long enough to allow the tapioca flour to fully activate. Make sure to cook the pudding for 3-5 mins until the mixture is visually thickened. You should be able to feel it has thickened while mixing the pudding too.
Another reason might be that it wasn’t chilled long enough. Make sure to give it at least 3 hours in the fridge to properly set. Preferably overnight for the best result.
Also, weigh your ingredient correctly rather than measuring with measuring cups. Weighing is so much more accurate and produces the best result.
Why does my pudding have lumps?
Lumps in the pudding often happen if the ingredients aren’t mixed together thoroughly, dry ingredients aren’t sifted, or if the heat is too high causing the pudding to cook unevenly. Make sure to sift the dry ingredients before cooking and mix constantly and keep the heat at medium to prevent this from happening.
Can this recipe be used to make a chocolate pie filling?
Sadly, no. The consistency is a little too runny to use as a pie filling.
I want to make this for a party. Can I prepare it a day in advance?
Yes, absolutely! This pudding keeps well in the fridge well for 2-3 days, so it’s a great recipe to make in advance for a party. Make sure to cover the top with cling film to prevent unwanted fridge smell and drying out.
Want to master the basics of vegan baking?
Check out Vegan Baking 101 – the beginner’s guide to vegan baking for you to become an excellent vegan baker and familiar with the basics of vegan baking, ingredients, and techniques with useful tips!
You will LOVE this vegan chocolate pudding because it is:
- super easy to make
- full of chocolate flavour
- creamy and rich
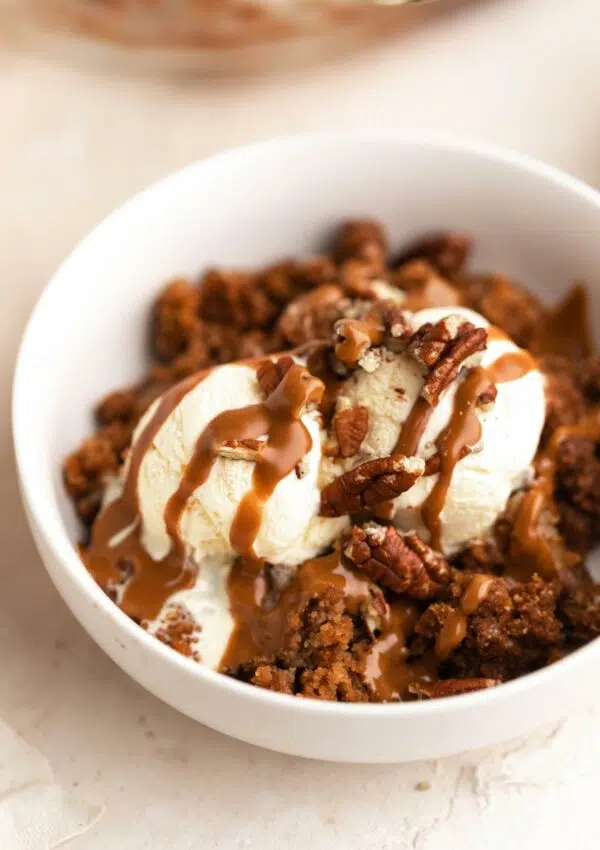
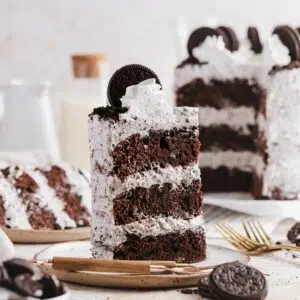
Want more recipes like this?
Try my other delicious chocolate recipes you might enjoy!
Visit the dessert page and recipe page for more delicious recipes!
Please leave a comment and rate this recipe with 5 stars in the comment section below if you like the recipe! Let me know and tag me @thechestnutbakery on Instagram too. Thank you for making my recipe, friends!
Recipe Card
Print
Vegan Chocolate Pudding – Easy & No-bake
- Total Time: 10 minutes
- Yield: 2–3 portion 1x
- Diet: Vegan
Description
Indulge in the velvety decadence of this vegan chocolate pudding! This recipe is an easy no-bake dessert made with only 5 ingredients that’s not only vegan but also gluten-free and absolutely delicious. It’s a dessert with simplicity and elegance that’s sure to impress everyone. Perfect as a healthy dessert and for home parties.
Ingredients
- 2 cans of chilled coconut milk, only the fat part on top (550g)
- 1 cup (110g) vegan milk chocolate
- 1/4 cup (30g) tapioca flour
- 2 tbsp brown sugar
- 2 tbsp cacao powder
- 1 tsp vanilla
Instructions
- Chop your vegan milk chocolate into small pieces and melt with the bain-marie method. Sift all dry ingredients. Separate the fat part of the chilled coconut milk.
- Place your melted vegan milk chocolate, coconut milk, cacao powder, tapioca flour, and brown sugar into a medium-to-large saucepan. Put the saucepan over medium heat, and start mixing the ingredients together. Keep mixing until all the ingredients are well combined.
- Keep the mixture over medium heat, continuing to mix it constantly. After several minutes, the pudding will start to thicken. Once the pudding has thickened, remove the saucepan from the heat.
- Transfer the pudding mixture to serving dishes and let them cool down to room temperature. Once they’re cool, cover the dishes with cling film and place them in the fridge to chill for at least 3 hours or preferably overnight.
- Take from the fridge and serve. Enjoy!


Notes
Make sure to stir constantly with a large wooden spoon to prevent any lumps while cooking.
Chill the chocolate pudding in the refrigerator for at least 3 hours or preferably overnight before serving.
Use good-quality cacao powder or unsweetened cocoa powder for the best result.
- Prep Time: 5 mins
- Cook Time: 5 mins
- Category: Dessert
- Method: Cooking


Leave a Reply