
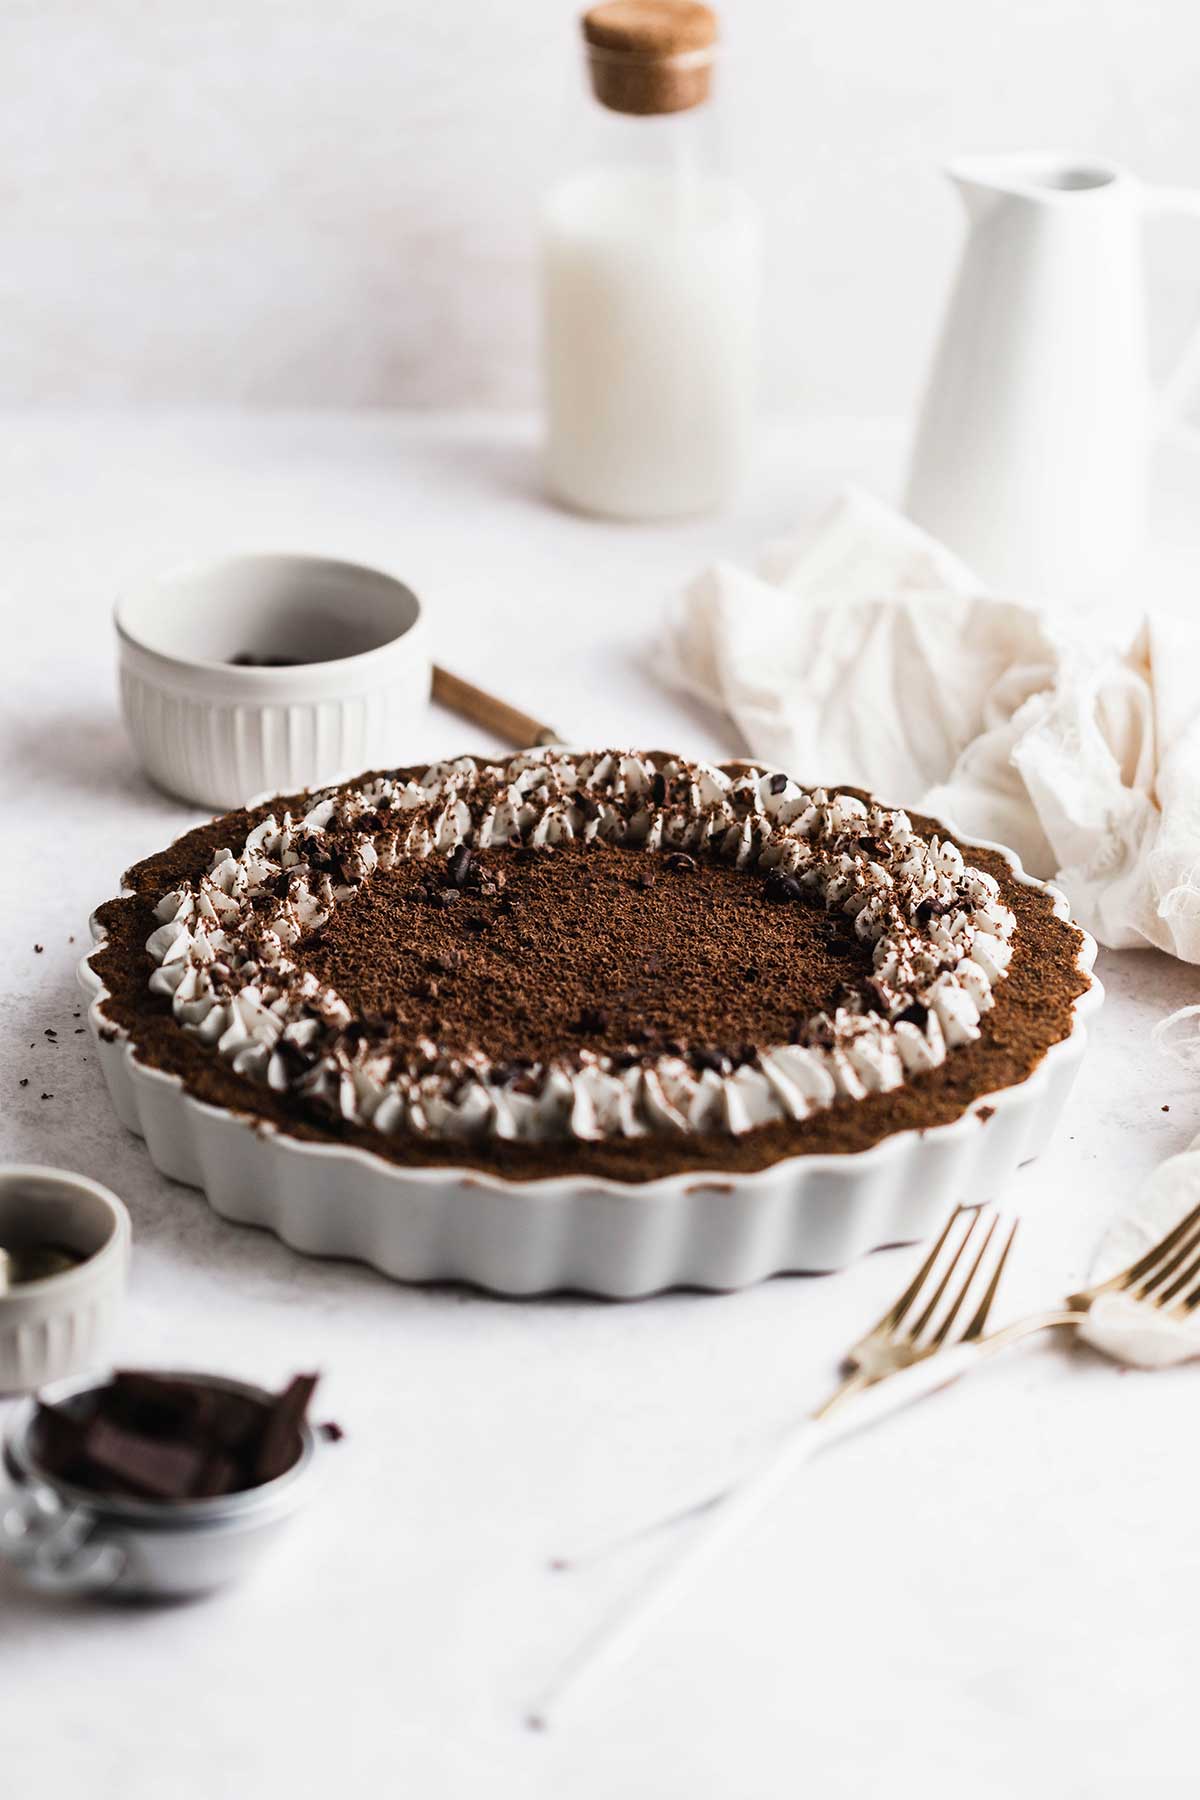
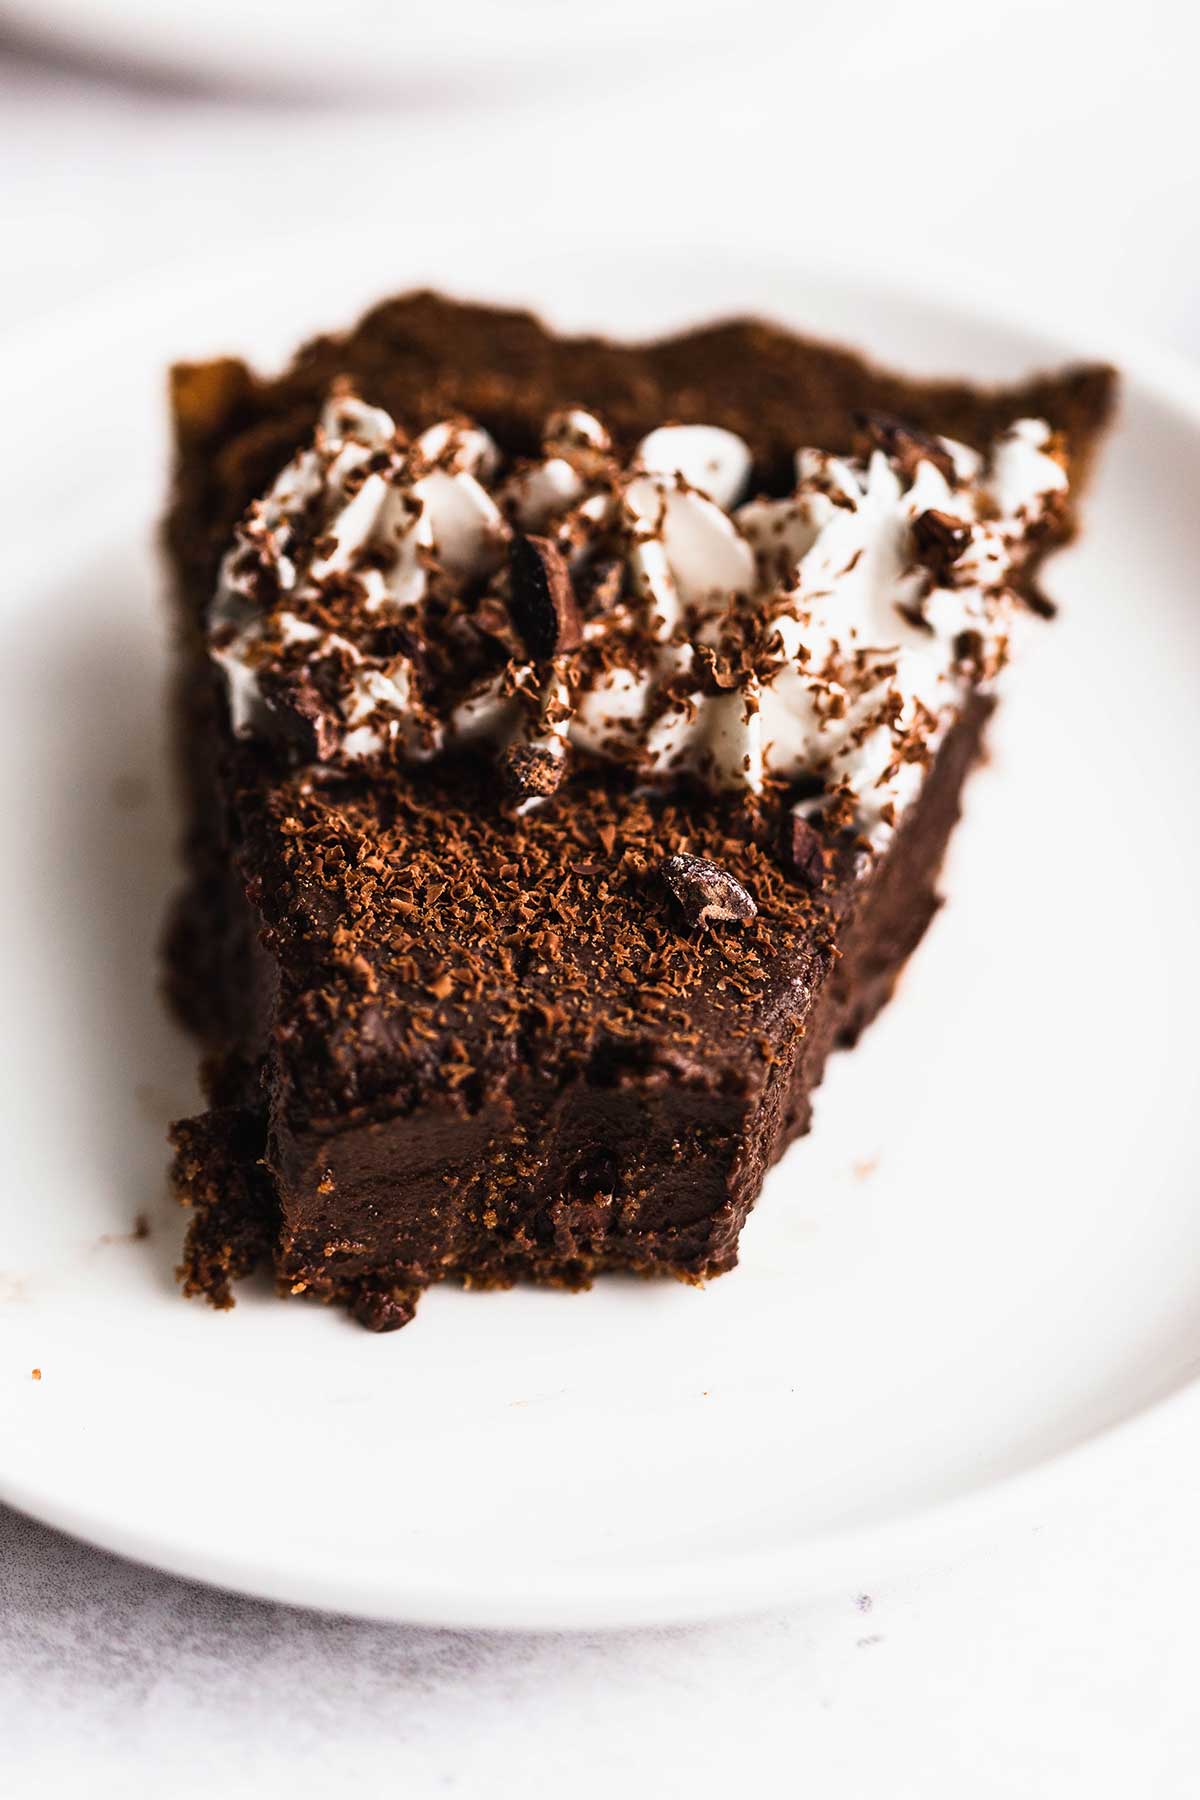
This no-bake vegan chocolate tart is a must-make if you love vegan chocolate desserts! It’s made with no coconut cream, super easy and simple to make, rich and creamy, and so decadent. This healthier chocolate tart is perfect for bringing home parties and making for festive occasions.
*This post may contain affiliate links. For full disclosure visit our Affiliate Disclosure page.

Table of Contents
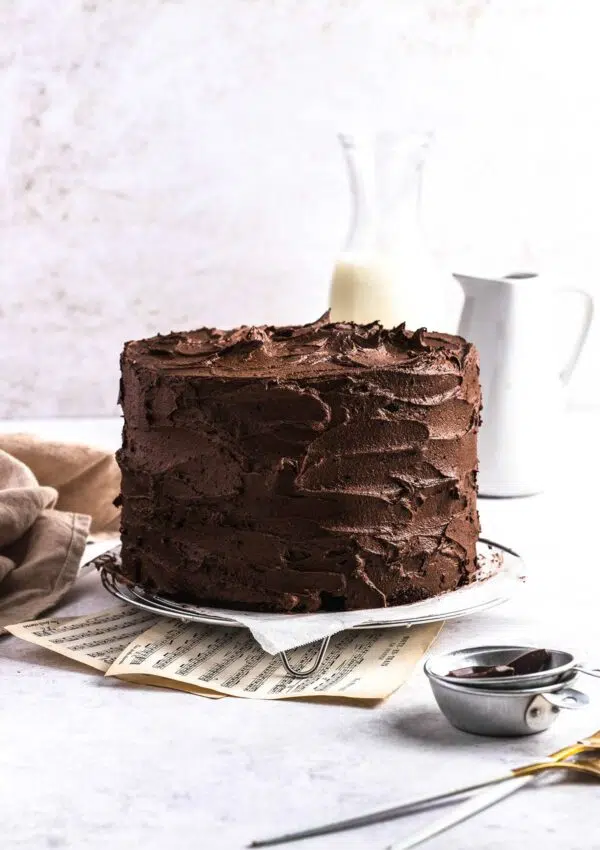
Chocolate desserts can never fail anyone’s taste buds, am I right? If you love my recent creation, brownie cake or my double chocolate muffins, this is going to be your next favourite chocolate recipe – creamy and rich vegan chocolate tart!
This no-bake dessert is made without coconut cream, the base ingredient is actually almond milk! With almond milk and dairy-free vegan chocolate, it’s a lot healthier than store-bought tart and also, it’s super easy to make. It’s so delicious that no one can tell it’s vegan! This recipe would be a great one to make over the holiday seasons for Thanksgiving, Christmas, etc.
Recipe overview – why you’ll love this vegan chocolate tart recipe
- Level: Easy – it’s an easy no-bake dessert.
- Taste: Rich chocolate
- Texture: Rich and creamy
- Diet: Plant-based, dairy-free, and eggless
- Time: 4 hours and 20 mins
- Occasion: Birthdays, holidays, and home parties

Main ingredients and substitutions
*Use room temperature ingredients unless otherwise instructed.
Vegan milk chocolate: I used my favourite vegan milk chocolate from my local supermarket. Feel free to use your favourite one in this recipe! If you want to make it less sweet, you can use vegan dark chocolate instead too.
Digestive biscuits: I used digestives from Gullon. They are my favourite and the only vegan digestive biscuits I can find in my area. Feel free to use any other vegan digestives too, it should work perfectly.
Cacao powder: Use 100% pure cacao powder for a rich chocolate taste in the tart. You can use regular cacao powder or dark cacao powder, whichever you prefer.
Vegan butter: Vegan butter is used in the crust for this recipe. I used the one from Naturli. You can also use vegan margarine if you prefer it.
Unsweetened almond milk: The base of this vegan chocolate tart is unsweetened almond milk. You can also use any other plant milk of your choice, such as soy, oat, rice, etc. Just make sure that they are unsweetened so that it won’t affect the taste of the tart.
Tapioca flour: Tapioca flour is a starch flour that creates a pudding-like texture when heated up. Other starchy flour you can use instead would be cornflour, arrowroot flour, and potato flour.
Coconut butter: I used coconut butter to firm up the tart as well as to give a nice and rich texture. If you want to avoid coconut, simply omit it, replace it with plant milk of your choice, and add 1-2 tsp of tapioca flour instead.
Brown sugar: I used some brown sugar to help sweeten up the tart alongside milk chocolate. If you want to make it healthier, try using some other natural sugar such as monk fruit sugar, coconut sugar, date sugar, etc.
Soy whipping cream: Any plant-based whipping cream will work here if you can’t find soy. I use soy whipping cream because it’s the only vegan whipping cream I can find in my area.
Other ingredients: vanilla extract and a pinch of salt.
*I use bone char-free sugars for all of my recipes. I cover the topic in my article Vegan Baking 101. Go to the “Is sugar vegan?” section to learn more!
Recommended equipment for this recipe
26cm (10in) pie dish: You can maybe use a pie dish that is one size smaller if you don’t have this size. But the tart filling might be too much for the size.
Saucepan: Use a medium-size deep saucepan to heat up the chocolate tart filling. A small saucepan is not recommended as the mixture can overflow.
Food processor: I use my KitchenAid food processor whenever I make a crust with digestive biscuits, it’s my favourite food processor!
Wooden spoon or silicon spatula: They come in handy when stirring the tart filling in a saucepan. If using a silicone spatula, make sure it’s heat resistant.
*The ingredient list and measurement for this recipe can be found in the recipe card at the bottom.
How to make this easy no-bake vegan chocolate tart
Step 1: Make the chocolate crust
Let’s start making the chocolate biscuit crust! In a food processor, blitz the digestive biscuits until they are super fine like flour. Do process until very fine – if it’s not processed very well, it will be difficult to make a firm crust and it can even crumble apart when you cut it. It should look like flour when it’s done!
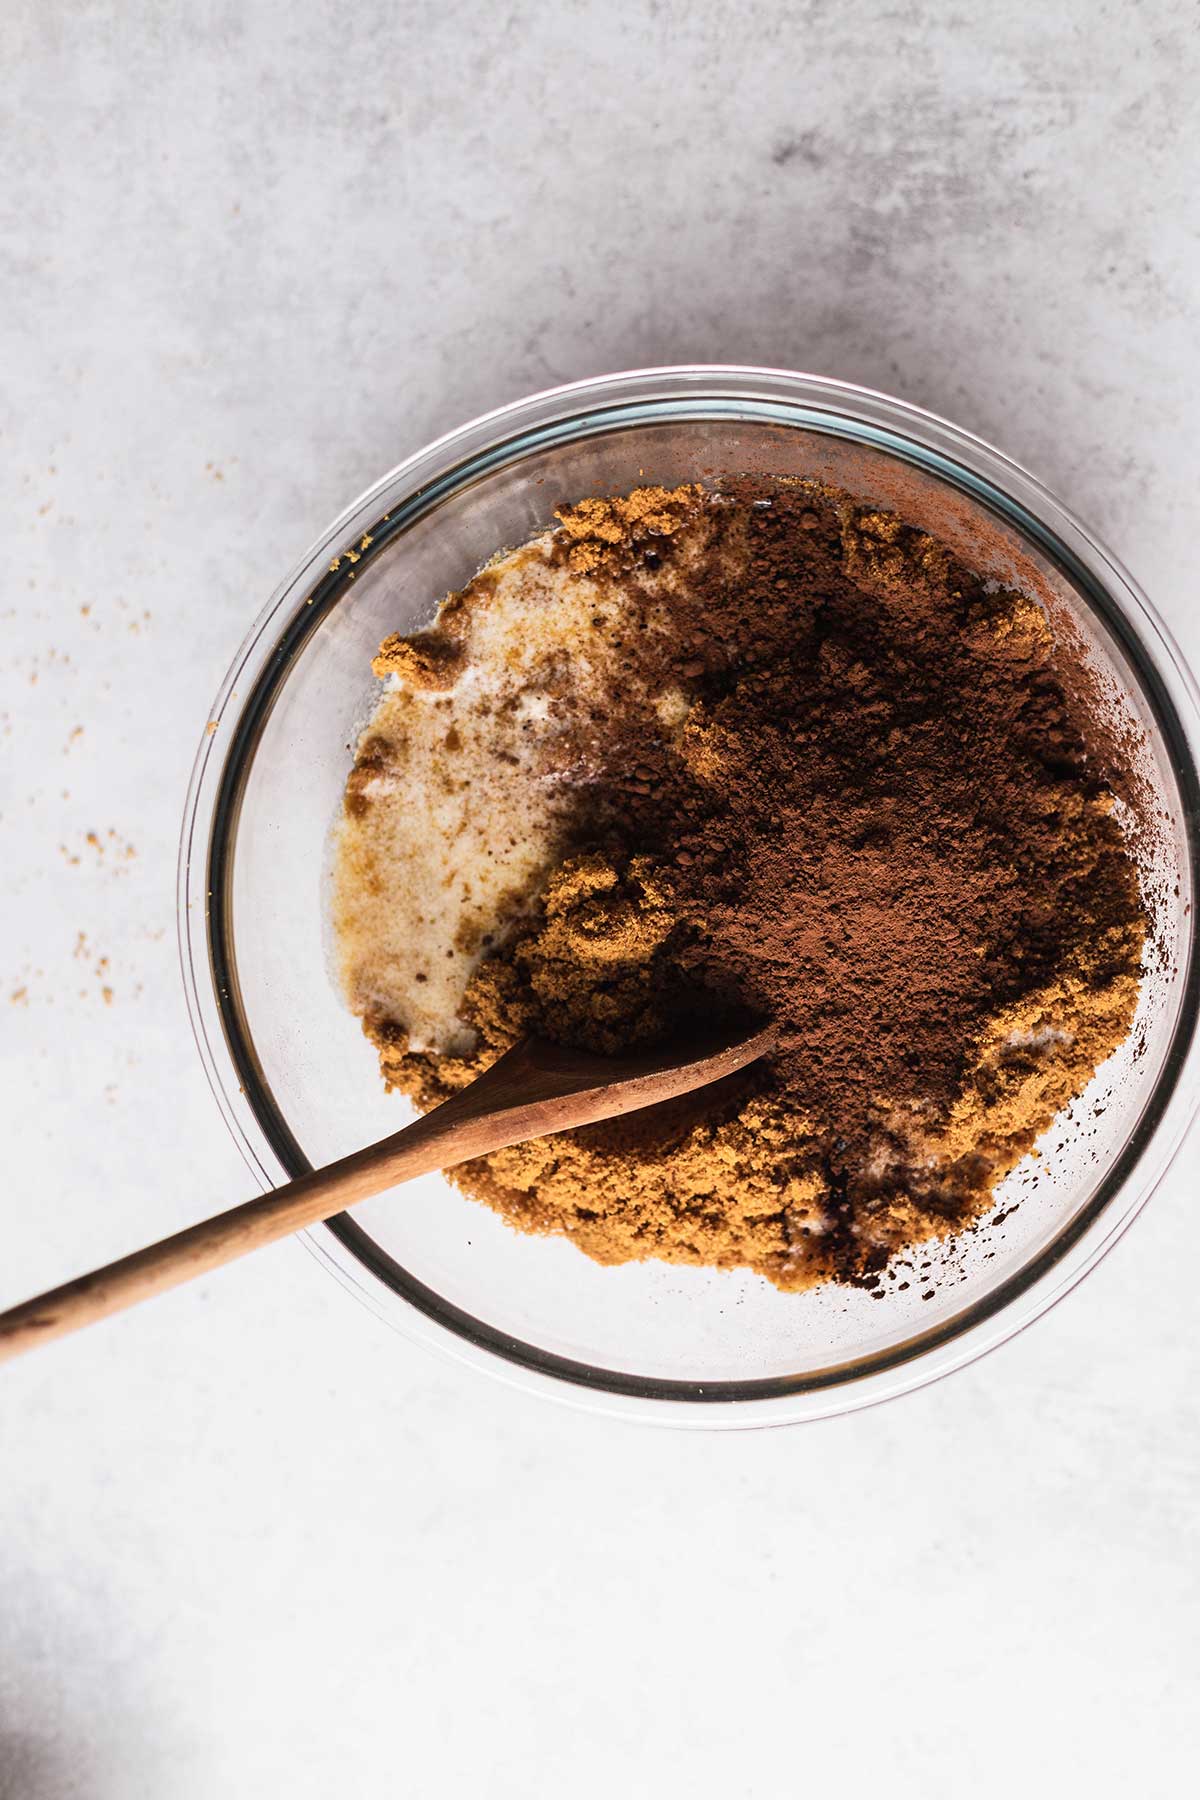
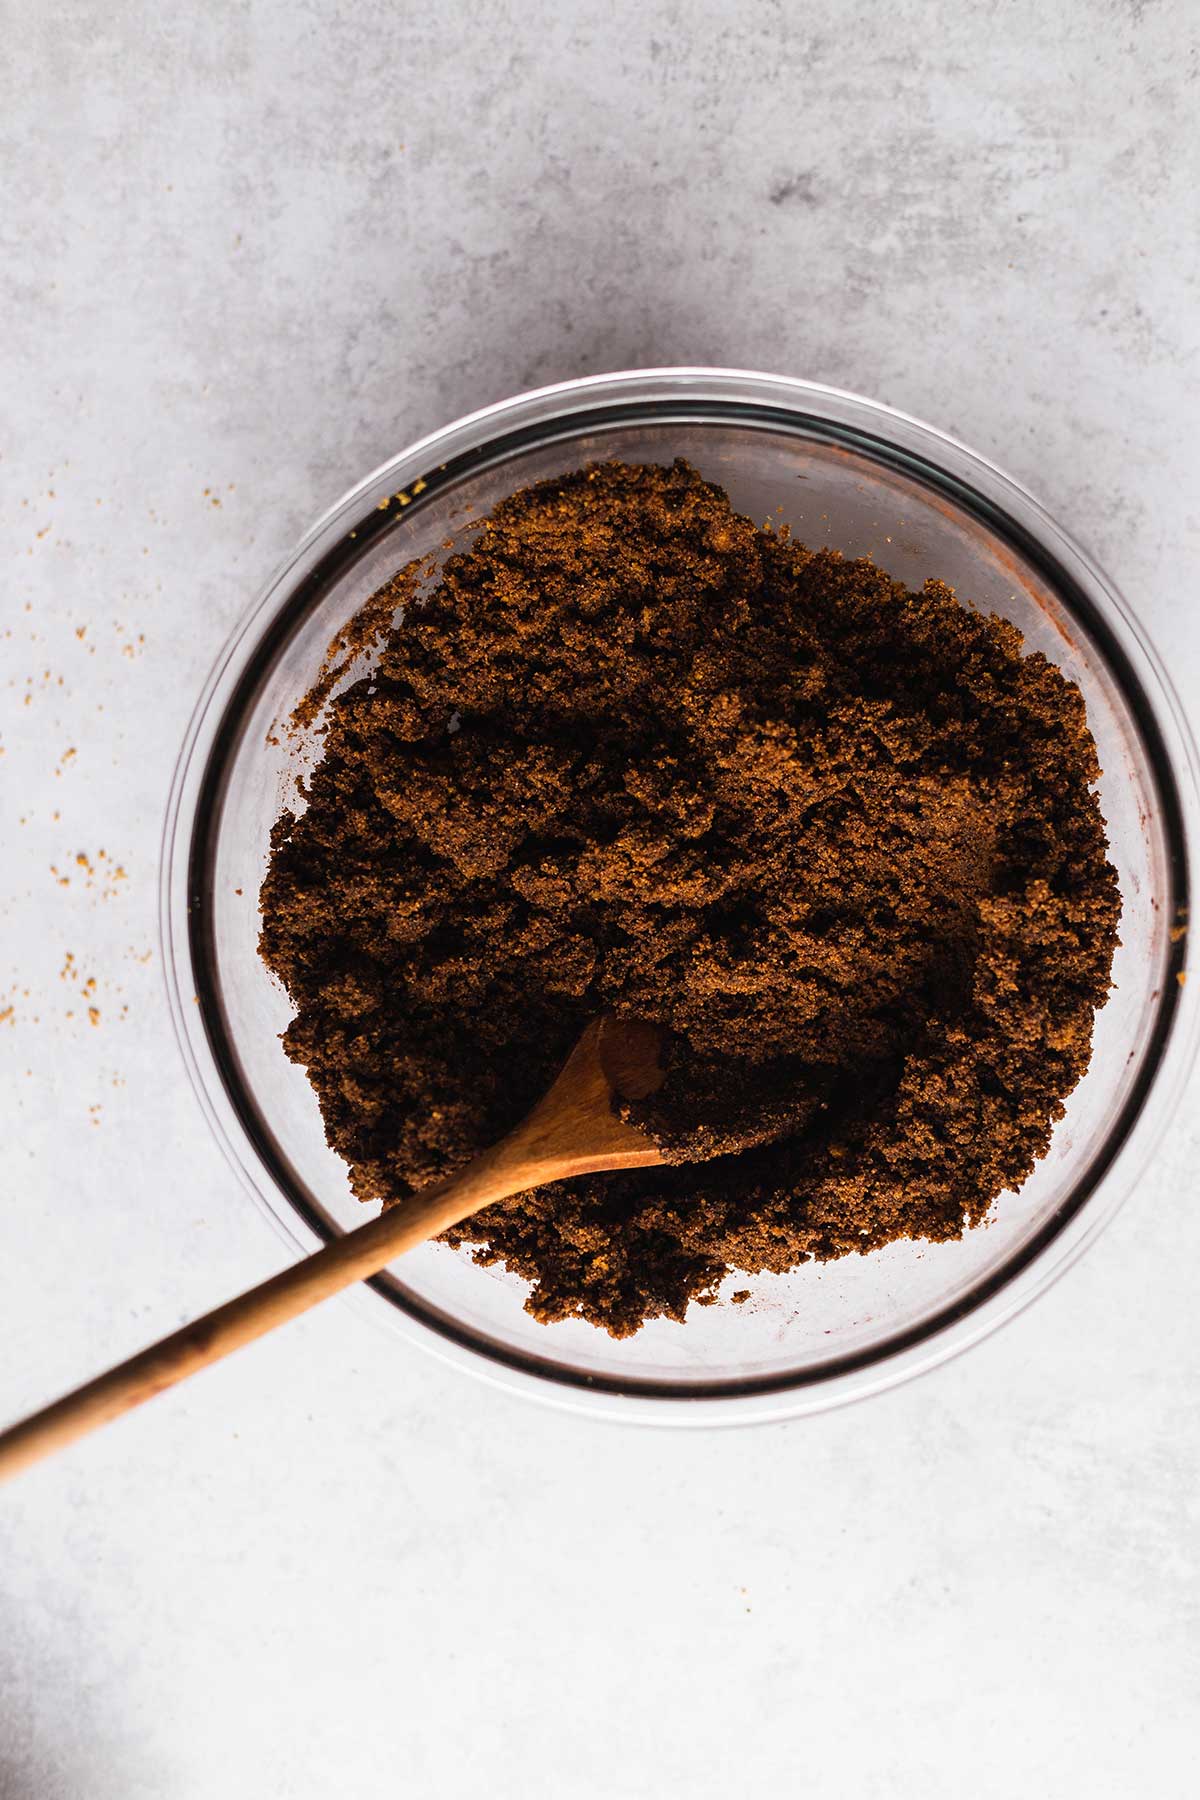
Transfer the biscuits to a large mixing bowl. Add the melted vegan butter and cacao powder and mix until it’s well combined. It should be looking like wet crumbly sand at this point.
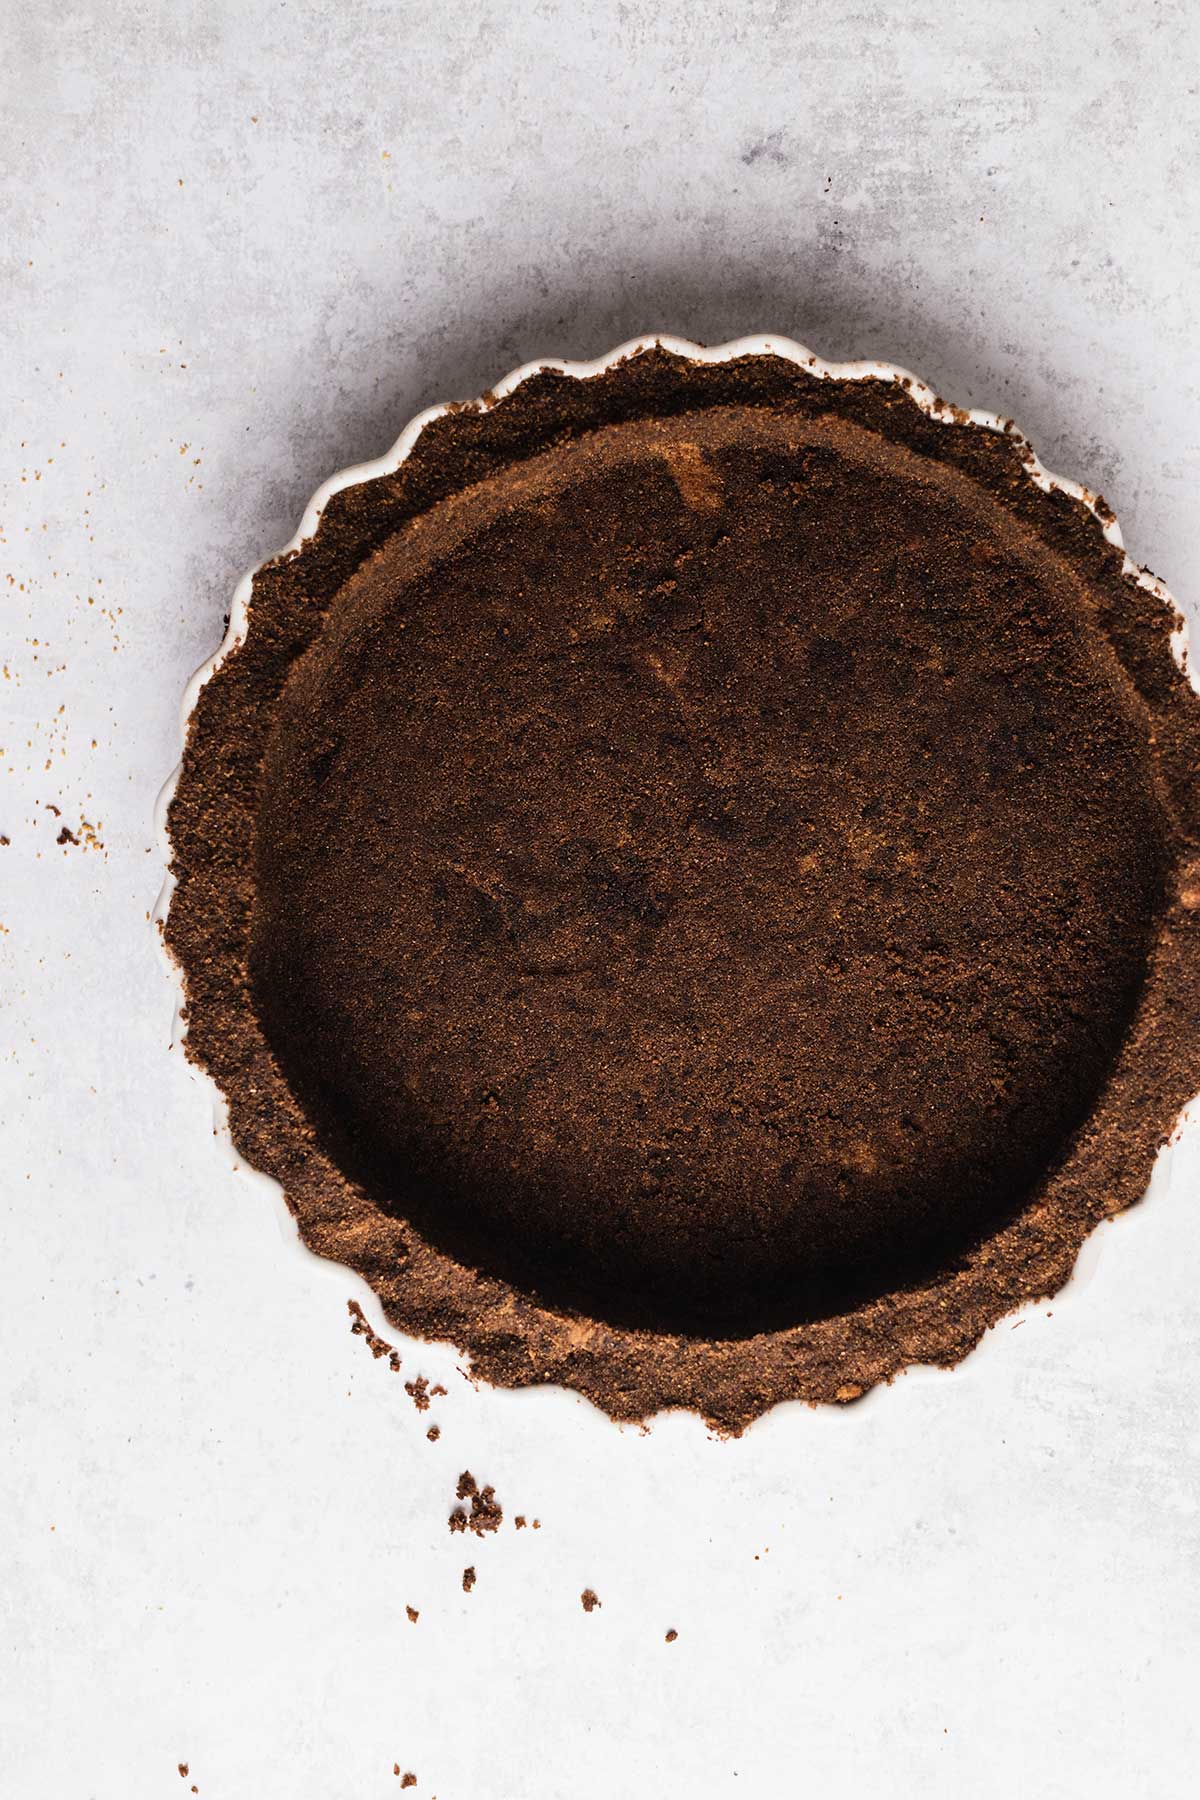
Spread the crust mixture in a pie dish and press it onto the bottom and the side firmly with a flat surface like the bottom of a drinking glass. Set it in the fridge while making the filing.
Step 2: Make the chocolate tart filling
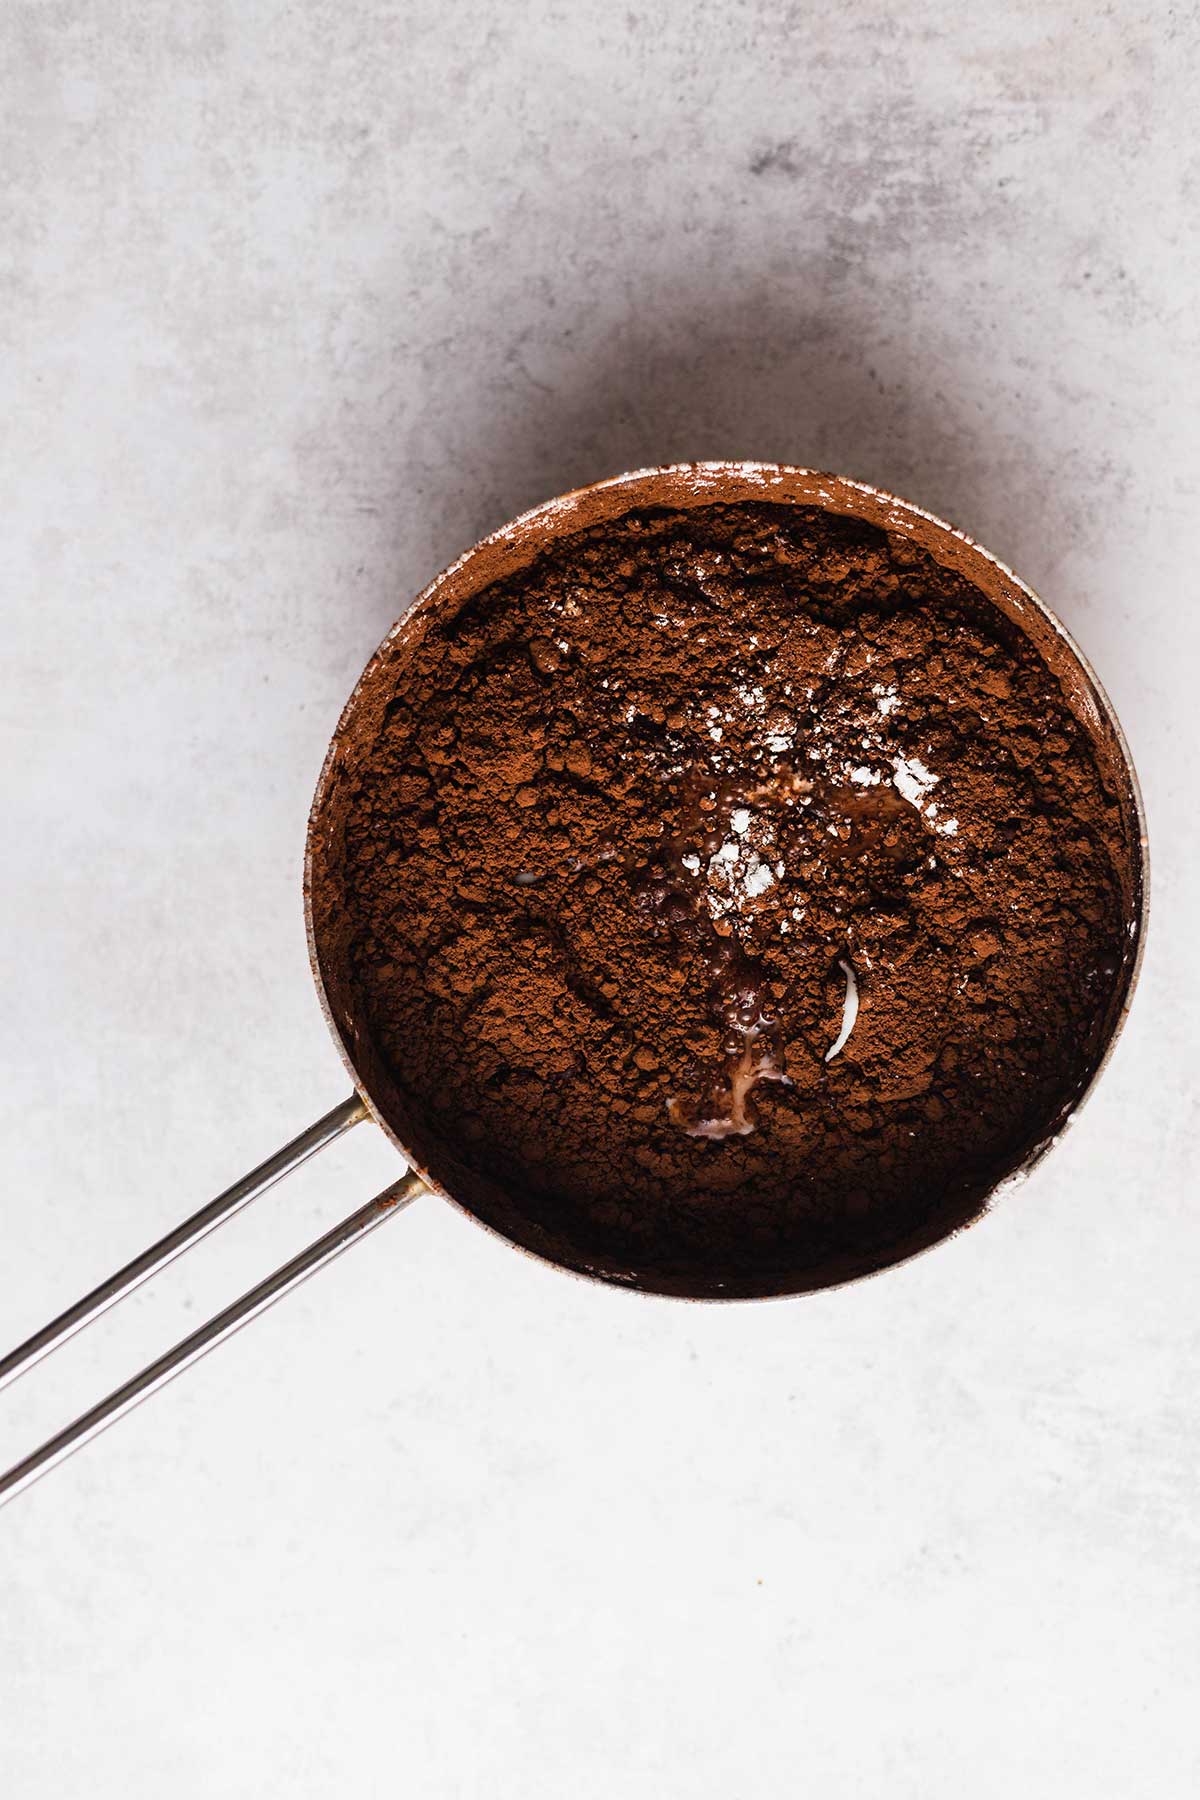
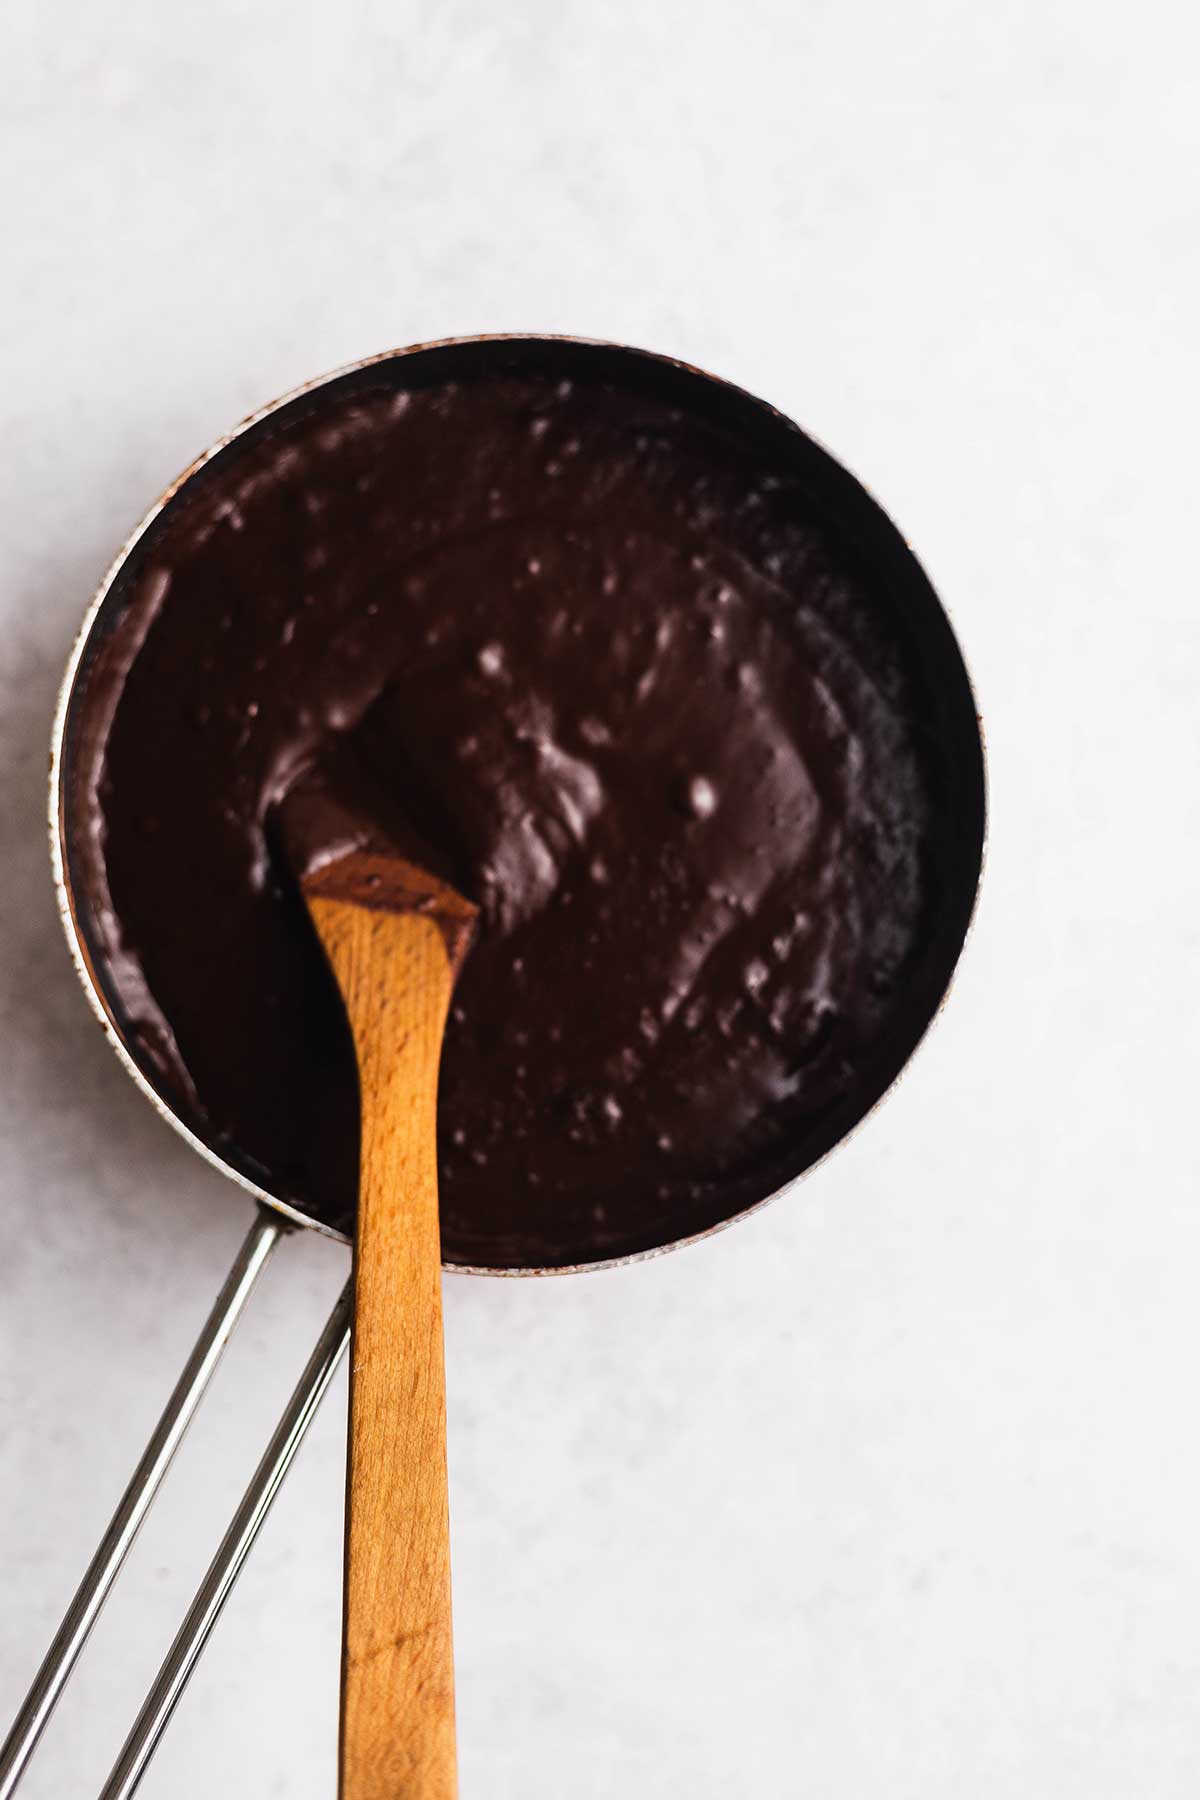
This step is the easiest part of this recipe so let’s go! In a medium-size saucepan, add all the ingredients for the chocolate tart filling and stir lightly to combine the ingredients. Cook the mixture on medium heat and once it reaches to boil turn down the heat to low and cook for another 2-3 mins then take off from the heat. Here you have the chocolate filling! Easy right?
Step 3: Assemble and rest
Pour the chocolate filling mixture into the well of the crust and smooth out the top evenly with a spatula. Let it cool down to room temperature then cover it with clingfilm. Place the tart in the fridge and chill for at least 4 hours or overnight. Be patient, almost there!
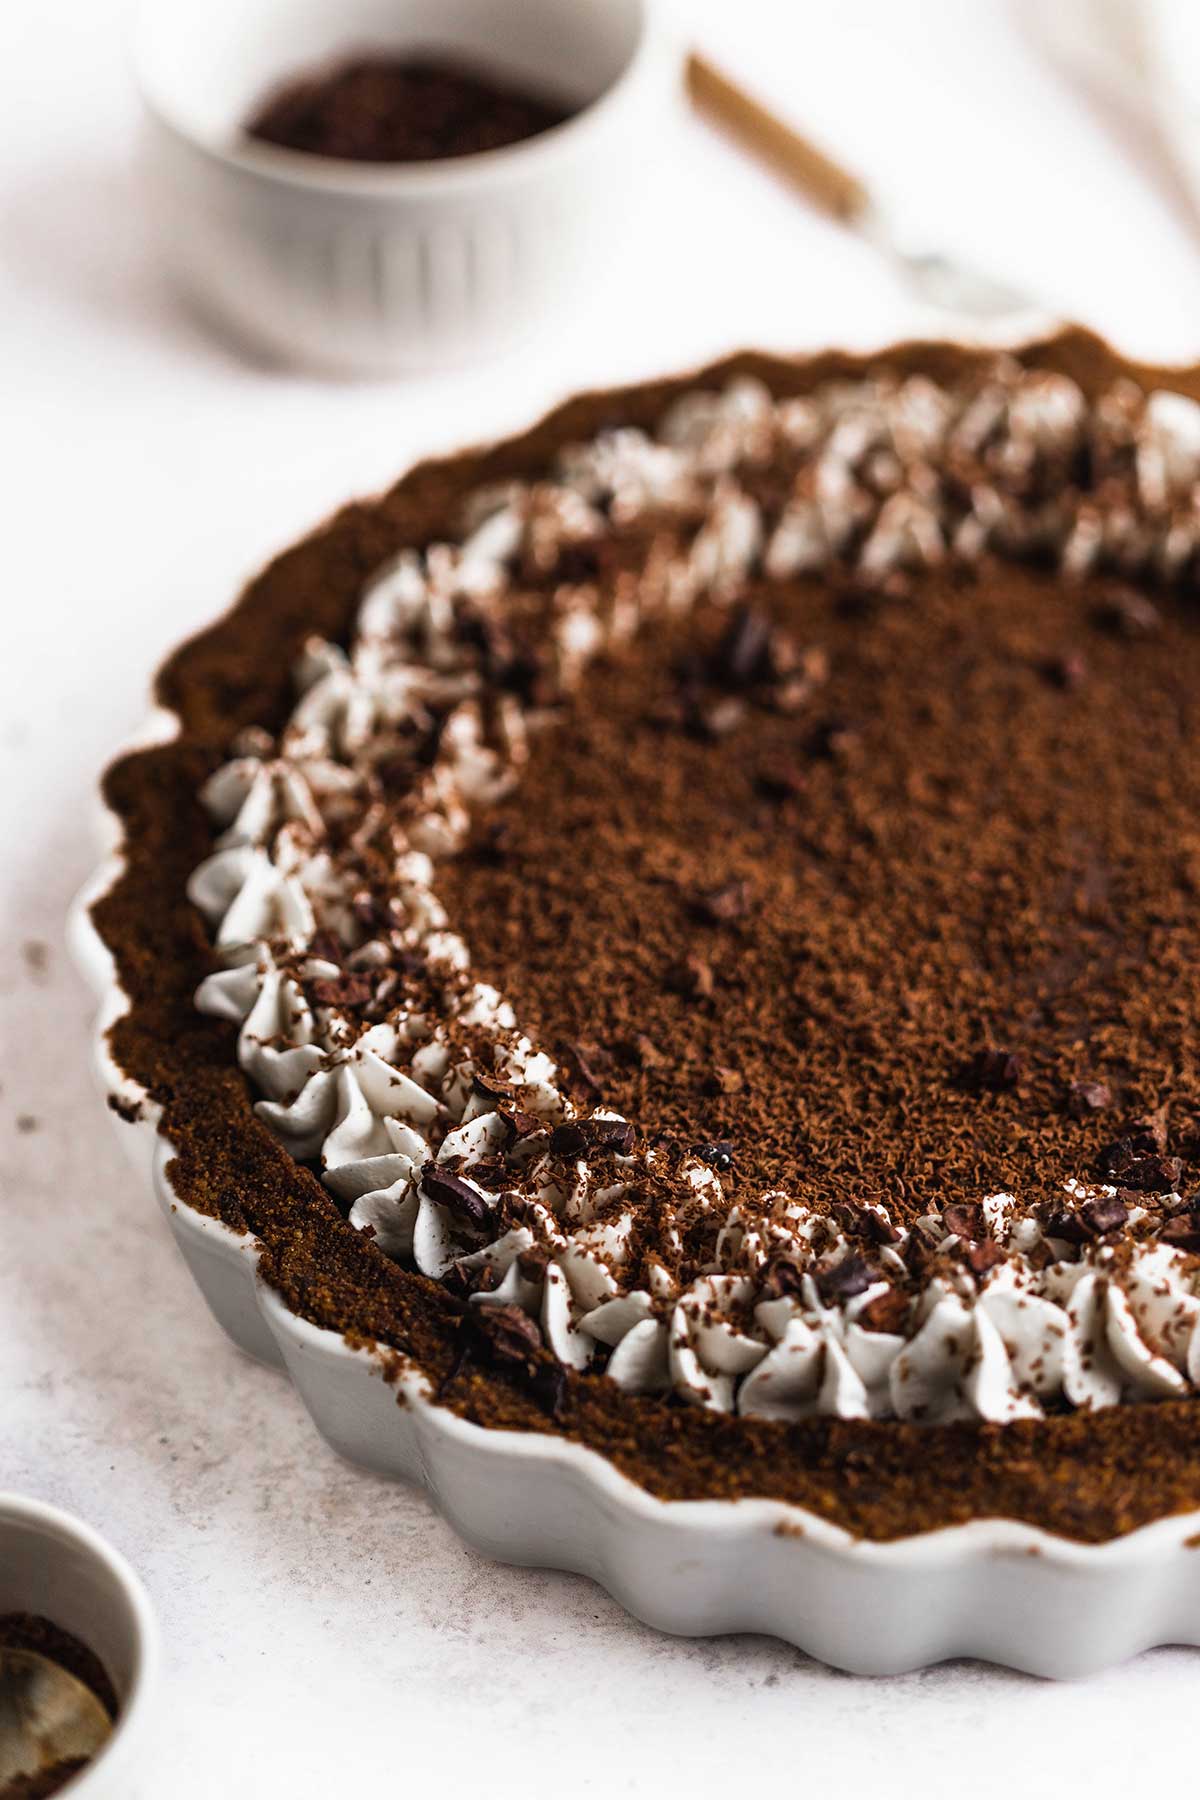
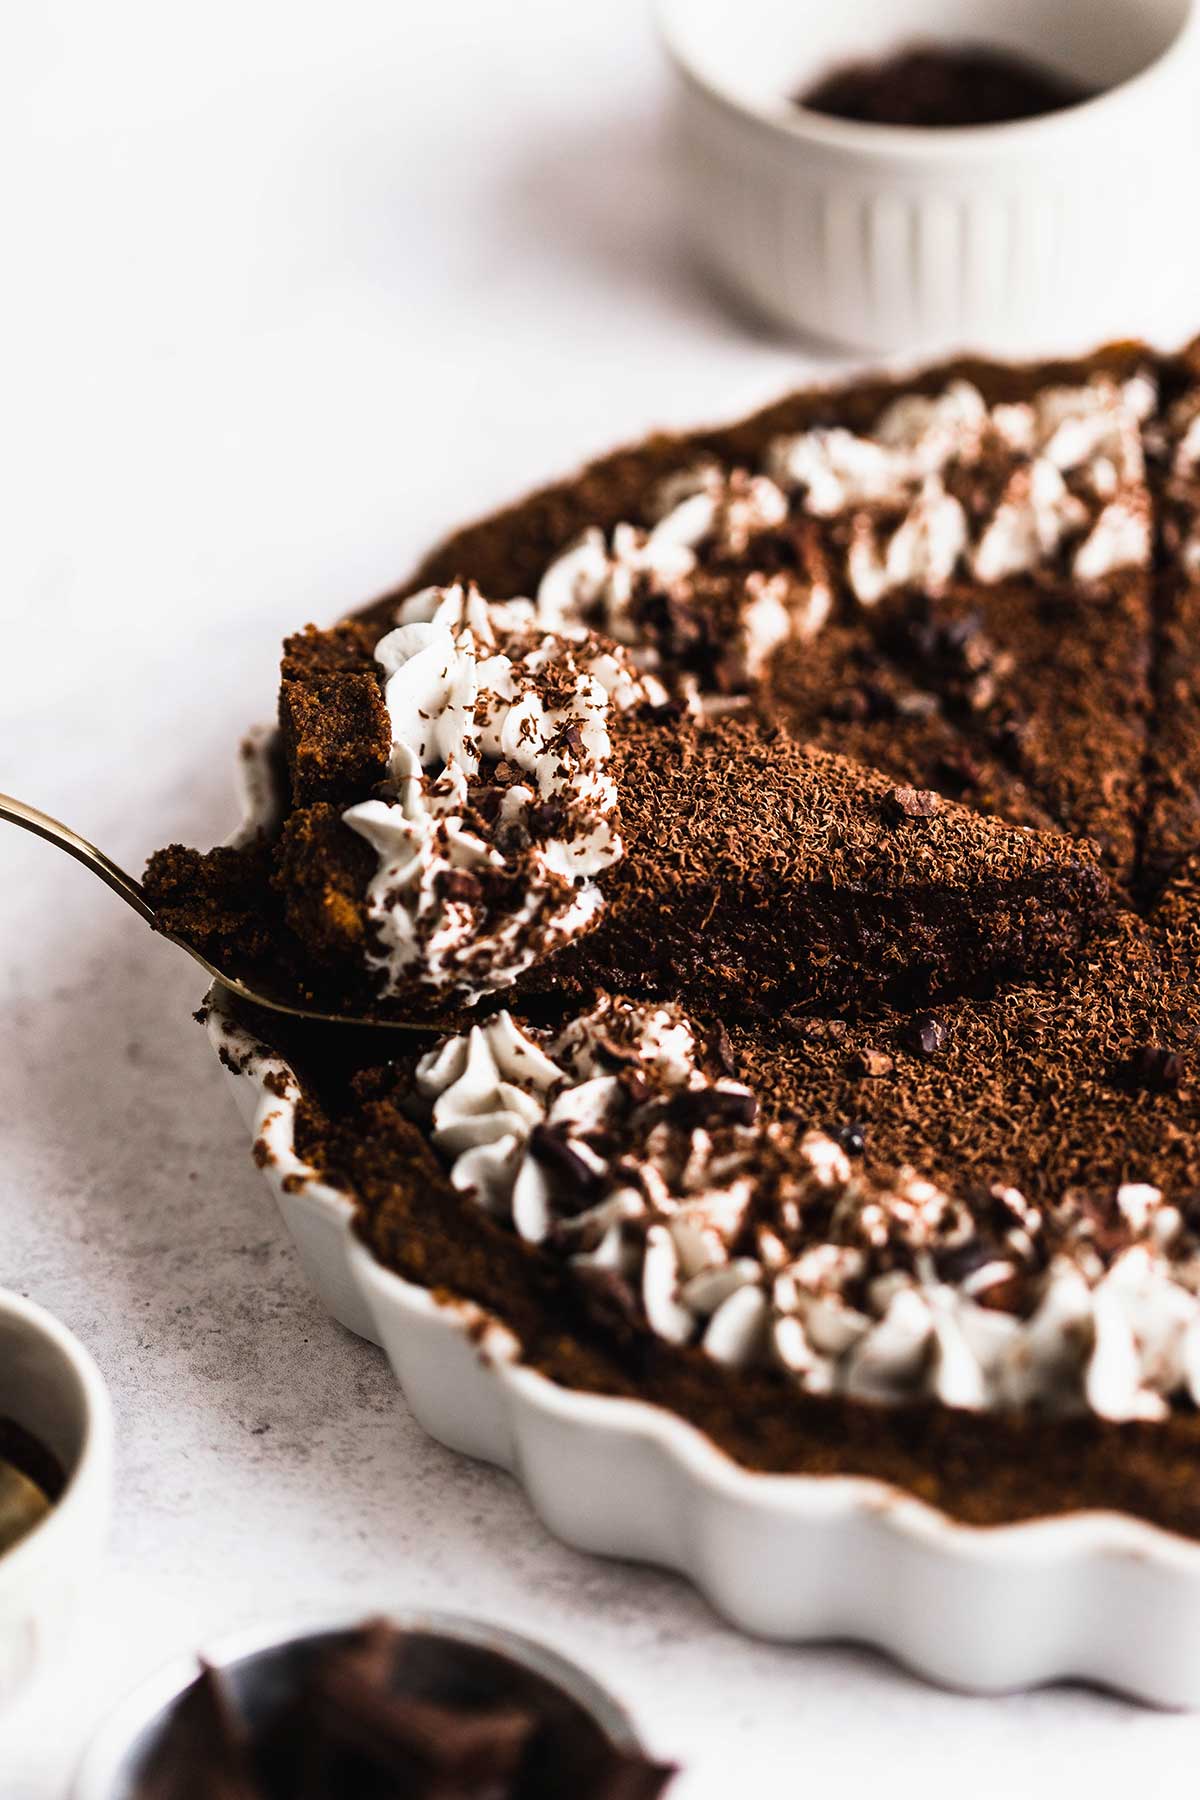
Right before you take the tart out of the fridge, whip up the soy whipping cream with an electric mixer until it forms a firm peak. Once the tart is chilled completely, decorate the tart with whipped cream and some shaved chocolate. I sprinkled some cacao nibs to garnish the top too. Slice and enjoy!
Serving tips and ideas
- Serve with a scoop of vegan vanilla ice cream, chocolate ice cream, or any other flavour of ice cream.
- Top with your favourite berries and some extra cream on the side.
- Drizzle melted chocolate to make it even more chocolaty.
Expert tips and tricks
Mix the ingredients before heating
The tapioca flour needs to be mixed with the wet ingredients before heated on the cooker. This is because if you add tapioca flour to a hot liquid, it becomes sticky and won’t dissolve completely. So Mix all the ingredients for the tart filling thoroughly before heating up to make sure that everything is incorporated very well.
Process the digestive biscuits very well
One of the most important things in making this recipe is to process the digestives very well until it’s floury. If you skip this, the crust can become too crumbly and fall apart when slicing and serving. So do process well at the processing stage.
Use a digital scale to weigh ingredients
Always use a digital scale rather than measuring cups when you are baking. It’s so much more accurate and measuring correctly is very important to achieve the best result.

How to store
- Refrigerating: You can refrigerate the tart in the fridge for up to 2-3 days. Make sure to cover it with clingfilm to prevent it from drying up.
- Freezing: The tart can be stored in the freezer too. To freeze, slice the tart first and wrap each slice or cover the tart in the tin with clingfilm tightly and store in the freezer for up to 2-3 months. Thaw the tart at room temperature before serving.
*Although you can store this recipe in the fridge or freezer, it’s always best to consume it fresh and as soon as possible.
Q and A
My chocolate tart is not setting. What should I do?
If your chocolate tart is not setting, it can be that you measured ingredients incorrectly or you didn’t cook long enough for the starch in tapioca flour to activate. Follow the instructions carefully and make sure to cook the chocolate tart filling long enough so that it will set in the fridge nicely.
Want to master the basics of vegan baking?
Check out Vegan Baking 101 – the beginner’s guide to vegan baking for you to become an excellent vegan baker and familiar with the basics of vegan baking, ingredients, and techniques with useful tips!
You will LOVE this simple no-bake chocolate tart because it is:
- easy to make
- chocolaty
- perfect for festive occasions
- great for bringing to parties
- so delicious
Want more recipes like this?
Try my other delicious chocolate dessert recipes you might enjoy!
- Brownie cake
- Double chocolate muffins
- Chocolate mousse cake
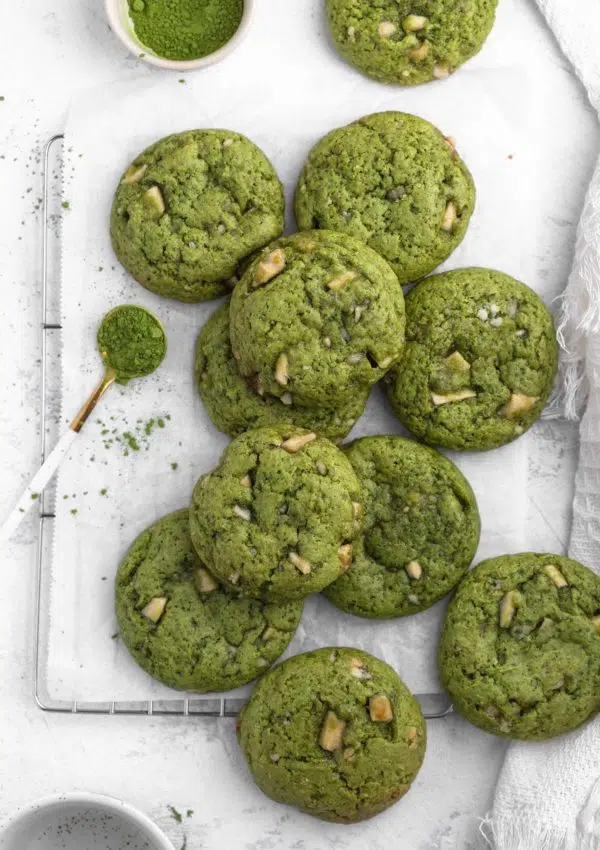
- Double chocolate chip cookies
- Chocolate pudding
Visit the pies and tarts page and recipe page for more delicious recipes!
Please leave a comment and rate this recipe with 5 stars in the comment section below if you like the recipe! Let me know and tag me @thechestnutbakery on Instagram too. Thank you for making my recipe, friends!
Recipe Card
Print
Vegan Chocolate Tart – No-bake & Easy
- Total Time: 4 hours 20 minutes
- Yield: 8 slices 1x
- Diet: Vegan
Description
This no-bake vegan chocolate tart is a must-make if you love vegan chocolate desserts! It’s made with no coconut cream, super easy and simple to make, rich and creamy, and so decadent. This healthier chocolate tart is perfect for bringing to home parties and making for festive occasions too.
Ingredients
For the crust
- 360g Digestive biscuits
- 1/4 cup (18g) cacao powder
- 1/2 cup (100g) melted vegan butter
For the chocolate filling
- 2 cups (500ml) almond milk
- 1/2 cup (40g) cacao powder
- 2 cups (200g) vegan milk chocolate
- 1/4 cup (60g) coconut butter
- 1/2 cup (65g) brown sugar
- 2 tbsp tapioca flour
- 1 tsp vanilla
- pinch of salt
For the topping
- 1/2 cup (125ml) soy whipping cream
- shredded chocolate (optional)
- A sprinkle of cacao nibs (optional)
Instructions
- To make the crust, blitz the digestive biscuits until they are super fine like flour with a food processor.
- Transfer the processed biscuits to a large mixing bowl. Add the melted vegan butter and cacao powder and mix until they are well combined.
- Spread the crust mixture in a pie dish and press it onto the bottom and the side firmly with a flat surface like the bottom of a drinking glass. Set it in the fridge while making the filing.
- To make the filling, add all the ingredients for the chocolate tart filling and stir lightly to combine the ingredients in a medium-size saucepan.
- Cook the mixture on medium heat and once it reaches to boil turn down the heat to low and cook for another 2-3 mins then take off from the heat.
- Pour the chocolate filling mixture into the well of the crust and smooth out the top evenly with a spatula. Let it cool down to room temperature then cover it with clingfilm. Place the tart in the fridge and chill for at least 4 hours or overnight.
- Right before you take the tart out of the fridge, whip up the soy whipping cream with an electric mixer until it forms a firm peak. Once the tart is chilled completely, decorate the tart with whipped cream, some shaved chocolate and cacao nibs. Slice and enjoy!


Notes
Process the digestives very well until it’s floury to make a firm crust.
Make sure to cook the chocolate tart filling long enough so that it will set in the fridge nicely.
- Prep Time: 15 mins
- Rest time: 4 hours
- Cook Time: 5 mins
- Category: Tart
- Method: No bake


Really lovely and moist chocolate tart. I’m so amazed that it’s no bake!
Thank you Nancy!
Absolutely beautiful and elegant no bake chocolate tart. Thank you! I especially love that it’s vegan and easy to make.
Thanks Juliette!