
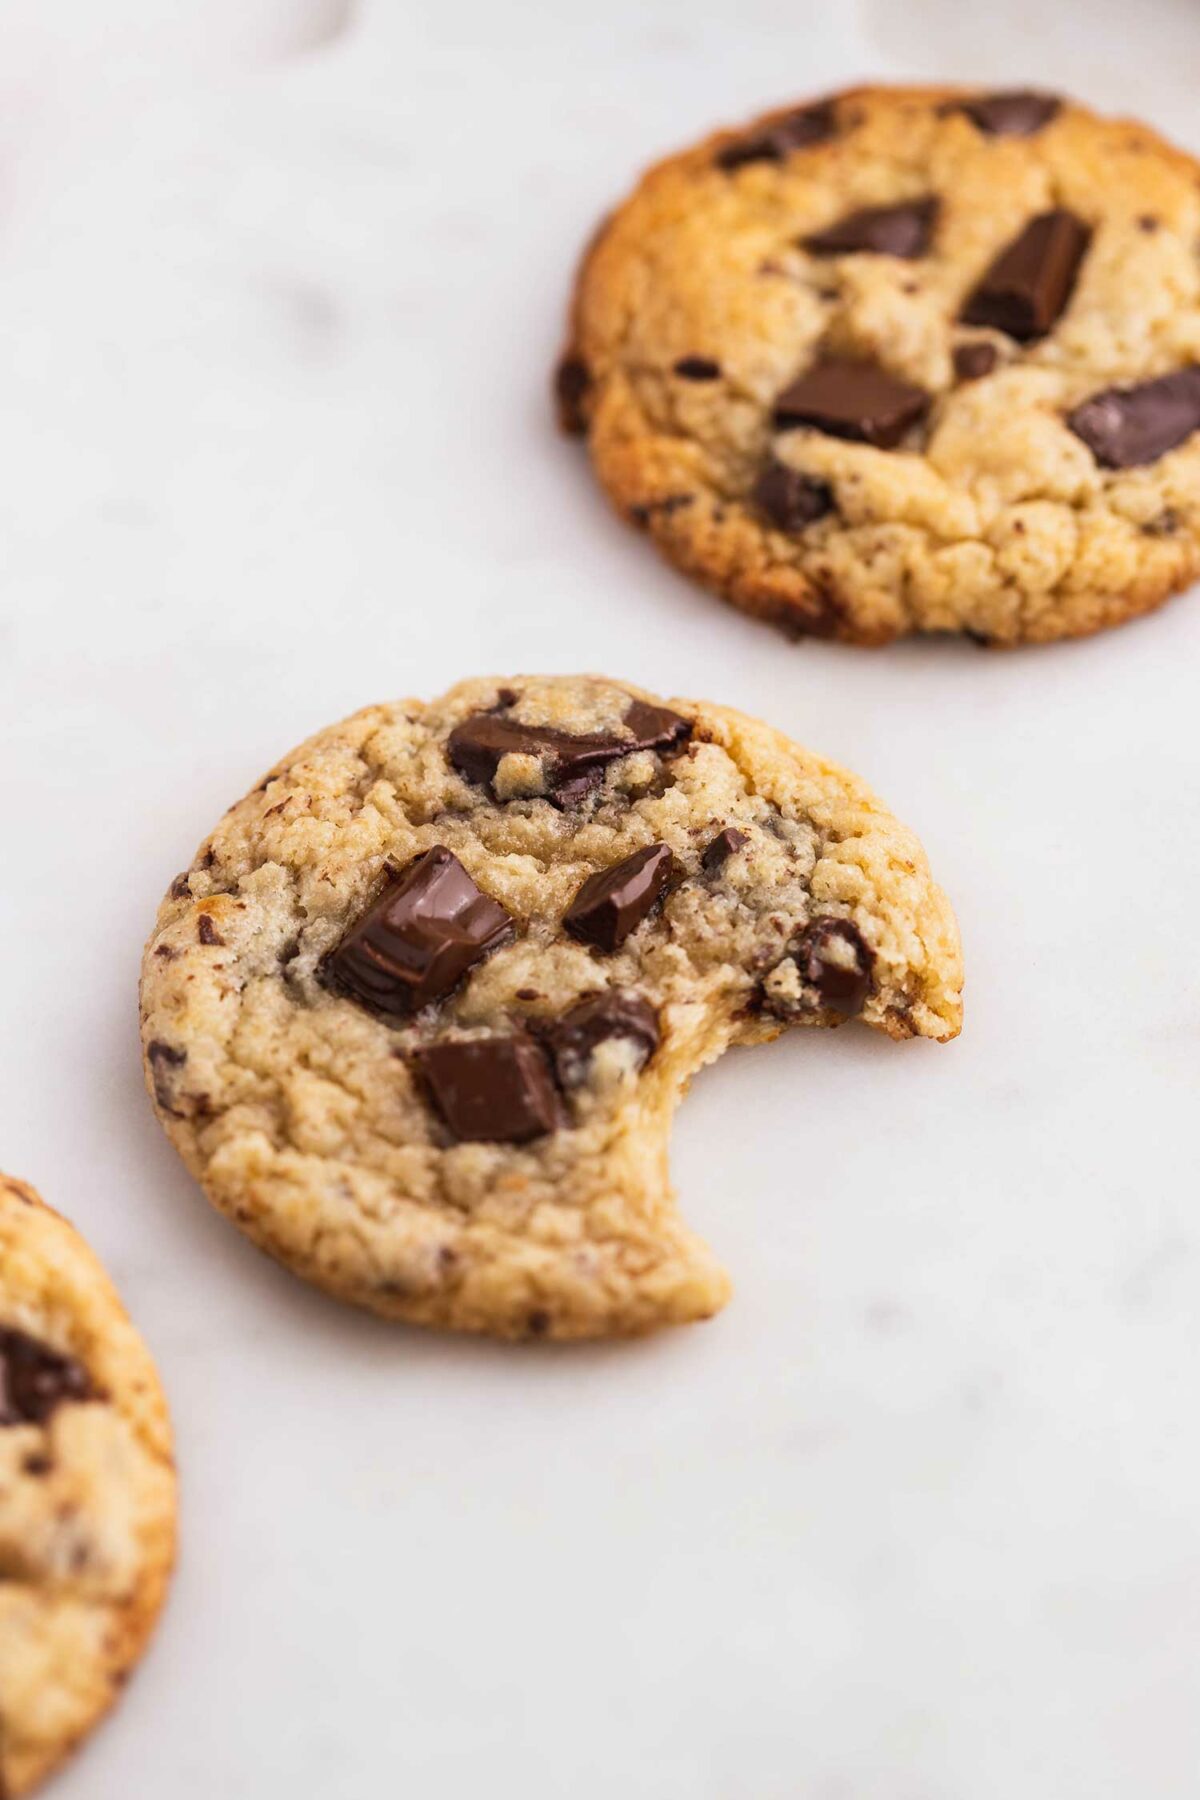
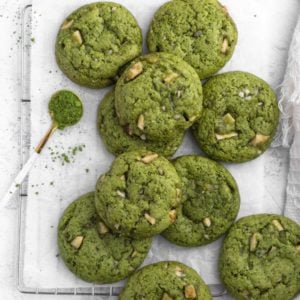
These chewy vegan miso cookies are packed with melty chocolate chunks and umami flavour that comes from miso paste! They are super easy to make, chewy, soft, thick, and so delicious.
*This post may contain affiliate links. For full disclosure visit our Affiliate Disclosure page.
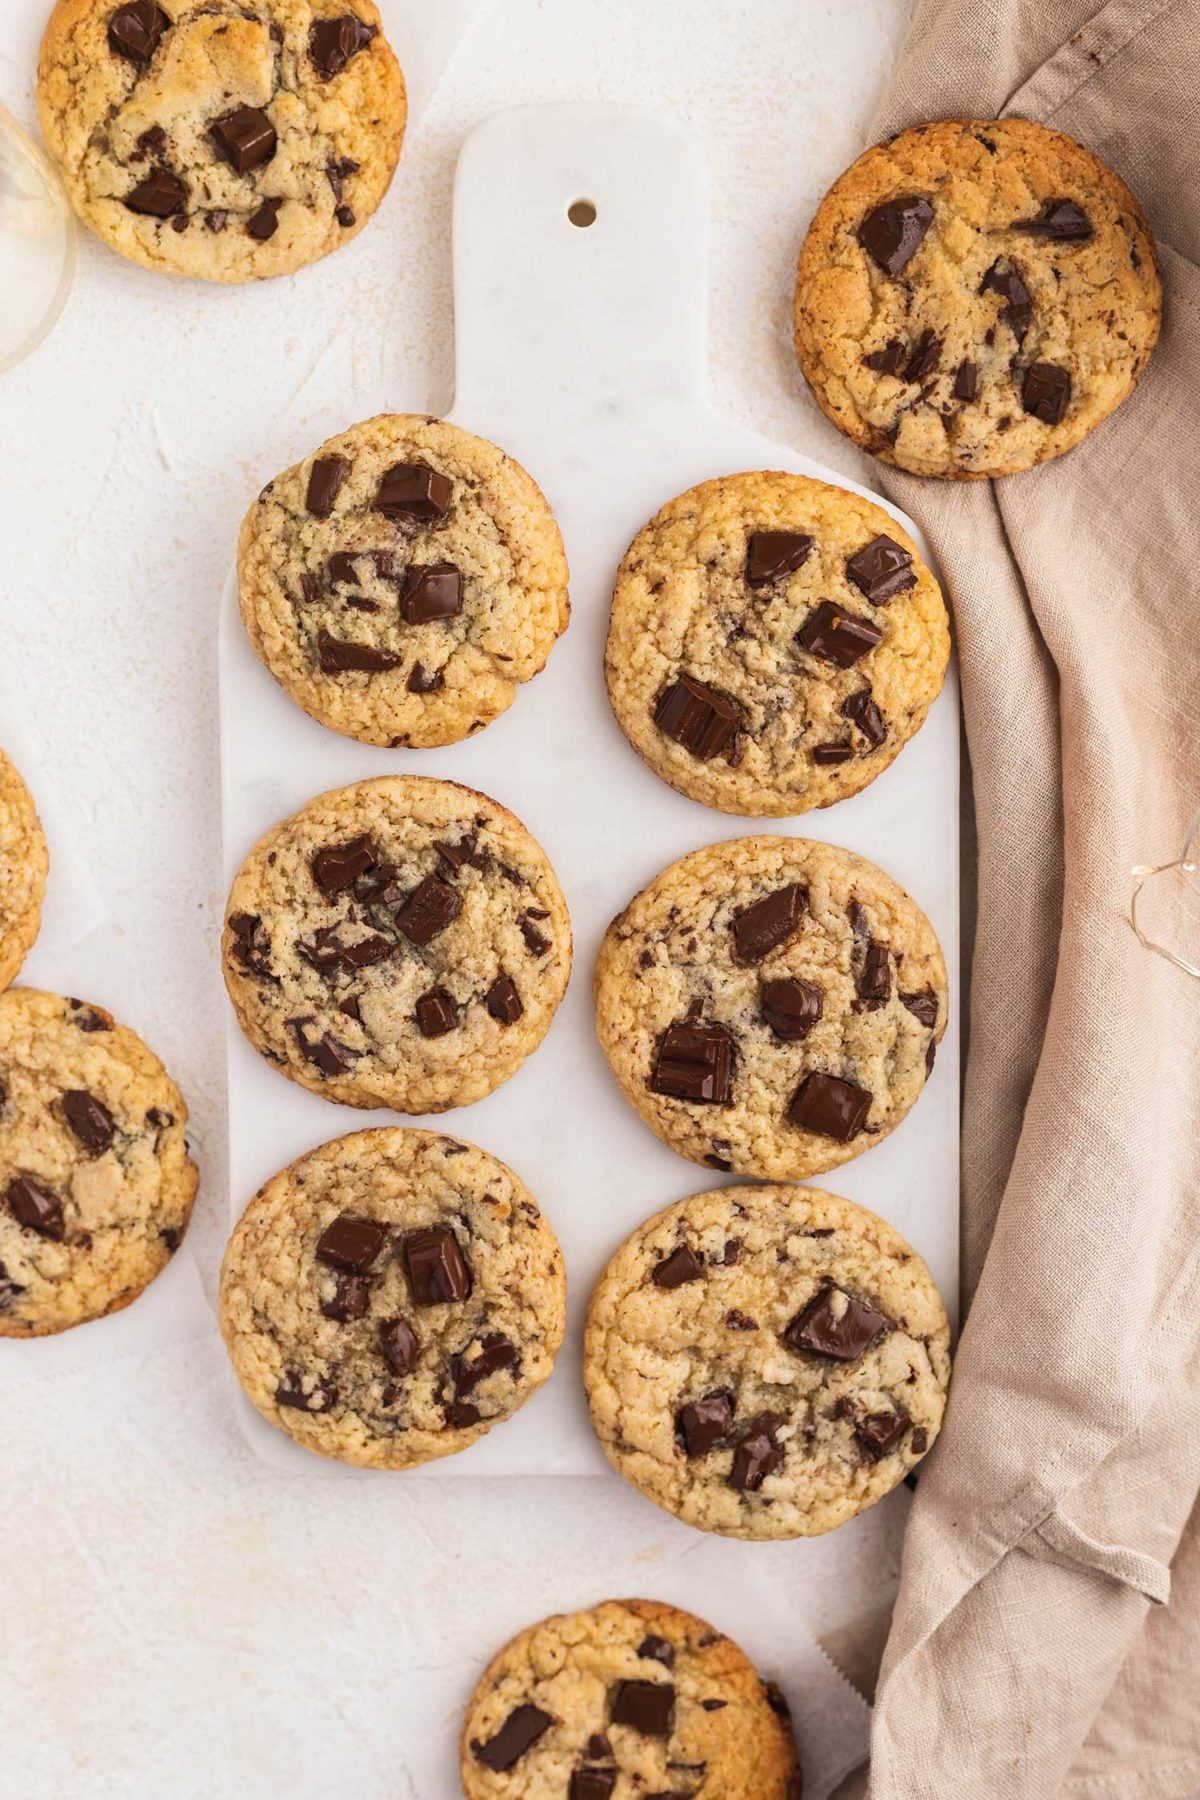
Table of Contents
Who would’ve thought of adding miso paste to anything other than miso soup? Let alone cookies! Introducing you today, to these delicious vegan miso cookies! I bet whoever came up with this idea it wasn’t a Japanese person but honestly, I genuinely think she or he is a genius and deserves a Nobel prize. It’s that good! I was blown away by how a tiny little tablespoon of miso can up the cookie game so much.
I came across this cookie recipe that uses miso paste in it and my first thought was “what the heck this must be another weird Japan-inspired invention that makes total nonsense.”. Then I started some research and found out that it had a little buzz on the internet so I decided to veganise them. Turns out, miso cookies are legit delicious!
If you imagine the taste of miso soup, it’s salty but quite subtle and mild at the same time, isn’t it? That subtle saltiness and the umami in miso balance out the sweetness of the cookies in a beautifully harmonious way instead of salt, it’s quite magical if you ask me! You can’t quite tell there’s miso in the cookies either as miso acts just like salt, but the flavour the umami in miso gives them is significant!
Recipe overview – why you’ll love this vegan miso chocolate chip cookie recipe
- Level: Easy
- Taste: Sweet with umami flavour
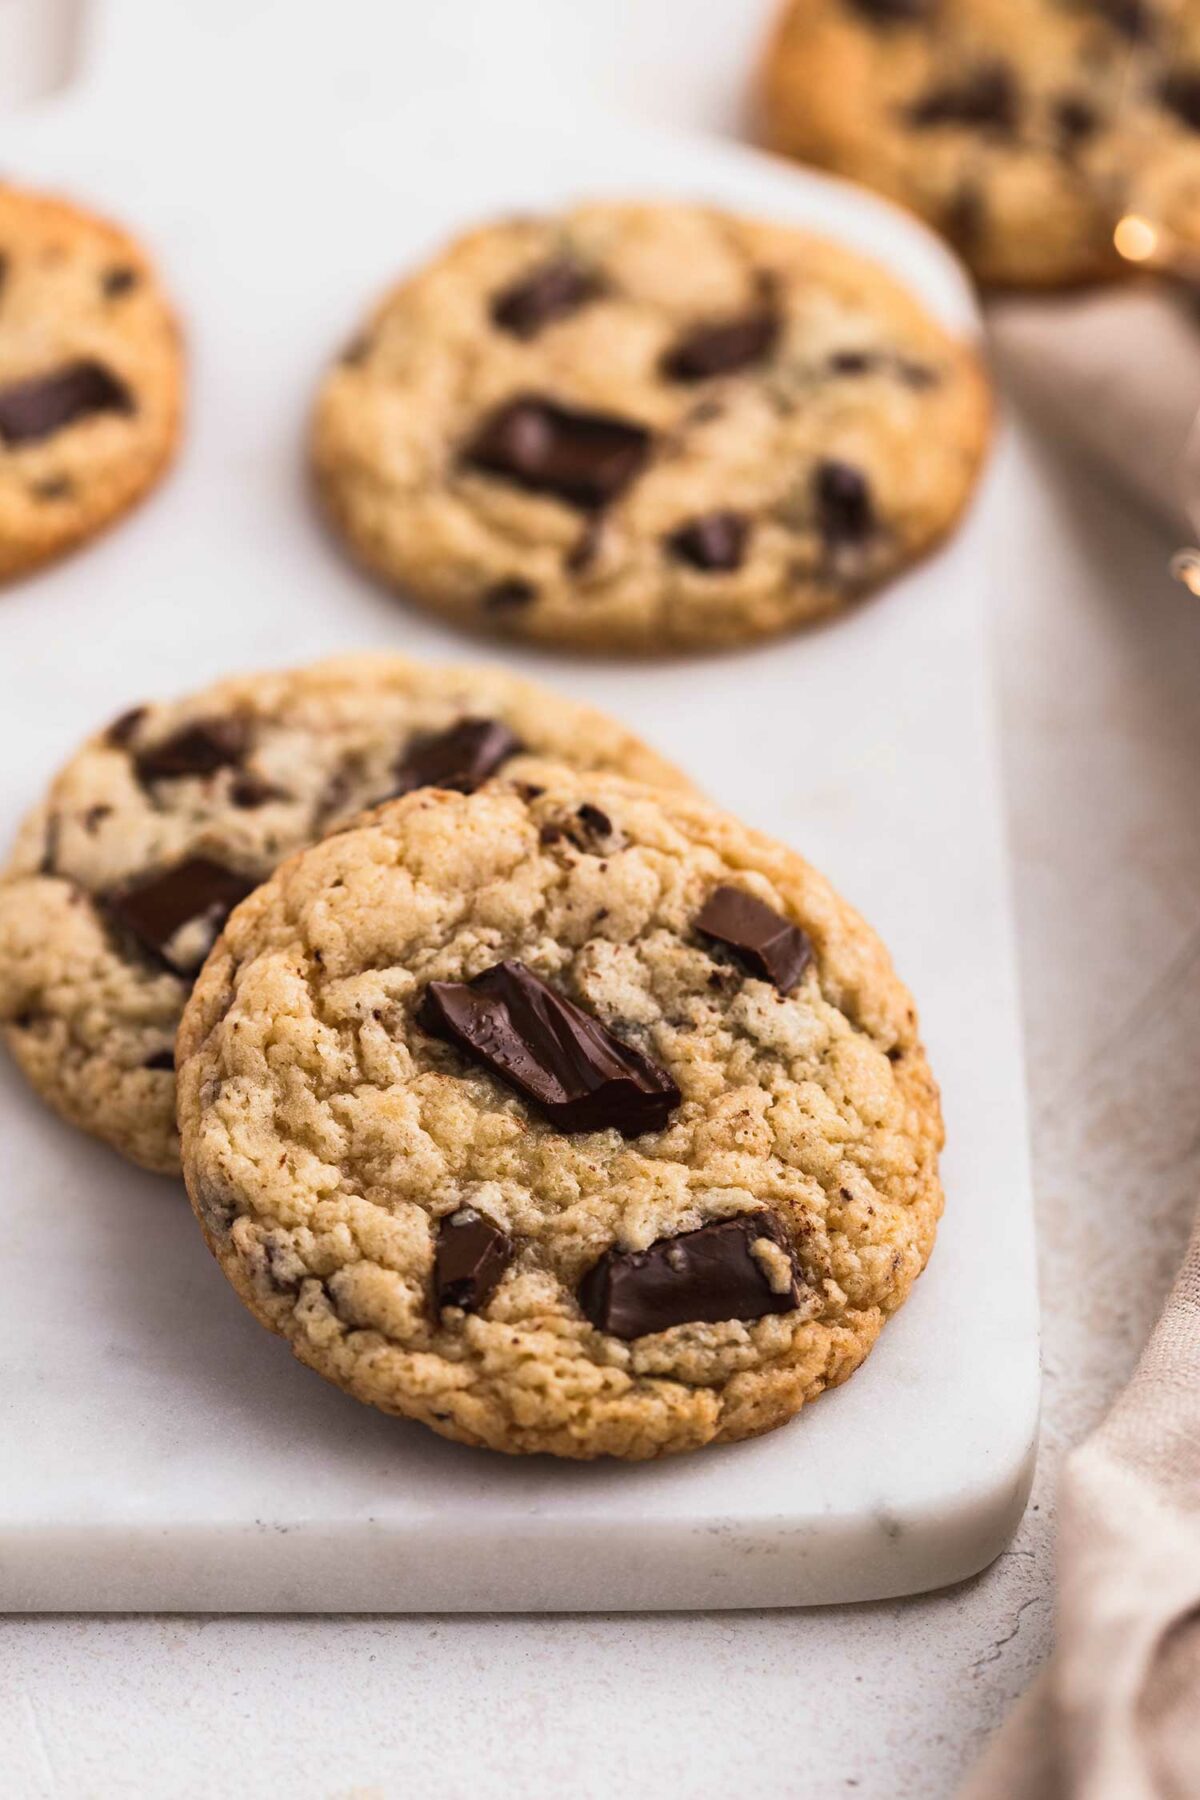
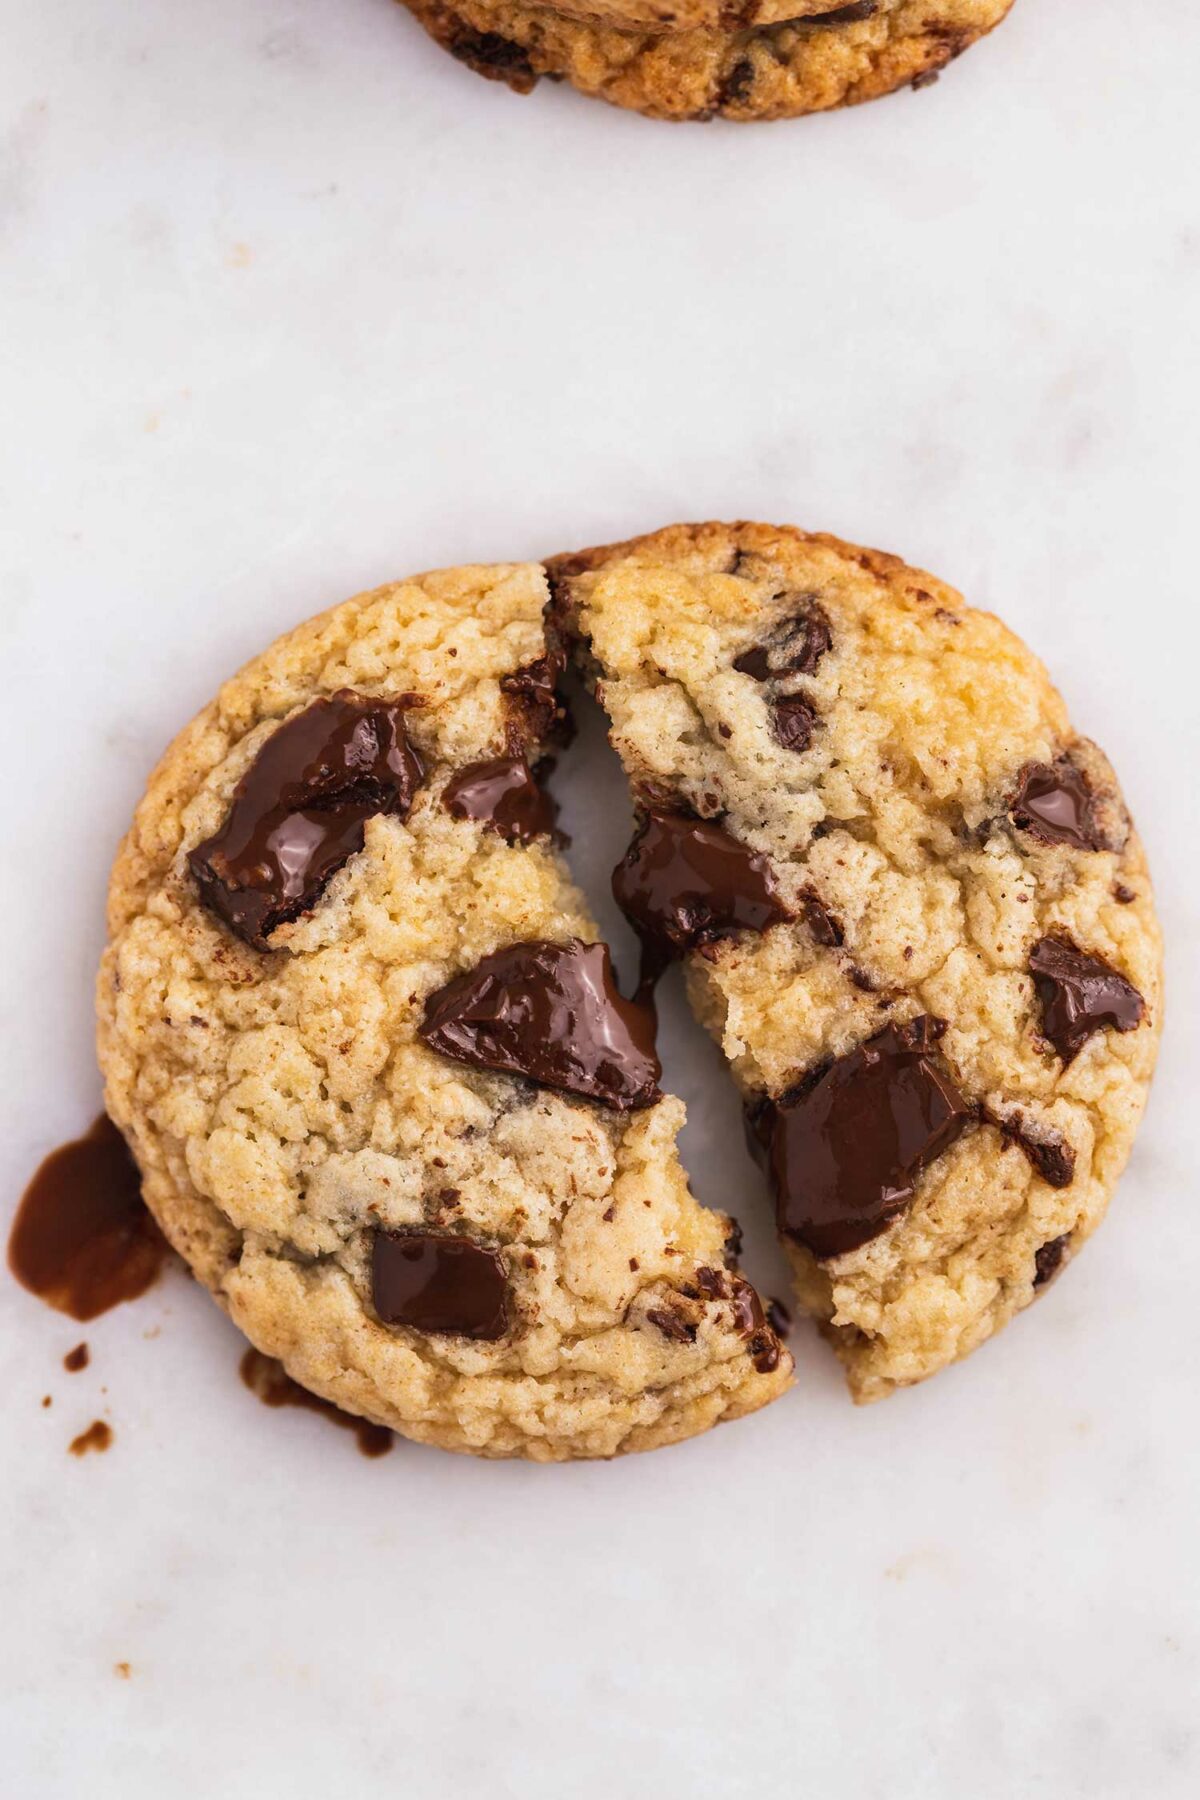
- Texture: Chewy and soft
- Diet: Plant-based, egg-free, dairy-free, and can be gluten-free
- Time: 25 mins
- Occasion: Christmas, home parties, and more
Must read: The Ultimate Guide to Perfect Cookies – A complete guide to baking your perfect vegan cookies with easy and delicious cookie recipes!

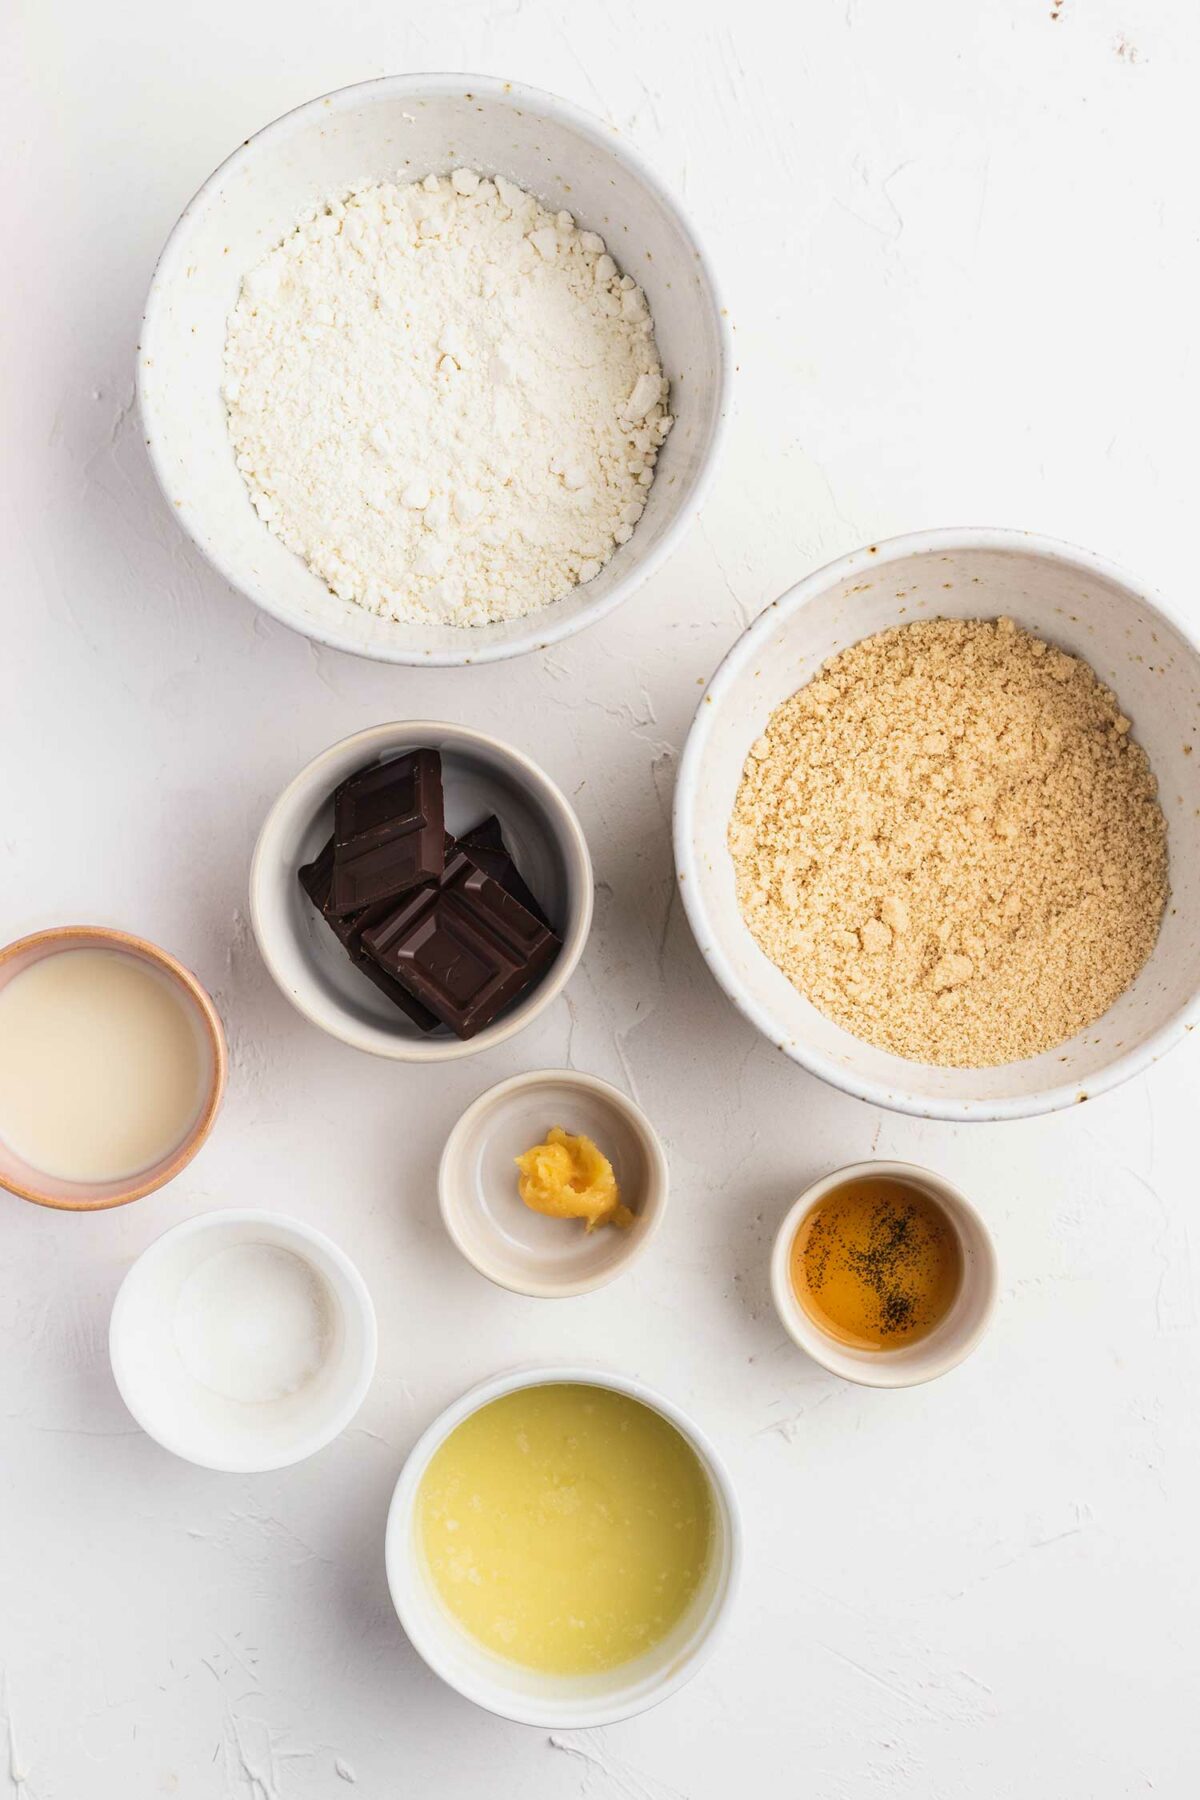
Main ingredients and substitutions
Miso: The secret ingredient in this recipe, miso! I experimented with the 2 most common types of miso – red miso and white miso. White miso gave a very subtle miso flavour and creaminess to the cookies, which I quite liked! Red miso also added a lovely texture to the cookies with a little richer miso flavour.
I recommend you start baking with white miso if you’re not used to baking with it or giving the cookies to someone who isn’t used to the taste of miso.
Plain flour: The base flour of this vegan cookie recipe is regular plain flour. I like using plain flour because I like the texture it gives to baked goods, but feel free to use a 1:1 gluten-free flour mix if you want to make it gluten-free!
Brown sugar: I used just brown sugar alone in this recipe instead of using half brown and half white sugar. It’s because I wanted the cookies to have a chewy and soft texture rather than a crispy texture. You can also use white caster sugar or half brown and half white caster sugar if you want slight crispiness in the cookies! Make sure to measure out your sugar if swapping since different sugar has different consistencies.
Vegan butter: I used some soy vegan butter I found on Amazon this time, and it worked perfectly! Other vegan butter that I like using is Naturli and Earth Balance. Both should work in this recipe!
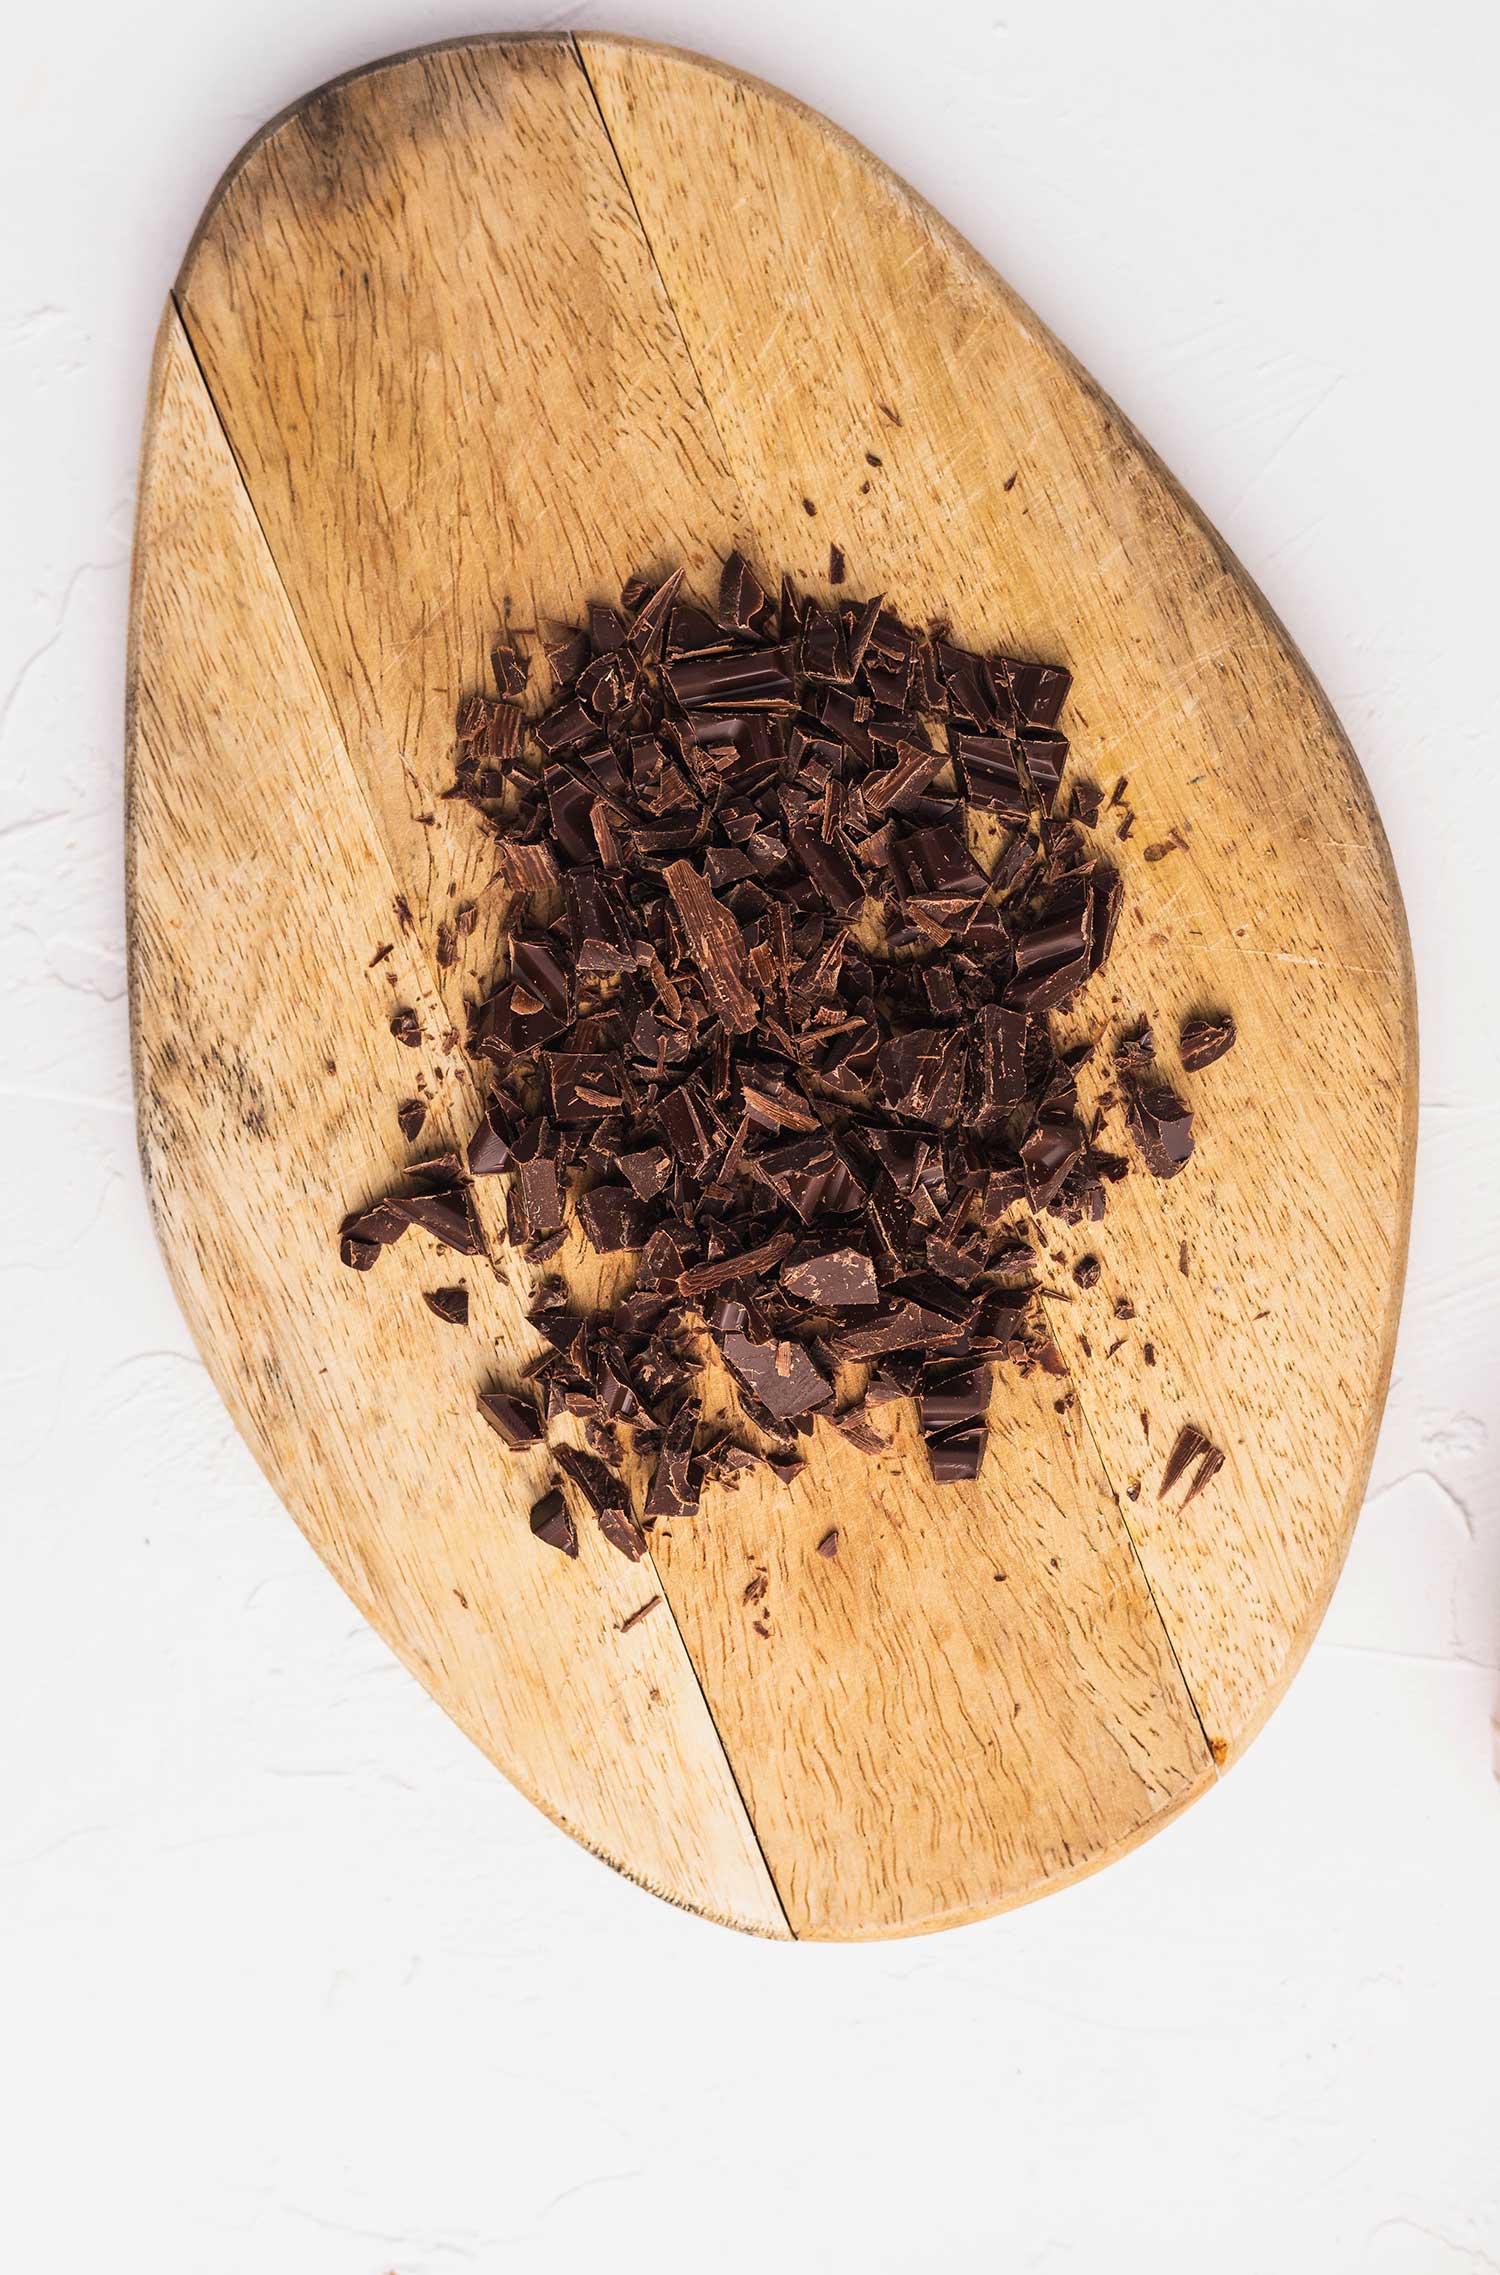
Vegan chocolate chips: I added chopped up vegan milk chocolate bar in my cookies but you can also use regular chocolate chips or dark chocolate chunks if you prefer!
Other ingredients: soy milk and baking powder.
*I use bone char-free sugars for all of my recipes. I cover the topic in my article Vegan Baking 101. Go to the “Is sugar vegan?” section to learn more!
Recommended equipment for this recipe
Baking tray: Use a flat baking tray to get perfectly round cookies!
Ice cream scoop: An ice cream scoop is a must-have to get the same size of cookies for every batch! I recently invested in good ice cream scoops that are so much better than my old one and never regretted getting them. They come in super handy for so many other things such as muffins and cupcakes and more!
Baking sheet/parchment paper: Make sure to bake cookies on either a baking sheet or parchment paper so that the cookies won’t stick to the tray and it’s easy to transfer to a cooling rack.
*The ingredient list and measurement for this recipe can be found in the recipe card at the bottom.
How to make miso chocolate chip cookies
Step 1: Mix the dry ingredients
This recipe is super easy to make, trust me! First, chop up a vegan chocolate bar if you are using chocolate chunks. If using chocolate chips, skip the chopping part! Let’s mix the dry ingredients now. In a large bowl, mix the flour, brown sugar, and baking powder together with a whisk until well combined and there are no lumps of flour left. Set aside.

Step 2: Mix the wet ingredients
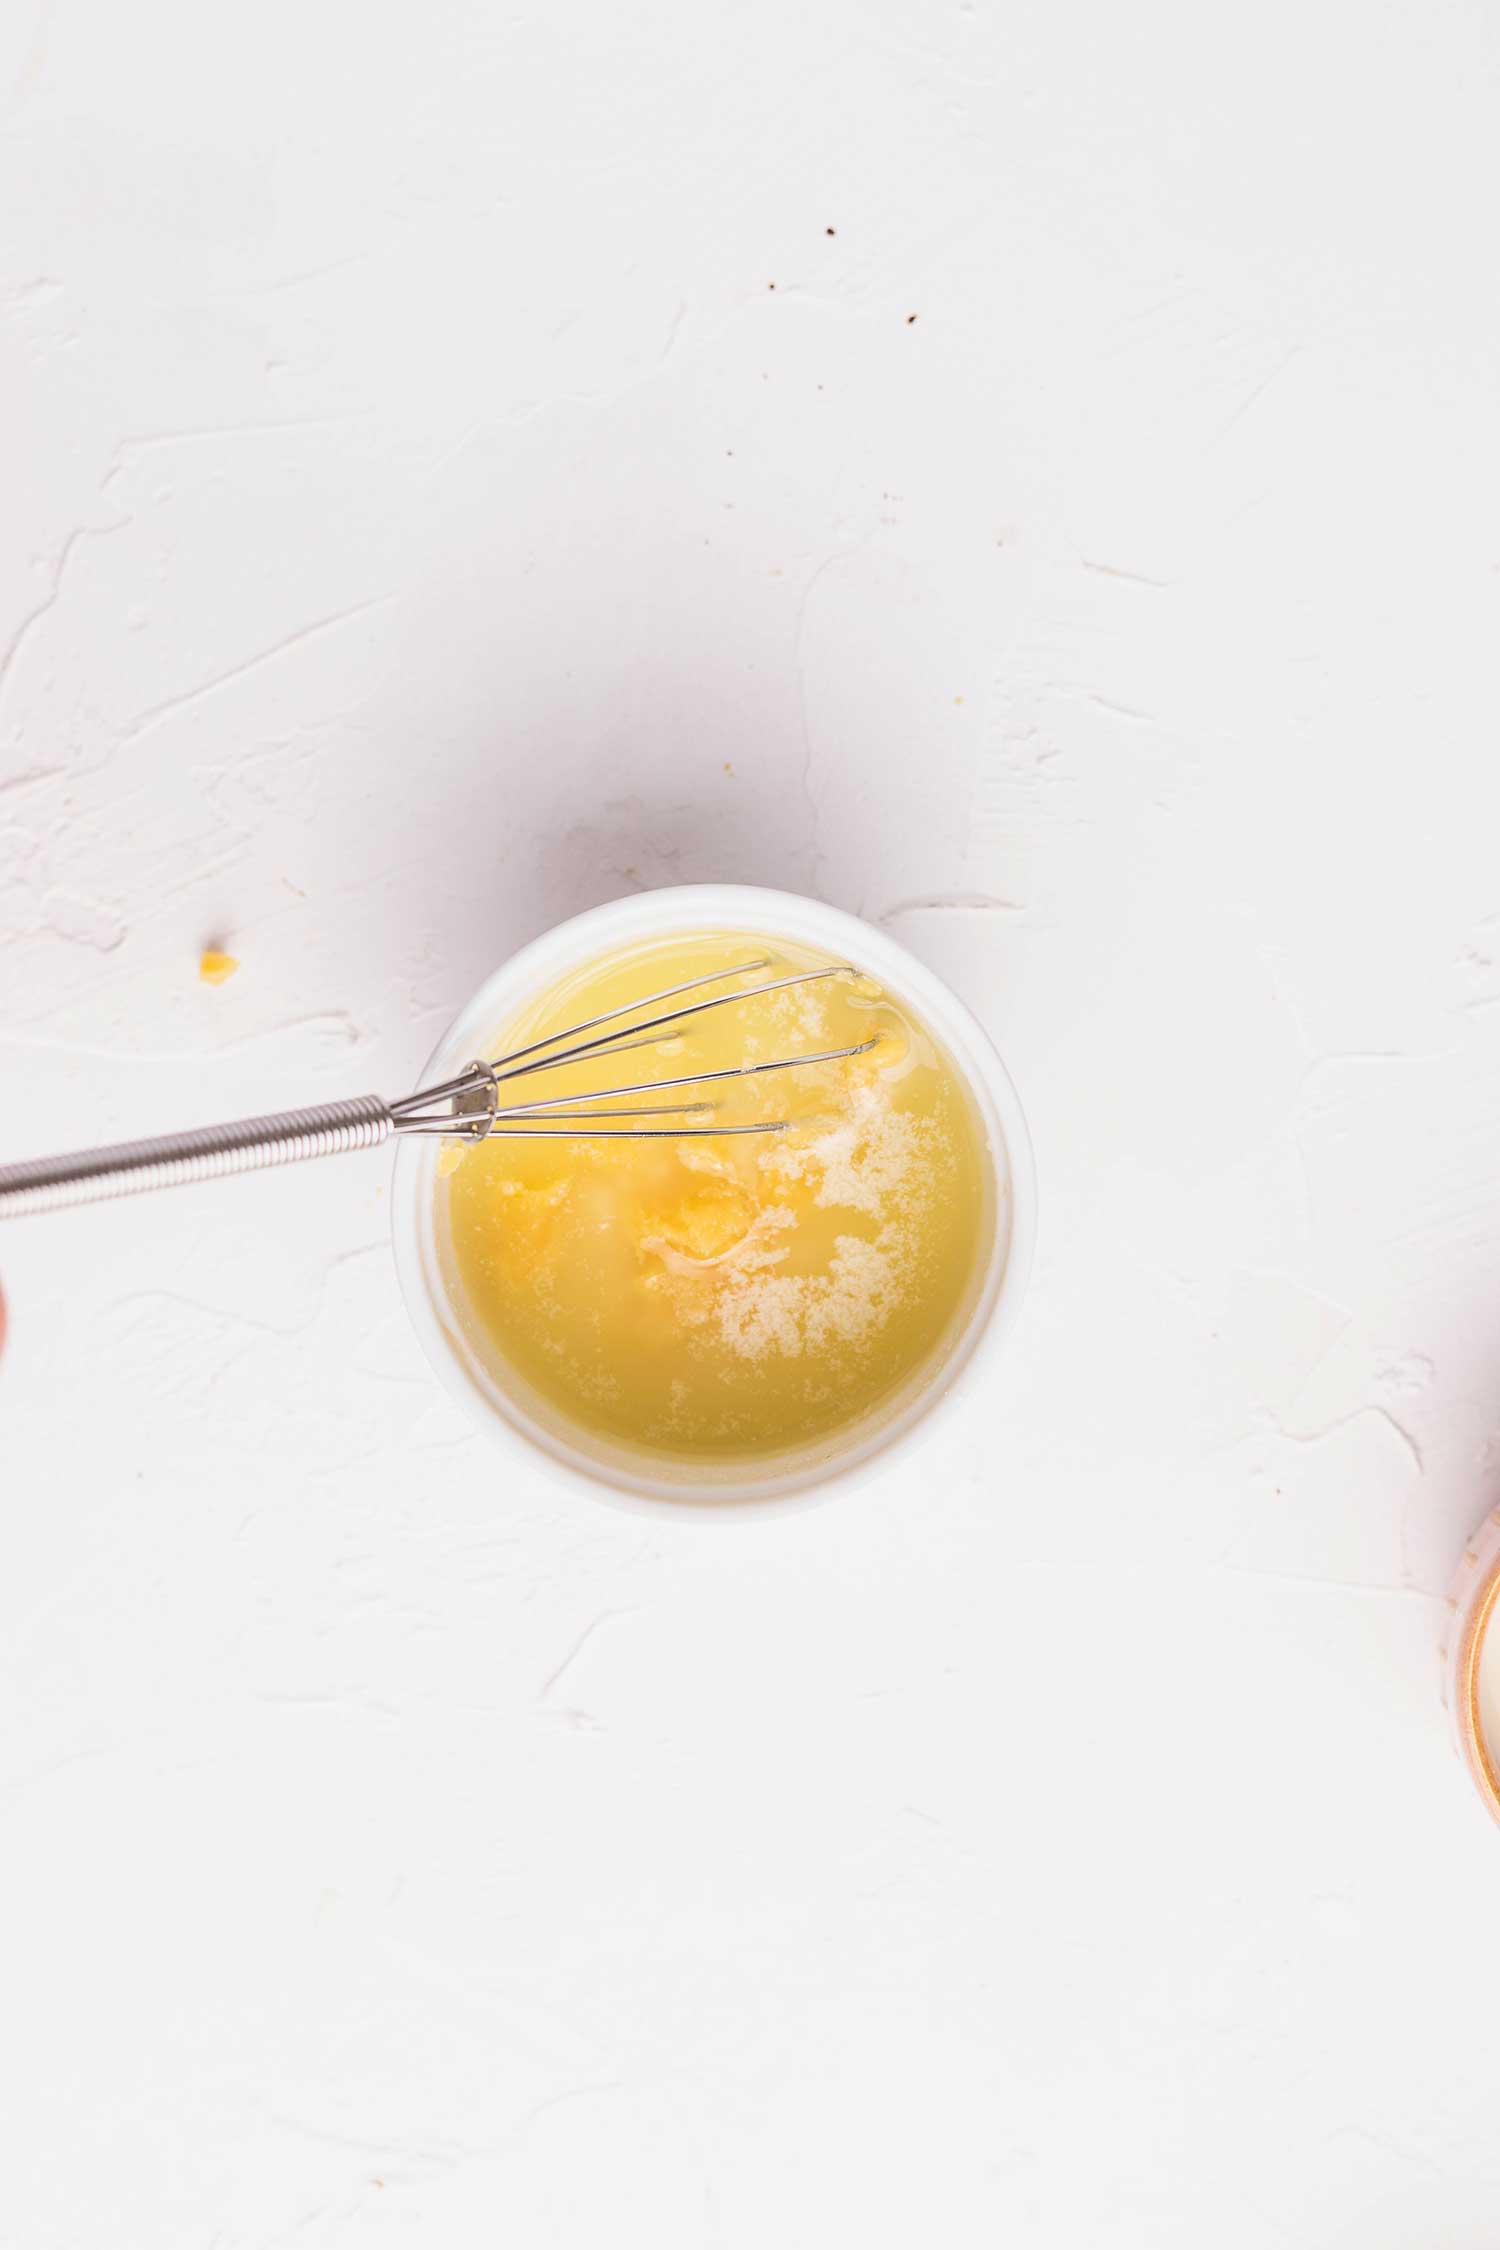
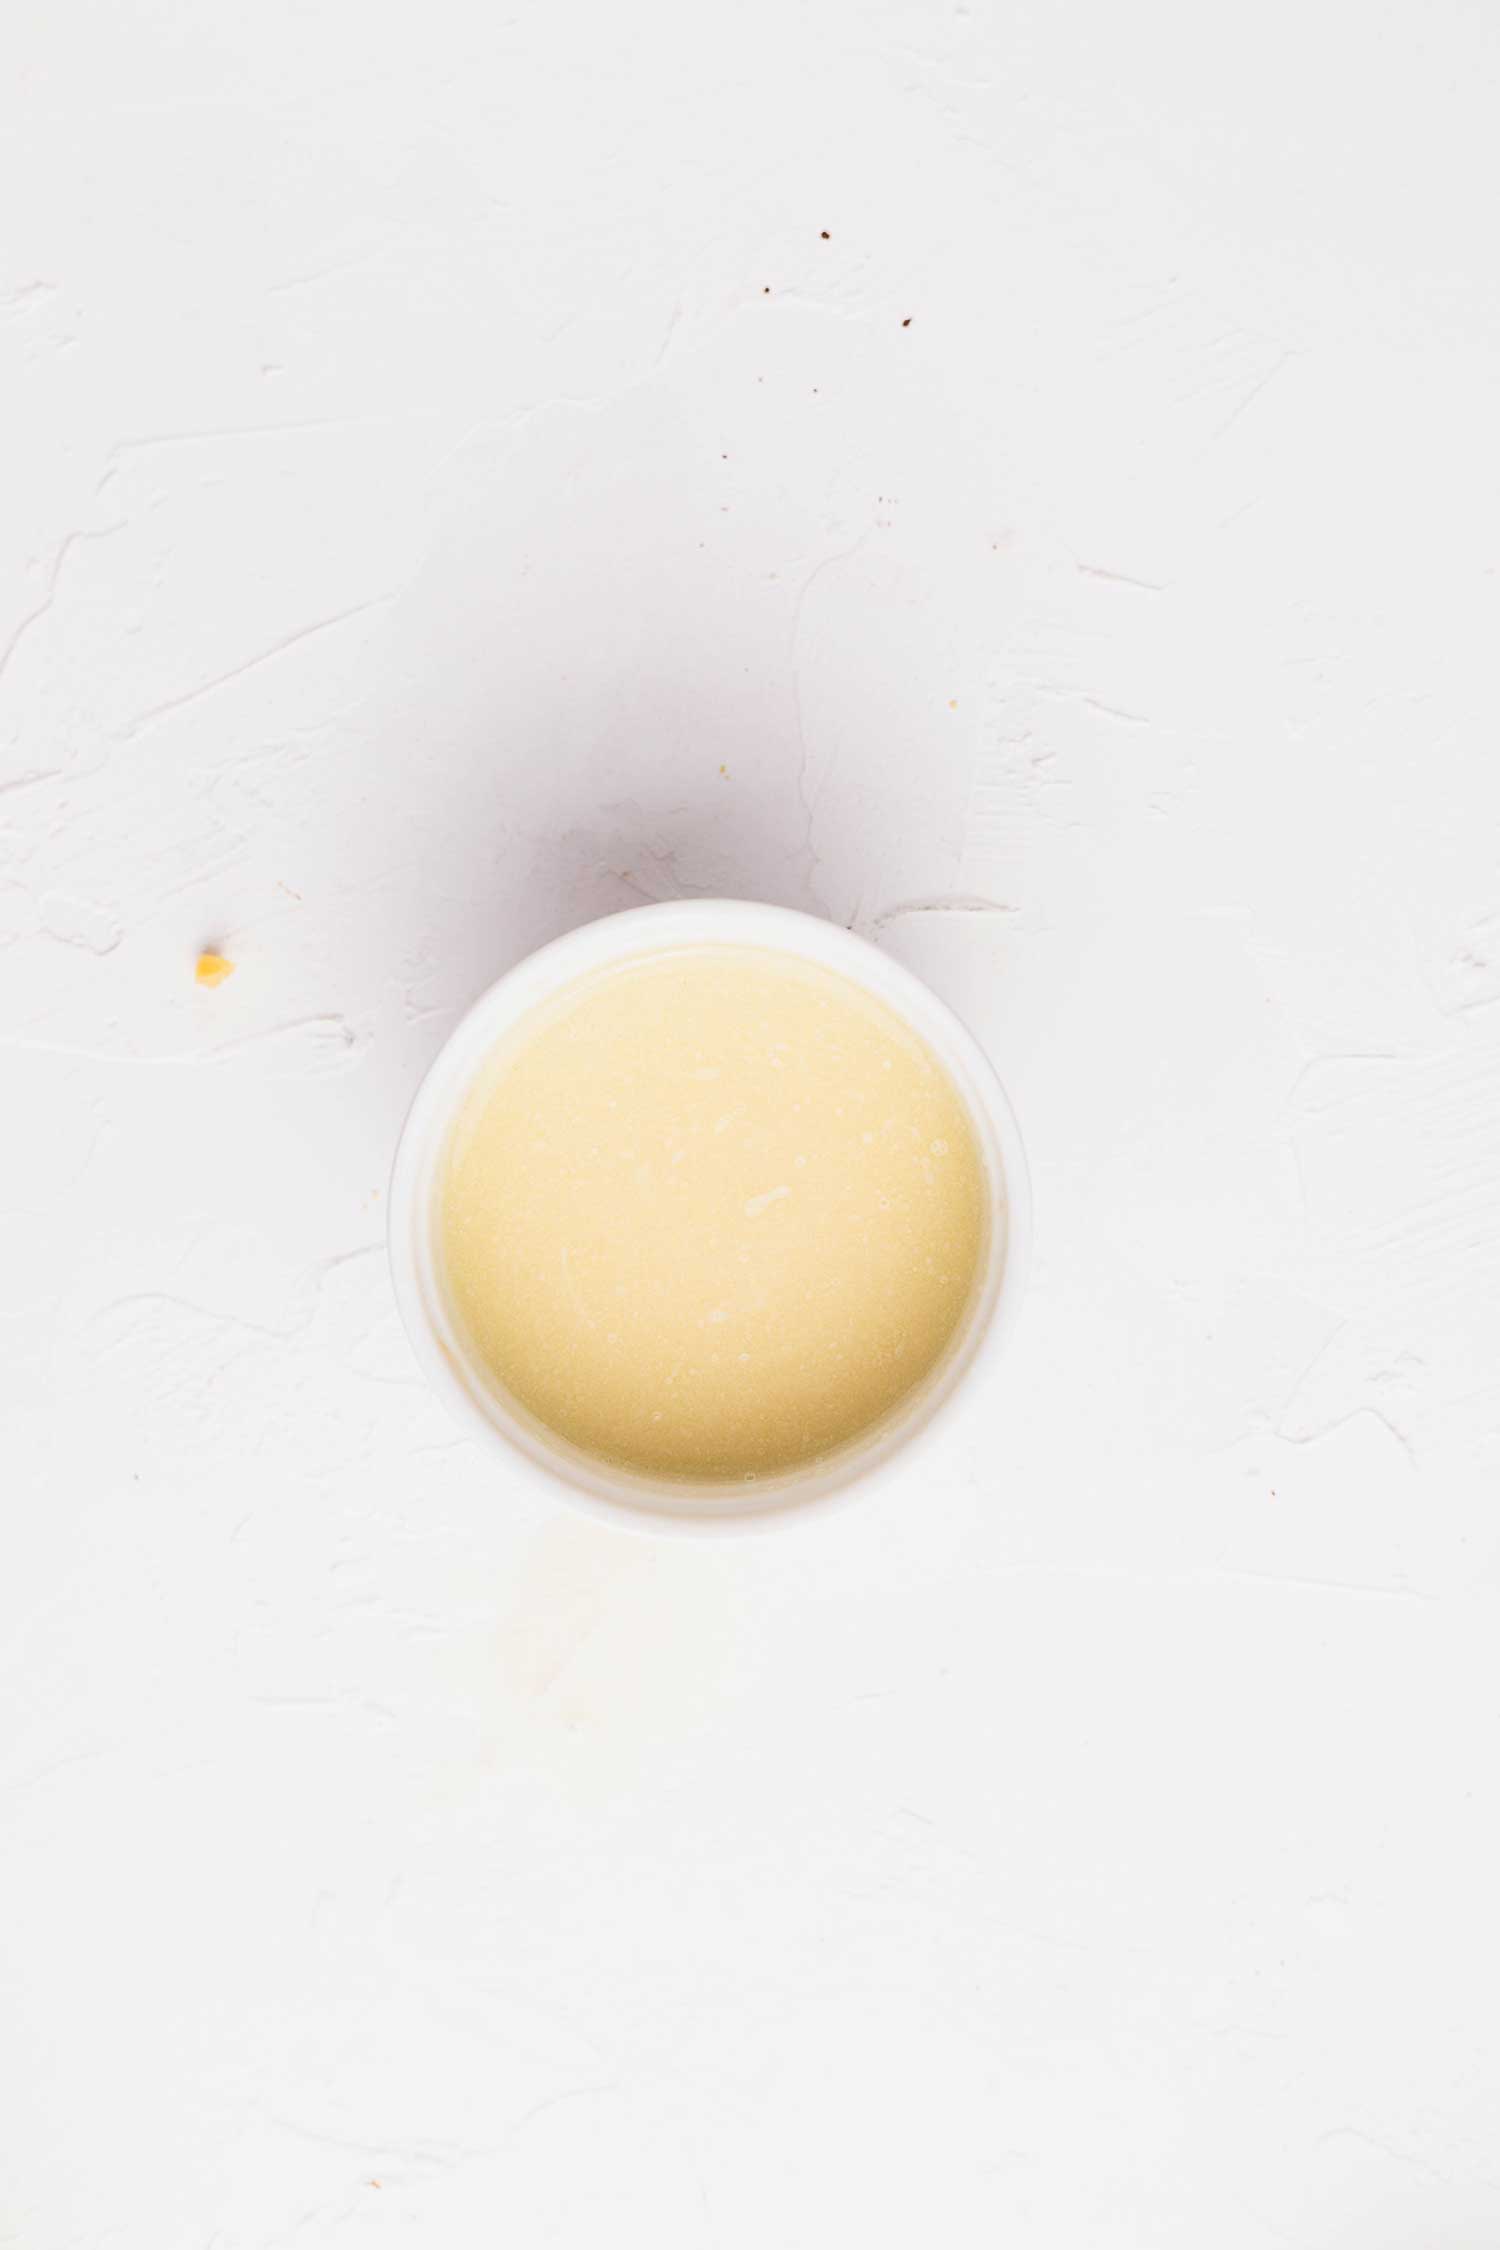
In a medium-size bowl or jug, mix the melted vegan butter, soy milk, and miso paste very well with a small whisk until it’s smooth and there are no big lumps of miso in the mixture. If you see tiny white lumps, it’s the soy in miso so don’t worry about it! Also, don’t use melted vegan butter that is too hot. If the butter is too hot the chocolate chunks can melt in the dough and make the colour of the cookies a little messy!
Step 3: Make the dough and rest
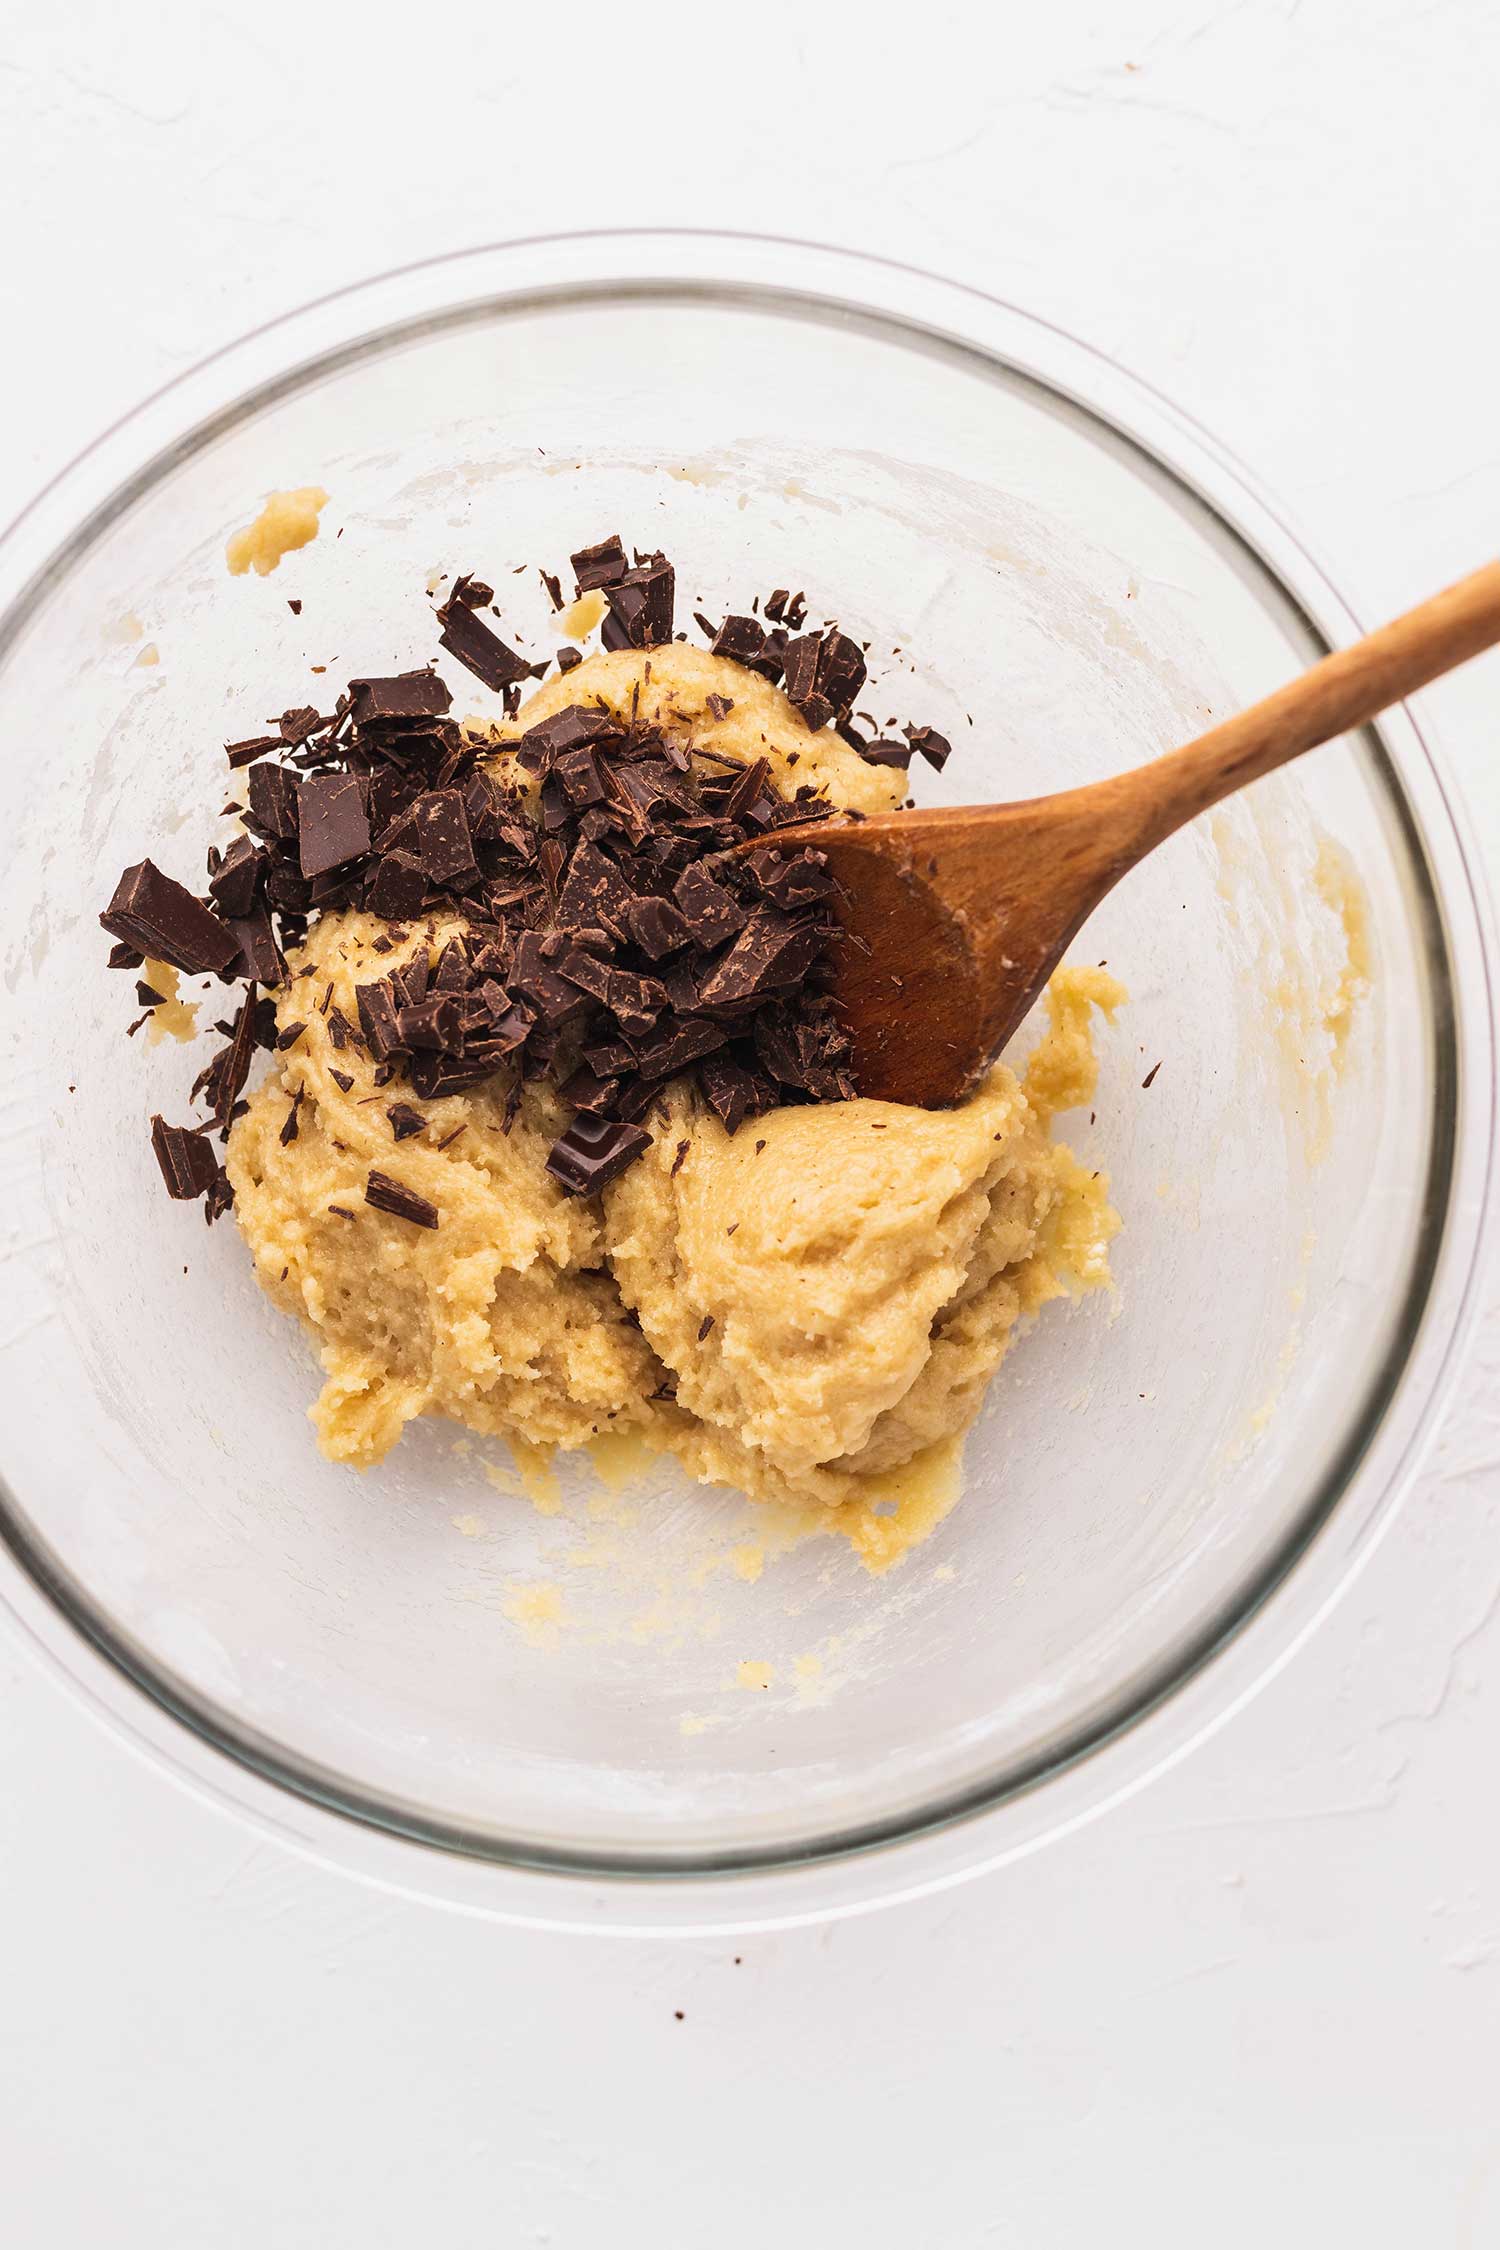
Add the wet mixture to the dry mixture and mix well until it makes a cookie dough. Add the chopped chocolate chunks or chocolate chips and fold in gently a few times. Cover the bowl with a clean kitchen cloth or reusable cling film and rest in the fridge for at least 15mins to 30 mins.

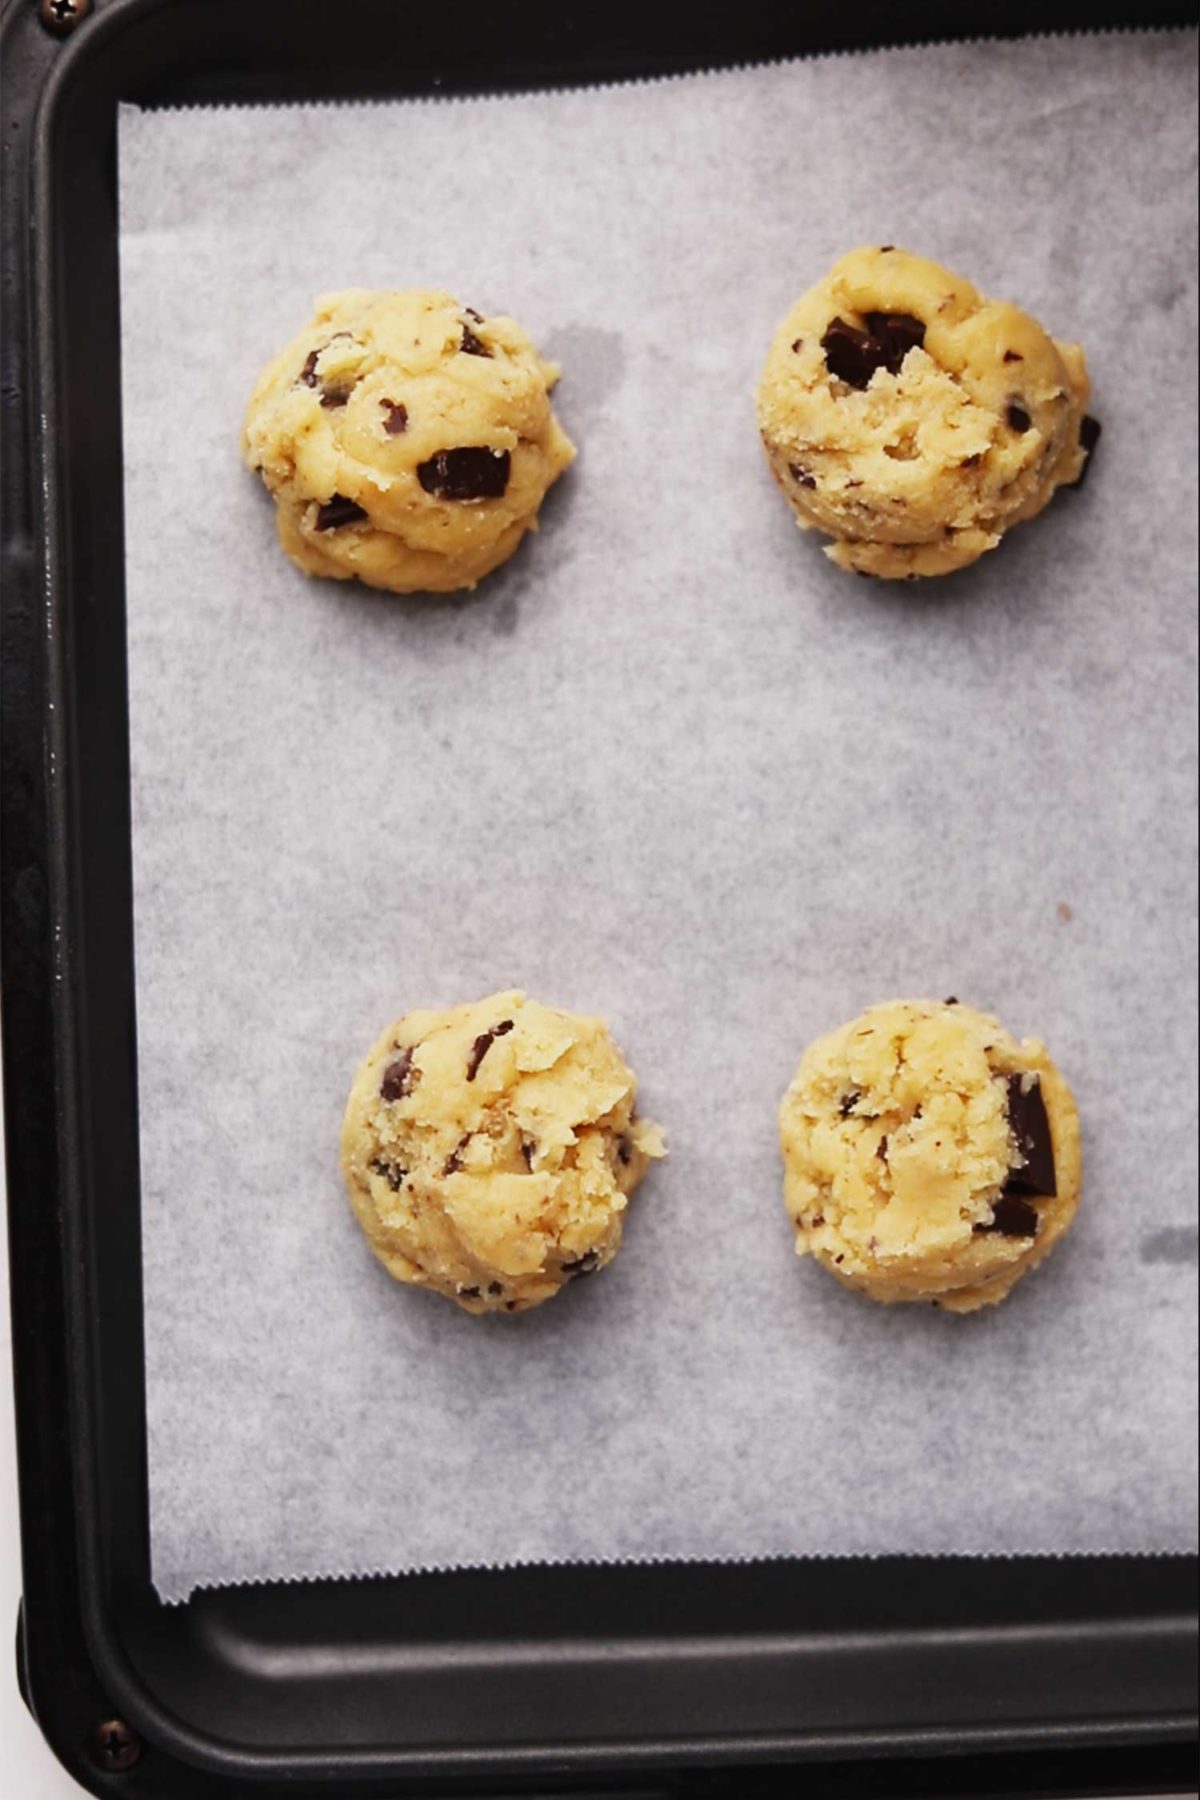
Step 4: Bake
Using an ice cream scoop, scoop the cookie dough and place the dough on a baking tray with a baking sheet or parchment paper. Make sure to leave enough space between each cookie so that they have room to spread in the oven and won’t touch each other. Press down the cookies slightly and bake in a preheated oven for 12-15 mins.
If you want soft and gooey cookies, bake for 12 mins and for slightly crispier cookies bake for 14-15mins!
Once they are done, take them out of the oven and let them set on the tray for a further 5 mins. At this point, they are still quite fragile but they’ll continue baking a little more and firm up nicely on the tray, so give it some time! Once they are set, transfer them to a cooling rack and cool further. Enjoy!

Tips and tricks
Mix the wet mixture very well
Some miso is a little difficult to dissolve in liquid but it eventually will if you continue mixing with a whisk! If you can’t seem to mix it well with melted vegan butter and soy milk, try sieving it with a small sieve with slightly larger gaps, this should work well.
Don’t use hot melted butter
This recipe calls for melted vegan butter instead of whipped butter. When using the butter, let it cool down first before mixing with other wet ingredients, this is quite important! If you use hot melted butter, the cookie dough is too warm for the chocolate and it can melt in the dough, which can result in some unpleasant colour in the cookies.
How to store
I store my cookies in a cookie jar with an airtight lid at room temperature for up to 5 days! If where you live has a very hot climate or it’s summer when you make them, it might be the best idea to keep them in an airtight container and place it in a fridge to prevent the chocolate from melting. I microwave my cookies for about ~10 seconds when I eat them if keeping them in the fridge!
The cookies can freeze well too. Just place them in a freezer-friendly airtight container and store them in your freezer for up to 2-3 months!
Q and A
What does miso do in baking?
We have many traditional Japanese desserts that use miso as an ingredient here in Japan. Miso is usually paired with sugar to balance out the sweetness and bring out the flavour of miso itself and other ingredients even more!
In baking, miso is like salt with richer flavour – it has umami flavour that takes any baked goods to the next level delicious!
The bottom of my cookies got burnt! What did I do wrong?
If your cookies got burnt, it can be either the oven temperature was too high or you baked them too long. I found 180°C(350°F) to be a perfect temperature to bake the cookies, so it may be a great idea to invest in an oven thermometer to check the temperature of your oven!
Also, baking them for longer than 15 mins can cause them to burn. If you are making extra-jumbo cookies and need to bake longer, baking with a light-coloured baking tray(use silver over black) with white parchment paper might help with your problem!
My cookies don’t taste miso?
I wanted to make the flavour of miso quite subtle for these cookies so I only added 1 tablespoon but if you want a more intense flavour of miso, use 2 tablespoons of red miso. This will bring out the miso flavour even more!
Want to master your cookie baking skill?
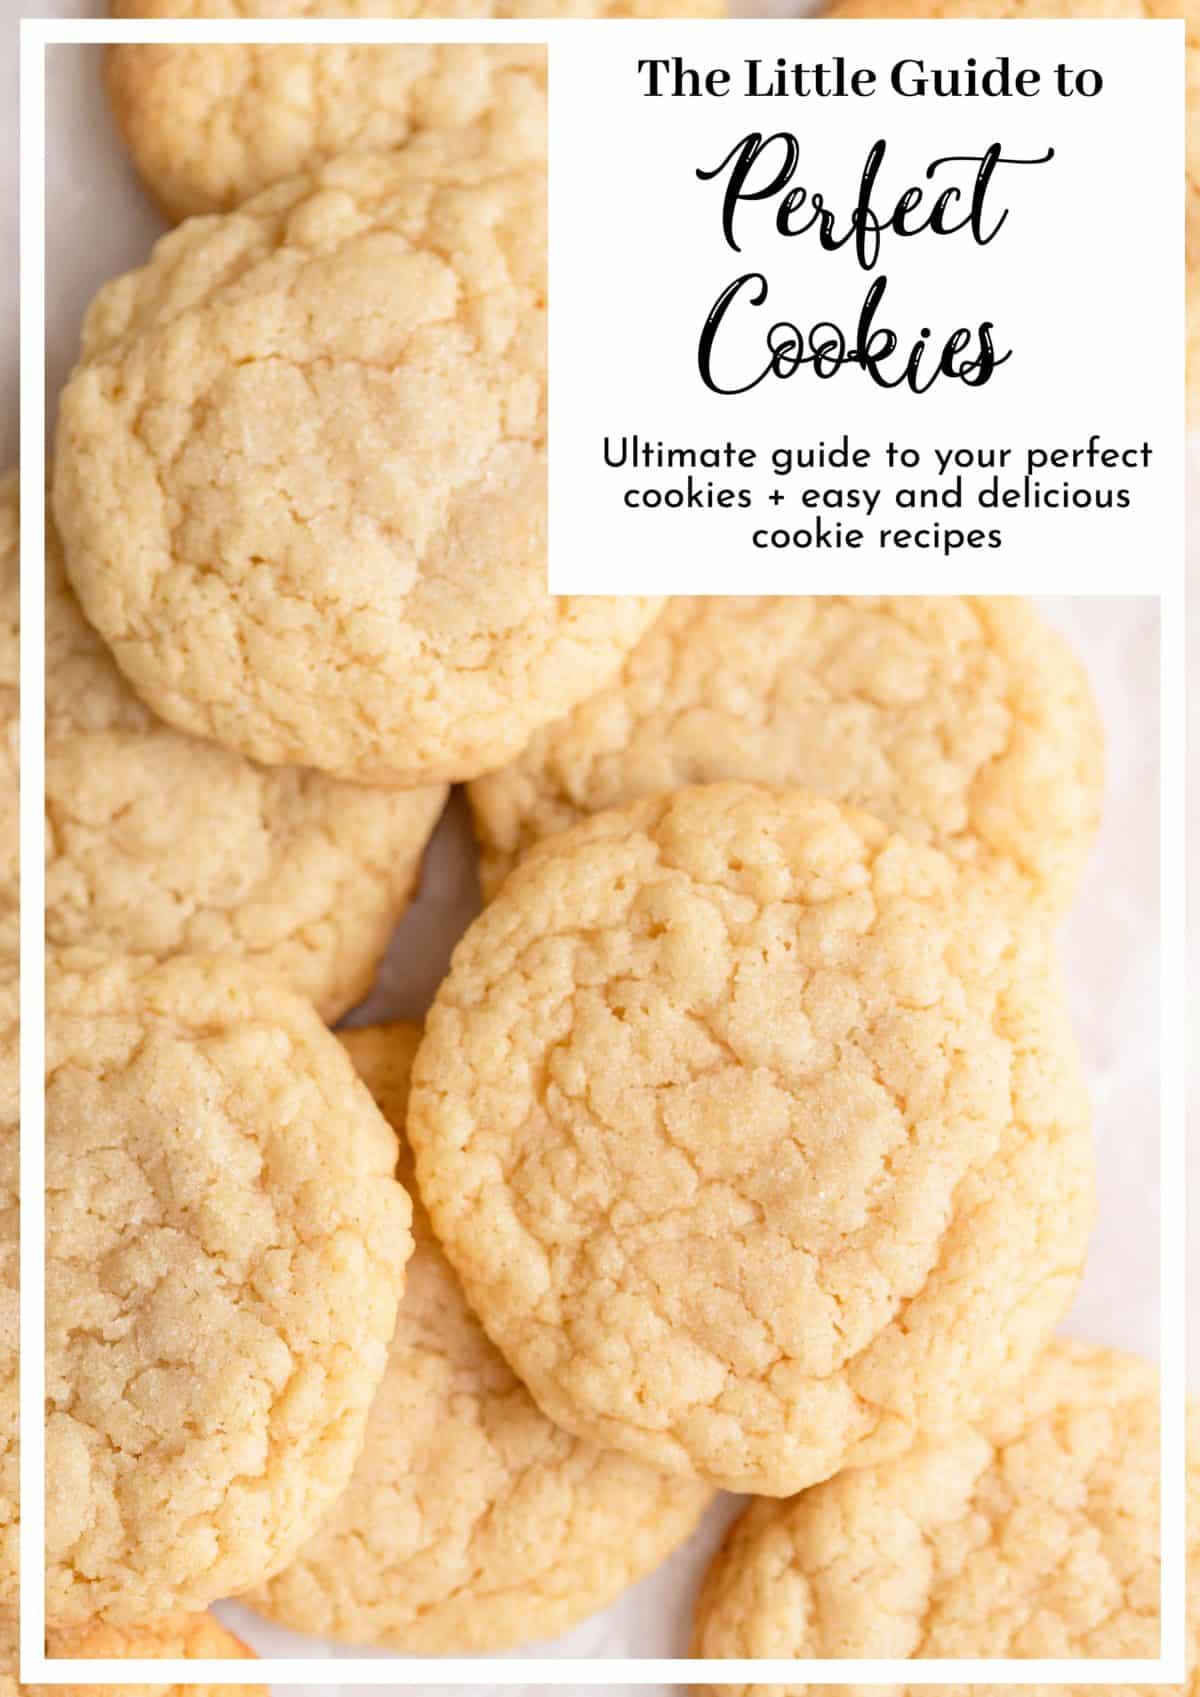
Get my free ebook The Little Guide to Perfect cookies now!
This ultimate guide has all the tips and tricks to bake your perfect cookies + 3 easy and delicious vegan cookie recipes you can bake straight away as you finish reading the guide.
Want to master the basics of vegan baking?
Check out Vegan Baking 101 – the beginner’s guide to vegan baking for you to become an excellent vegan baker and familiar with the basics of vegan baking, ingredients, and techniques with useful tips!
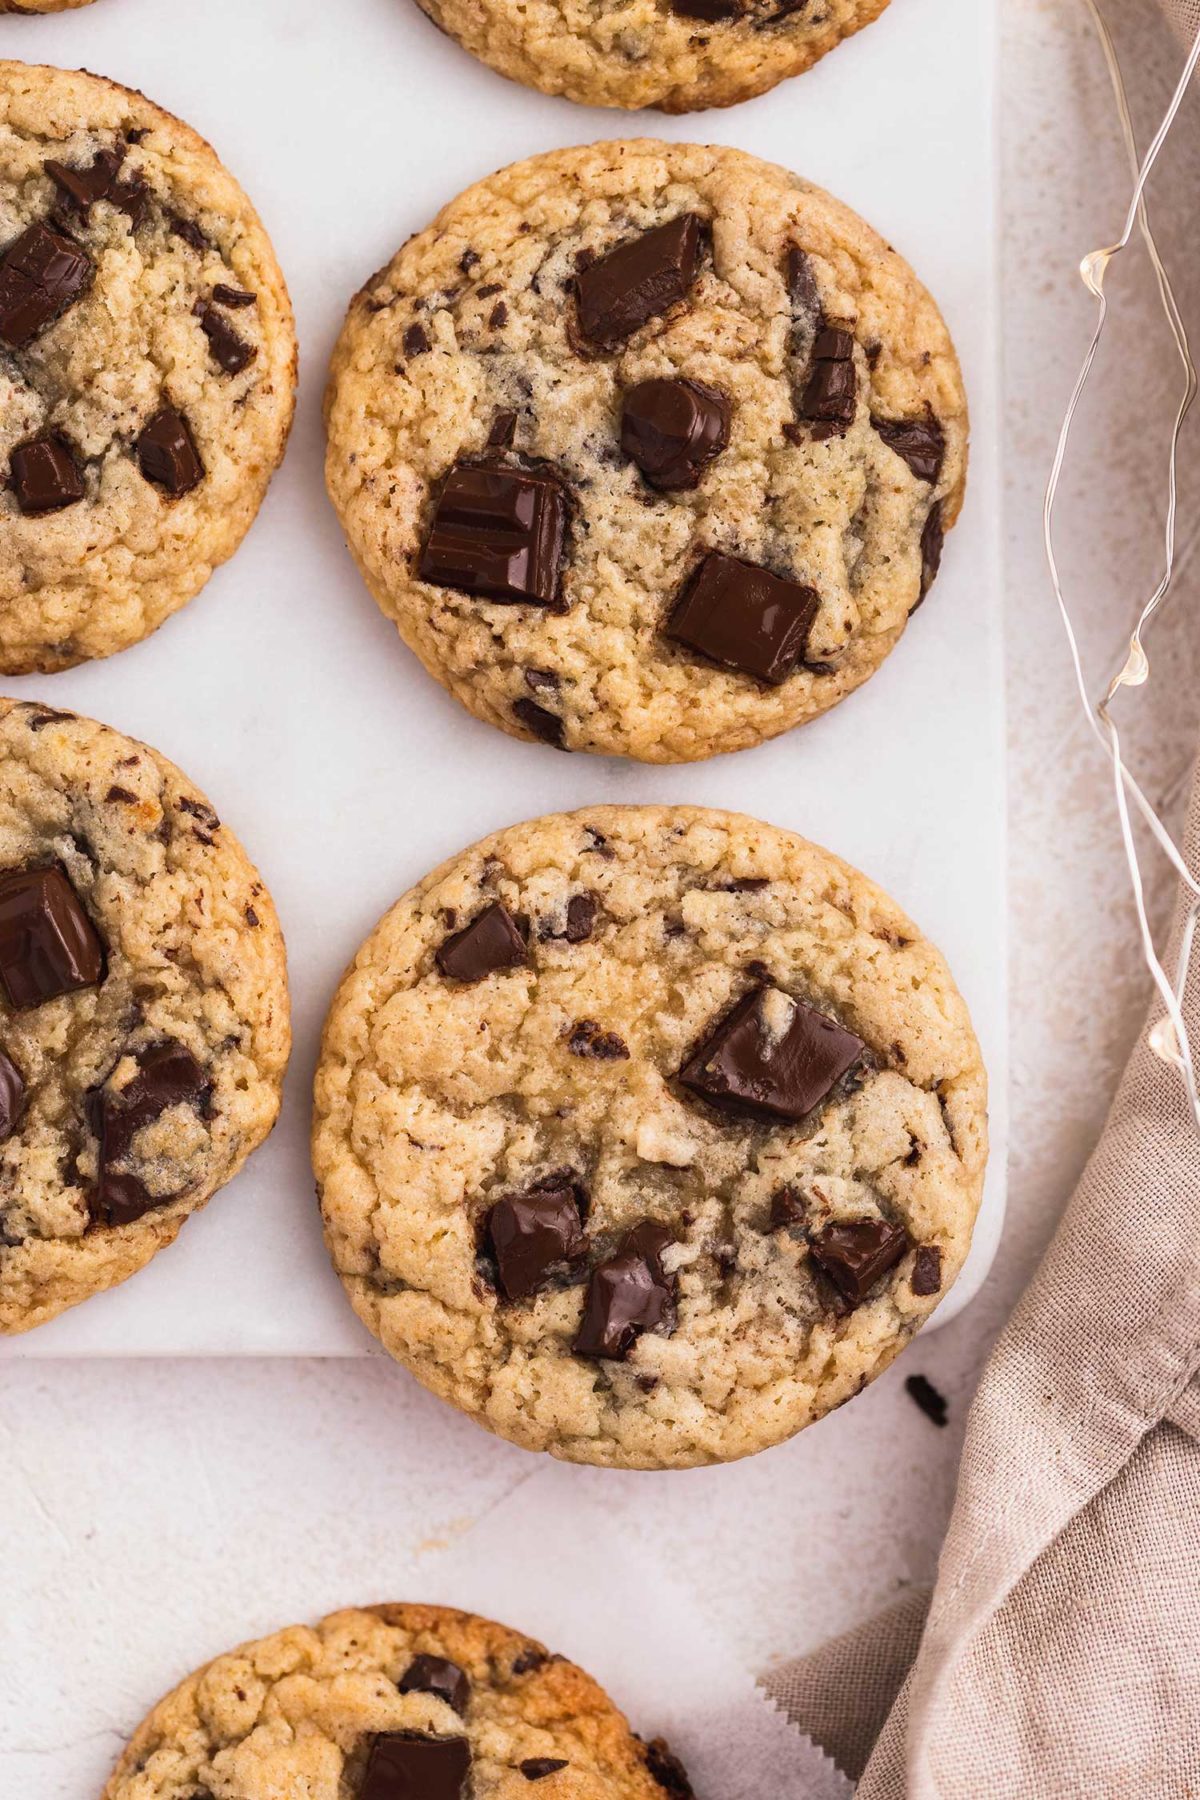
You will LOVE these miso cookies because they are:
- soft and chewy
- super easy to make
- so flavourful with miso and chocolate
- perfect gift
Want more recipes like this?
Try my other delicious cookie and dessert recipes you might enjoy!
Visit the cookies page and recipe page for more delicious recipes!
Please leave a comment and rate this recipe in the comment section below if you like this recipe! Let me know and tag me @thechestnutbakery on Instagram too. Thank you for making my recipe, friends!
Recipe Card
Print
Easy Vegan Miso Cookies with Chocolate Chips
- Total Time: 22 minutes
- Yield: 12 cookies 1x
- Diet: Vegan
Description
These chewy vegan miso cookies are packed with melty chocolate chunks and umami flavour that comes from miso paste! They are super easy to make, chewy, soft, thick, and so delicious.
Ingredients
- 2 cups (220g) plain flour
- 1&1/2 cups (200g) brown sugar
- 1/2 cup (125ml) melted vegan butter, cooled
- 1/3 cup (70ml) soy milk, room temperature
- 1 tbsp miso paste
- 1 tsp baking powder
- 1 cup (90g) chopped up vegan chocolate bar(chocolate chunks) or chocolate chips
Instructions
- Chop a vegan chocolate bar into chunks. If using chocolate chips, skip the chopping.
- In a large bowl, mix the flour, brown sugar, and baking powder together with a whisk until well combined and there are no lumps of flour left. Set aside.
- In a medium-size bowl or jug, mix the melted vegan butter, soy milk, and miso paste very well with a small whisk until it’s smooth and there are no big lumps of miso in the mixture.
- Add the wet mixture to the dry mixture and mix well until it makes a cookie dough. Add the chopped chocolate chunks or chocolate chips and fold in gently a few times.
- Cover the bowl with a clean kitchen cloth or reusable cling film and rest in the fridge for at least 15mins to 30 mins.
- Preheat the oven to 180°C(350°F) a little before taking the dough out of the fridge.
- Using an ice cream scoop, scoop the cookie dough and place the dough on a baking tray with a baking sheet or parchment paper. Leave enough space between each cookie so that they have room to spread in the oven Press down the cookies slightly and bake for 12-15 mins.
- Take the cookies out of the oven and let them set on the tray for a further 5 mins. transfer them to a cooling rack and cool further. Enjoy!


Notes
If you see tiny white lumps of miso when mixing the wet mixture, it’s the little soy bits in miso so don’t worry about it!
Don’t use melted vegan butter that is too hot to prevent the chocolate chunks from melting in the cookie dough.
If you want soft and gooey cookies, bake for 12 mins. For slightly crispier cookies, bake for 14-15mins.
- Prep Time: 10 mins
- Cook Time: 12 mins
- Category: Cookies
- Method: Baking


Delicious cookies!! I used a heaping tablespoon of white miso and sprinkled a little coarse salt on each cookie before baking. The cookies are chewy and caramelized nicely, and the miso flavor is beautifully subtle – more miso would be amazing too! Thank you for a great recipe!
Thank you for the lovely comment Jennifer, I’m so glad to hear you liked them!
These cookies are so easy and delicious! I love the addition of the chocolate chips.
Thank you for the lovely comment!
These cookies became my main go-to recipe for something sweet, I made them at least 10 times if not more. They always turn out to have the perfect chewy texture that I always crave for. This was also the first time I tried miso in a non-savory recipe and I love it. Love the whole website too!
I’m so happy to hear that you love these cookies! These are one of my favourites too, so chewy and delicious!